






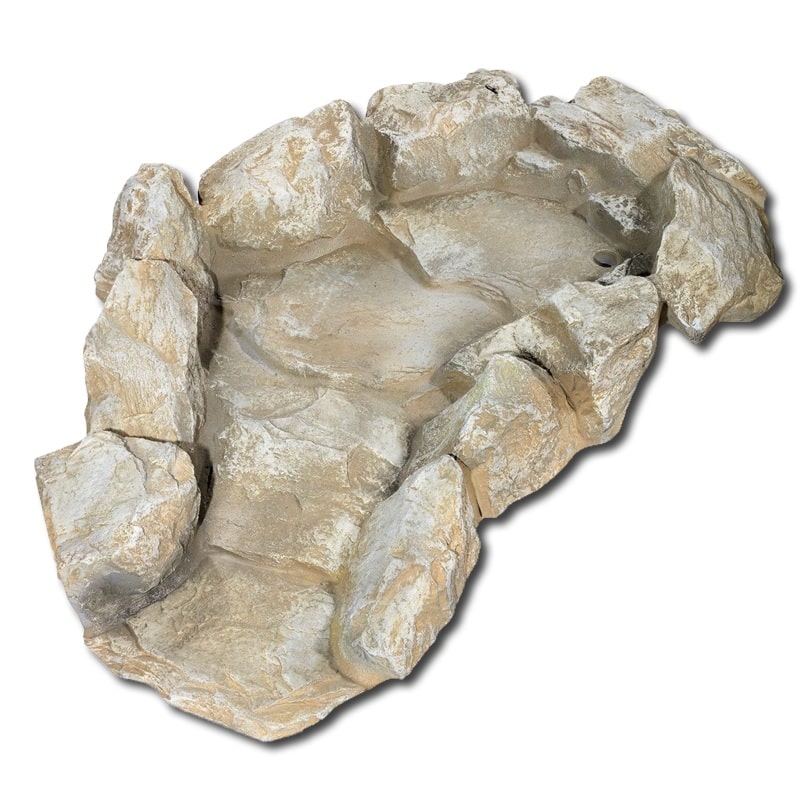
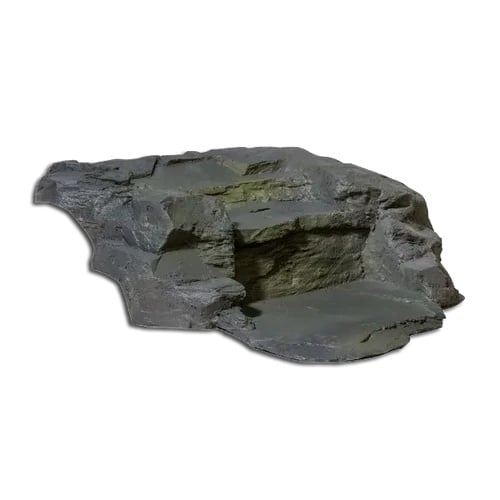
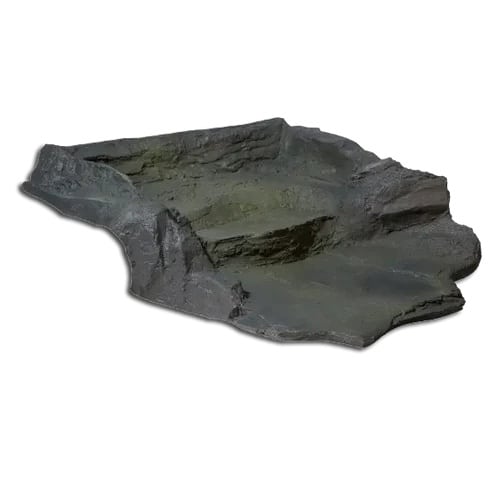
Oase Staubbach Falls Grey Pond Watercourse – Left & Right
| Brand | |
|---|---|
| Product type | Preformed watercourse section |
| Finish | Grey |
| Material | Polyresin |
| Direction | Grey left – 73685, Grey right – 73687 |
Grey Oase Staubbach Falls watercourse section: choose left 73685 or right 73687. Weather-resistant polyresin with hand-applied colouring and a concealed inlet connection. One section; plan the pump and water return separately.
£95.17 (inc VAT)
Oase Staubbach Falls Grey Pond Watercourse Sections
The Oase Staubbach Falls grey watercourse sections help you create a small, flowing feature beside a garden pond. Choose the left section, Oase reference 73685, or the right section, reference 73687, to suit your planned route. Each option is one watercourse section. The grey finish gives the moulded surface a rock-like appearance, while the shaped channel guides water towards the next section or the pond below.
Oase describes these models as modular, weather-resistant polyresin elements with individually applied colouring. They are decorative watercourse components rather than complete fountain kits. Plan the pump, water feed, supporting ground and water containment around your own layout. Buying a section does not include a pond, plants, electrical equipment or an entire stream.
Choose the correct section
| Option | Oase product reference | Finish | Quantity |
|---|---|---|---|
| Staubbach Falls left | 73685 | Grey | One section |
| Staubbach Falls right | 73687 | Grey | One section |
Compare the actual shape of the selected section with your proposed water route before ordering. Left and right are the manufacturer’s model names; the route you see in the garden also depends on where you stand and how you turn the section. Make a simple plan showing the feed point, bends and return to the pond. This is easier than deciding from a colour name alone.
Keep the product references with your order information. The grey models listed here are separate from the slate-brown Staubbach versions. Colour differences matter when you extend an existing feature, and an item with a similar name is not automatically the same moulding or finish. Hand-applied colouring can give individual pieces their own appearance.
Using a section as the start of a stream
Oase identifies a concealed 1¼-inch connection intended to be opened for the water inlet and used with a stepped hose nozzle. Its product information describes both selected models as usable starter sections. Inspect the supplied fittings and instructions before opening the inlet or buying extra connectors. Match the hose to the actual connection supplied with your section.
Position the feed so it remains accessible once the surrounding garden is finished. A connection hidden beneath permanent paving or a heavy rock is difficult to inspect later. Give the hose a route without a sharp kink and leave enough access to check its fixing. Test the feed and the return flow before covering them with decorative material.
Plan the base and the water return
Start with a firm, supported location. Test the section in position and check where water will leave its channel. The lower edge needs to return water into the next section or the pond rather than onto the bank. Run a trial before completing the edging, because a small change in angle can change where the water lands.
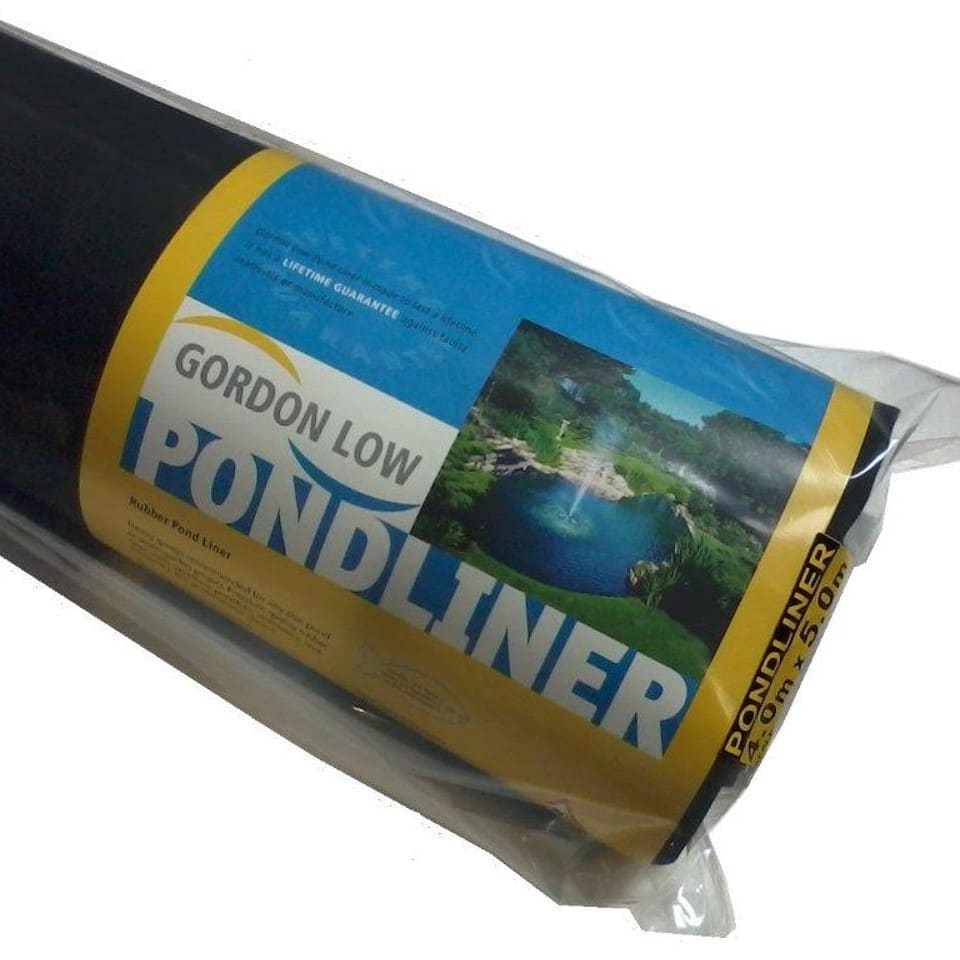
Consider the whole feature as a water-containment arrangement. Edging stones and planting improve its appearance, but they do not seal a gap or stop water escaping beneath an overlap. Where your design needs a liner beneath the stream, choose a suitable product such as Gordon Low EPDM pond liner and plan its termination around the actual shape of the feature.
Select a pump for the finished layout
The pump must move water to the inlet at the height of your proposed watercourse. Its quoted maximum flow is normally measured under different conditions from a raised waterfall with a length of hose. Compare the pump’s performance information with the vertical lift and pipe route in your garden, allowing for the effect of fittings and bends.
Start with an adjustable flow if your chosen pump and installation allow it, then check the result with the feature running. Too much flow can cause splashing and lost water; too little may give a thin or uneven effect. Watch the pond level and every overlap during the test. Choose the practical result you want rather than assuming the largest pump will give the best display.
Compare other watercourse shapes
If your route needs a different change of level, compare the Rockways Aber Falls Step and Aber Falls Drop. For a longer curved feature, look at the Rockways Atlantis curved stream waterfall. Check each product’s shape, finish and dimensions against your space.
These alternatives help you compare layouts; they are not a promise that different ranges fit together as a sealed or mechanically joined system. Lay out the complete route first and check the overlaps in your own design. Leave room for maintenance beside the watercourse as well as for the planting that will eventually grow around it.
Routine checks and seasonal care
Remove fallen leaves and accumulated debris from the channel so they cannot redirect the flow over an edge. Check the hose connection, supports and water return during routine pond maintenance. If the pond is losing water, inspect the running feature for splashing or overflow before assuming that the pond itself has a leak.
Follow the instructions supplied with the watercourse and the separate pump for seasonal shutdown or storage. A weather-resistant decorative section does not make every connected pump or hose suitable for every winter condition. Keep access to the equipment clear, and avoid introducing household cleaning residues into the pond when washing the feature.
Before you order
Confirm your preferred direction and the grey finish, check the chosen model reference, and plan the feed and return path. The option price is for one Staubbach watercourse section. Choose additional sections and equipment according to the layout you are building, and keep the manufacturer’s fitting instructions available when you install the feature.







Reviews
There are no reviews yet.