






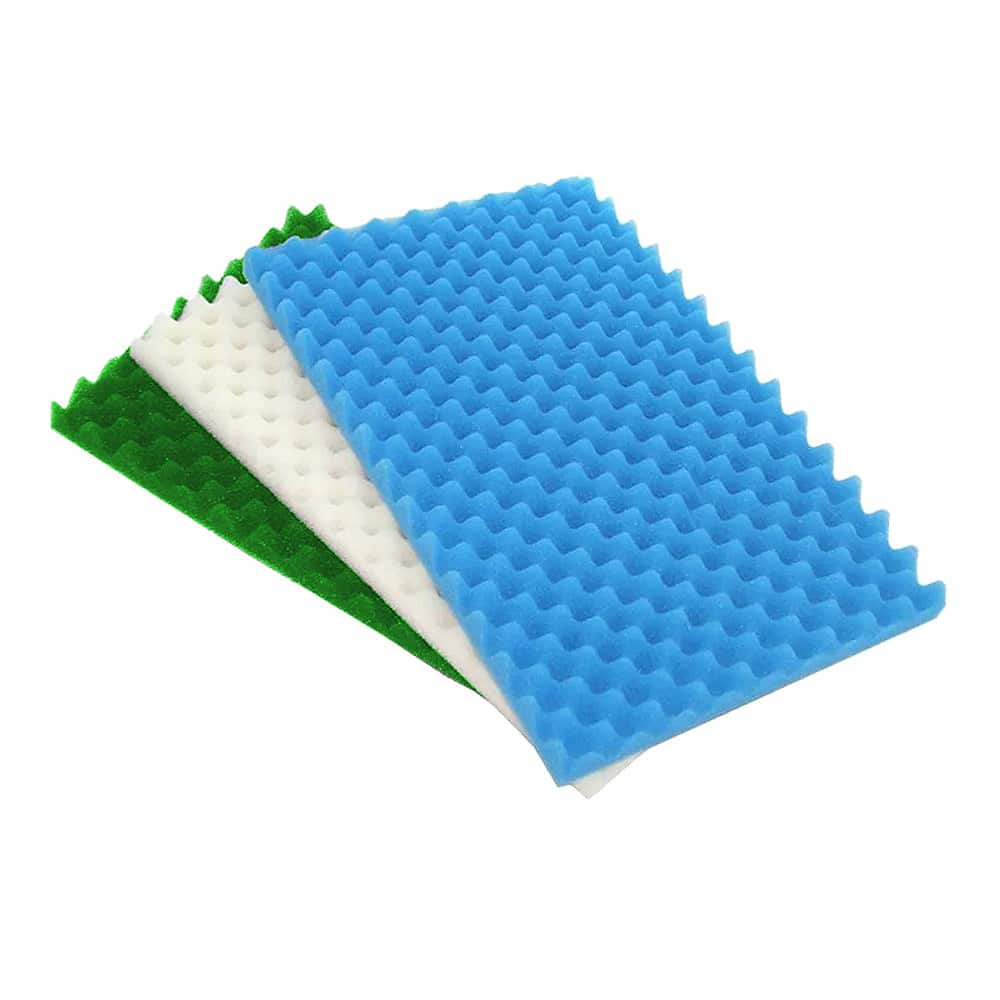
Lotus Green Genie 12000 Replacement Foam Set
| Brand | |
|---|---|
| Compatible model | Green Genie 12000 |
| Part type | Replacement filter foam set |
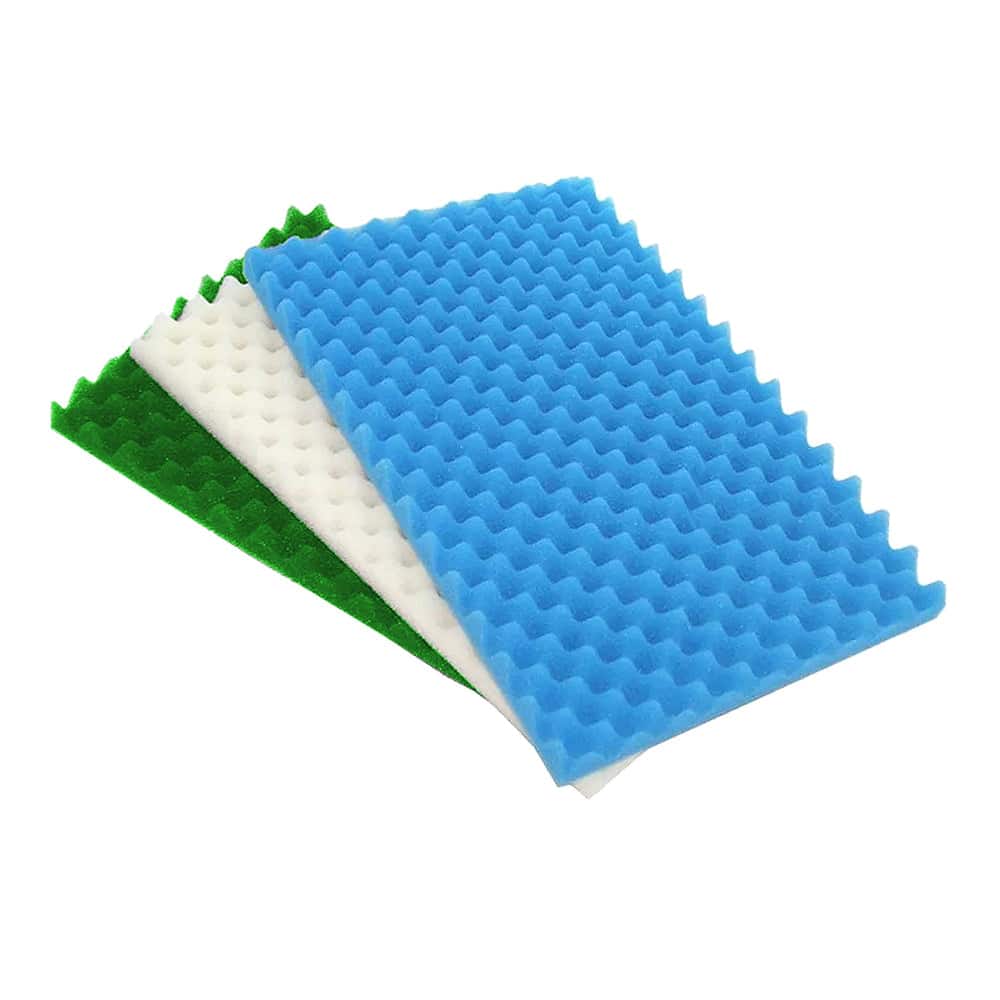
Replacement coarse, medium and fine foam layers for the Lotus Green Genie 12000 pond filter. Match the full filter model before ordering. Foam set only; pump, UV components and filter housing are not included.
£14.99 (inc VAT)
Lotus Green Genie 12000 Replacement Foam Set
This replacement foam set is for the Lotus Green Genie 12000 pond filter. It renews the foam layers used to collect suspended debris as water passes through the filter box. Choose it by the filter model on your equipment, rather than by the volume of your pond: 12000 is the model reference here, not a promise that this pack alone will filter a 12,000 litre pond.
The set contains coarse, medium and fine foam layers. It is a service item for an existing filter, with no pump, UV lamp, quartz sleeve or filter housing included. Our supplier reference is LT435. Check the model label and the arrangement of your current media before ordering, particularly if a previous owner has modified the filter.
Compatibility and what to check
| Filter range | Lotus Green Genie |
|---|---|
| Model | 12000 |
| Item | Replacement foam set |
| Contents | Coarse, medium and fine foam layers |
| Supplier reference | LT435 |
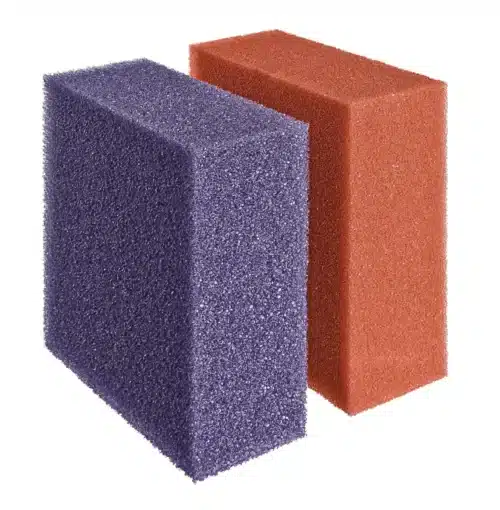
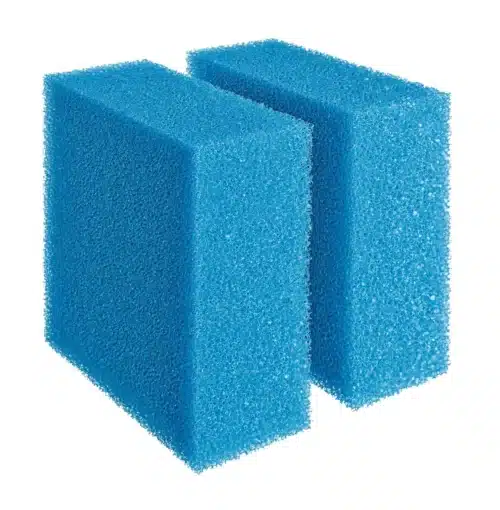
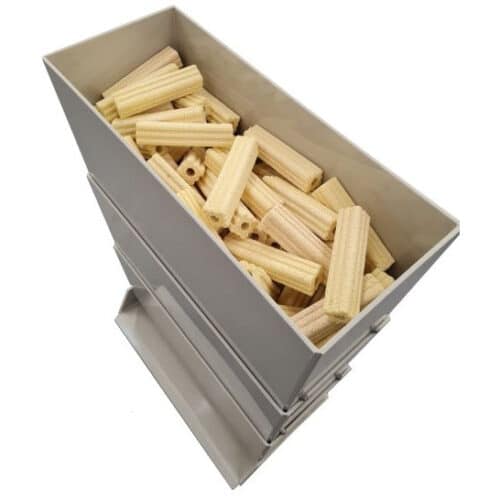
Green Genie, Green 2 Clean and Vor-Tec are different filter ranges. A similar number in their names does not make the foam sets interchangeable. Check the complete range and model name, and compare the shape of the existing sheets with the filter’s intended media layout. Avoid choosing a set solely because its photograph looks similar.
If you have the larger Green Genie 24000, use our separate Green Genie 24000 replacement foam set. For a Vor-Tec filter, see the Lotus Vor-Tec foam options. Those links help you compare the relevant service parts without assuming that one sheet size suits every Lotus filter.
How the foam stage works
The foam layers provide mechanical filtration: water travels through their open structure while particles are retained. Different foam grades allow the filter to collect a range of debris sizes. The sheets need to sit in their intended positions so that water follows the designed route rather than passing around a loose edge or an incorrectly fitted layer.
This physical collection of debris works alongside the other parts of the Green Genie system. Replacing the foams does not replace its biological media, restore a worn UV lamp or repair a damaged filter body. When diagnosing a problem, look at the water route through the complete system instead of expecting one spare part to solve every cause of poor water clarity.
When to replace the foams
Check the sheets during routine servicing for tears, collapsed areas or a loss of shape that prevents them fitting properly. Dirt alone does not always mean replacement is necessary: a sound sheet may only need suitable cleaning. A damaged sheet that leaves a bypass gap, however, cannot do its intended job simply because the rest of its surface still looks usable.
The original Green Genie instructions recommend replacing the foam annually. Use the instructions supplied with your particular filter when planning maintenance, and also consider the physical condition of the media. A heavily loaded pond may require more frequent cleaning; the maintenance needs of another pond are not a reliable timetable for yours.
Before opening the filter
Switch off and isolate the pump and UV equipment as directed in their instructions before carrying out maintenance. Arrange a clean work area beside the filter and note the existing foam order before lifting anything out. A quick photograph of an undisturbed, correctly arranged stack can be helpful when putting the parts back.
Keep screws, clips and any removable fittings together. Do not pull on electrical cables to move equipment or operate an exposed UV lamp while checking the filter. If servicing reveals damaged electrical components, deal with that issue separately before returning the equipment to service.
Fit and restart carefully
Remove the old sheets and inspect the supports and the area around them. Refit the replacement layers in the arrangement specified for the Green Genie 12000. Check that they sit flat and that the intended inlet, outlet and overflow routes remain clear. Do not add extra layers simply to fill space unless the filter instructions call for them.
Once the unit is correctly reassembled, restore operation following its manual and observe the water flow. Check the return to the pond, the level within the filter and any connections disturbed during the work. Keep an eye on the system over the next few days; fitting new media is a useful opportunity to notice a restricted hose or an uneven flow from the inlet.
Protect the established filter and monitor the water
Plan foam replacement alongside other maintenance so that you do not unnecessarily strip out all established media at once. Keep suitable biological media in service where the filter design permits, and avoid cleaning pond media with household detergents. Follow the filter’s cleaning guidance and keep the service work focused on what actually needs attention.
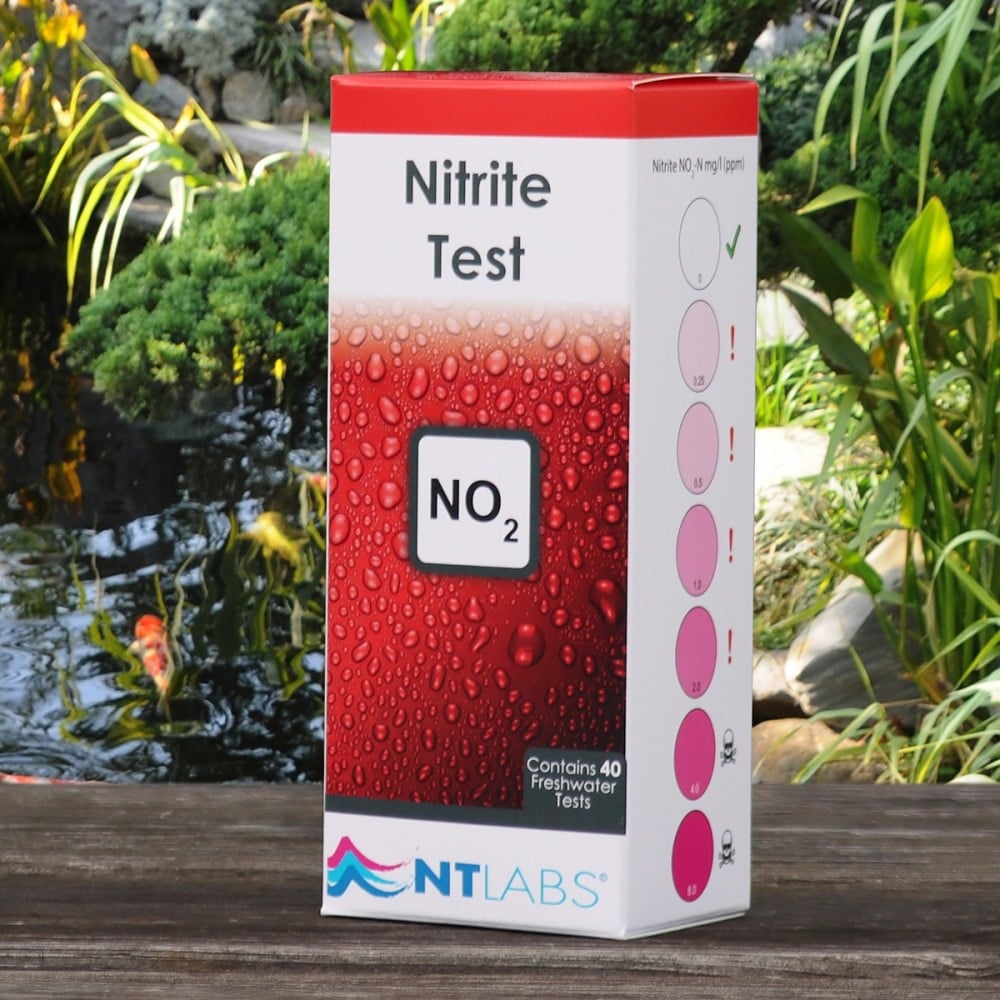
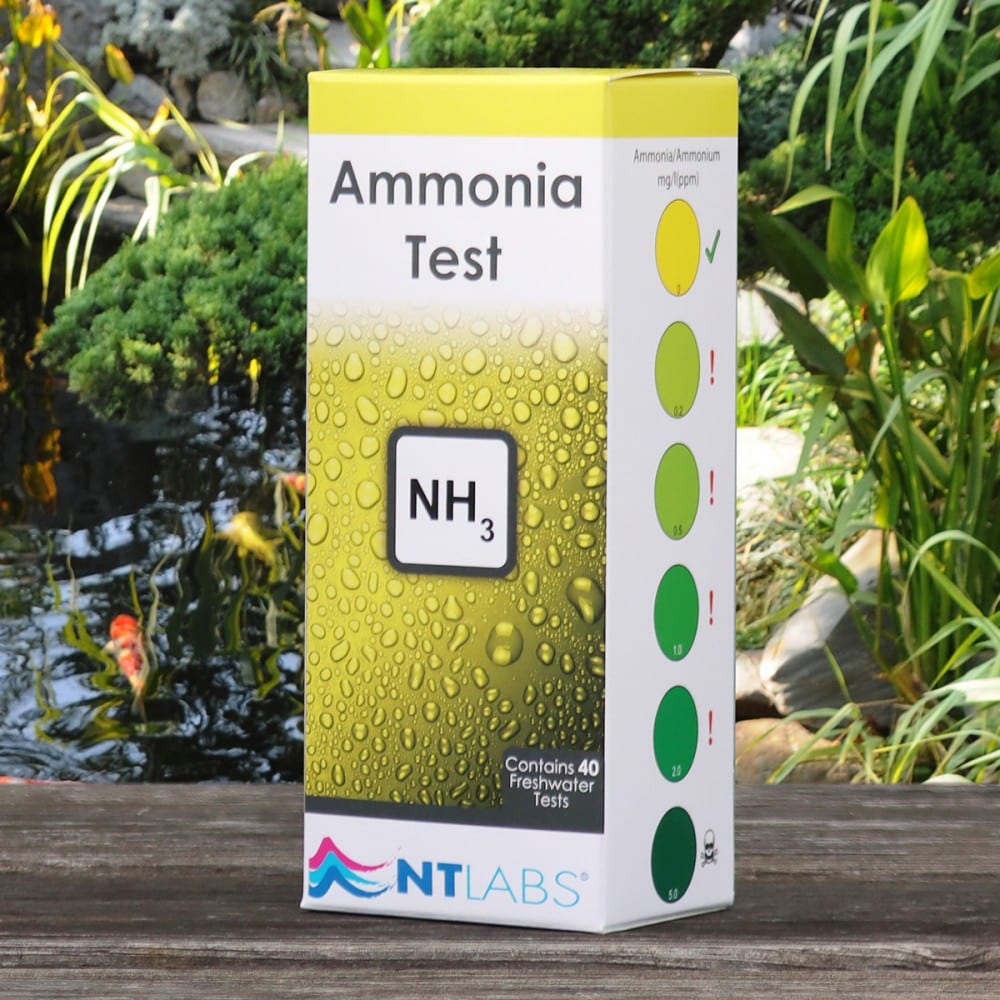
After significant filter changes, water tests provide more useful information than appearance alone. Our NT Labs pond ammonia test kit and pond nitrite test kit help monitor the system while it settles. Keep a record of results and feeding so that changes can be spotted early and investigated in context.








Reviews
There are no reviews yet.