






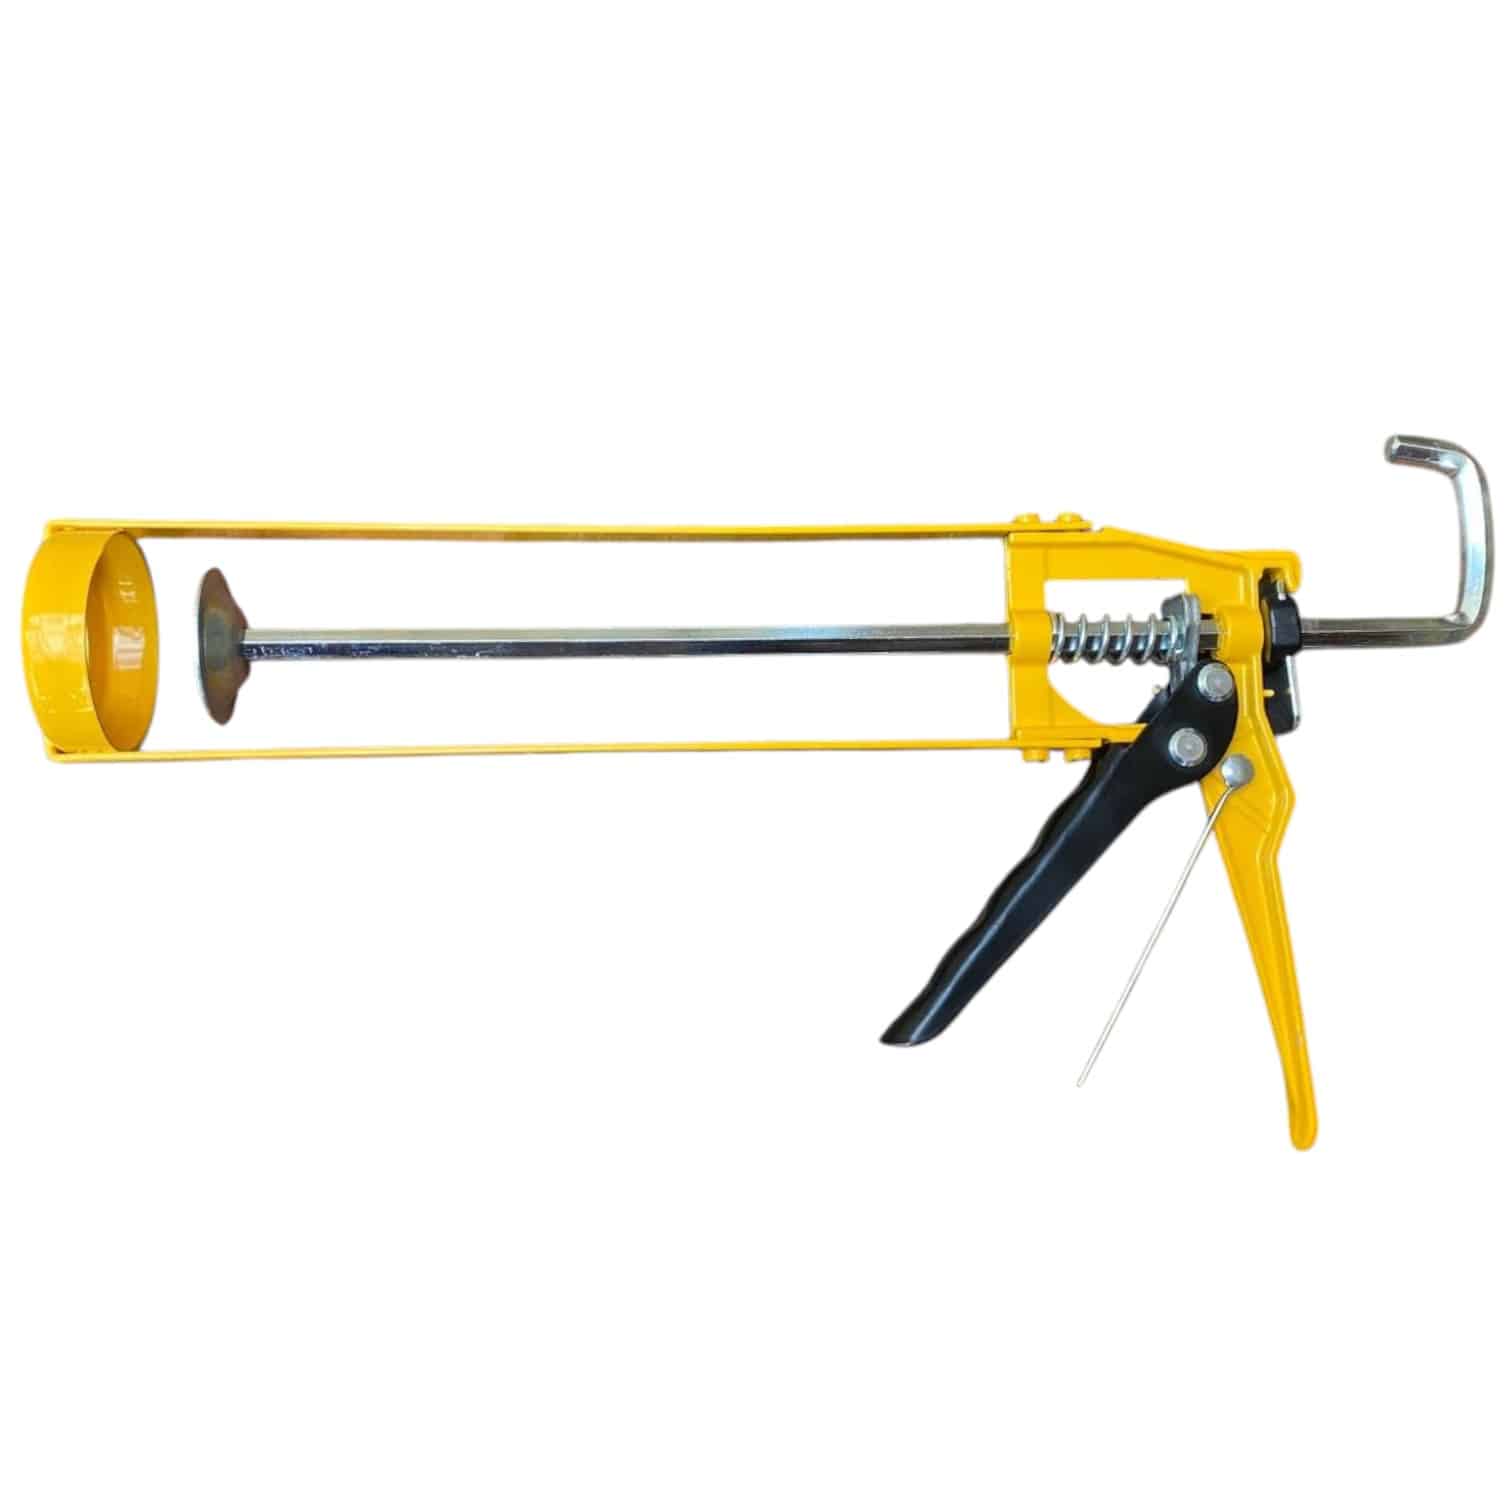
Kockney Koi Silicone Caulking Application Gun
A manual applicator for 310ml silicone and caulking cartridges
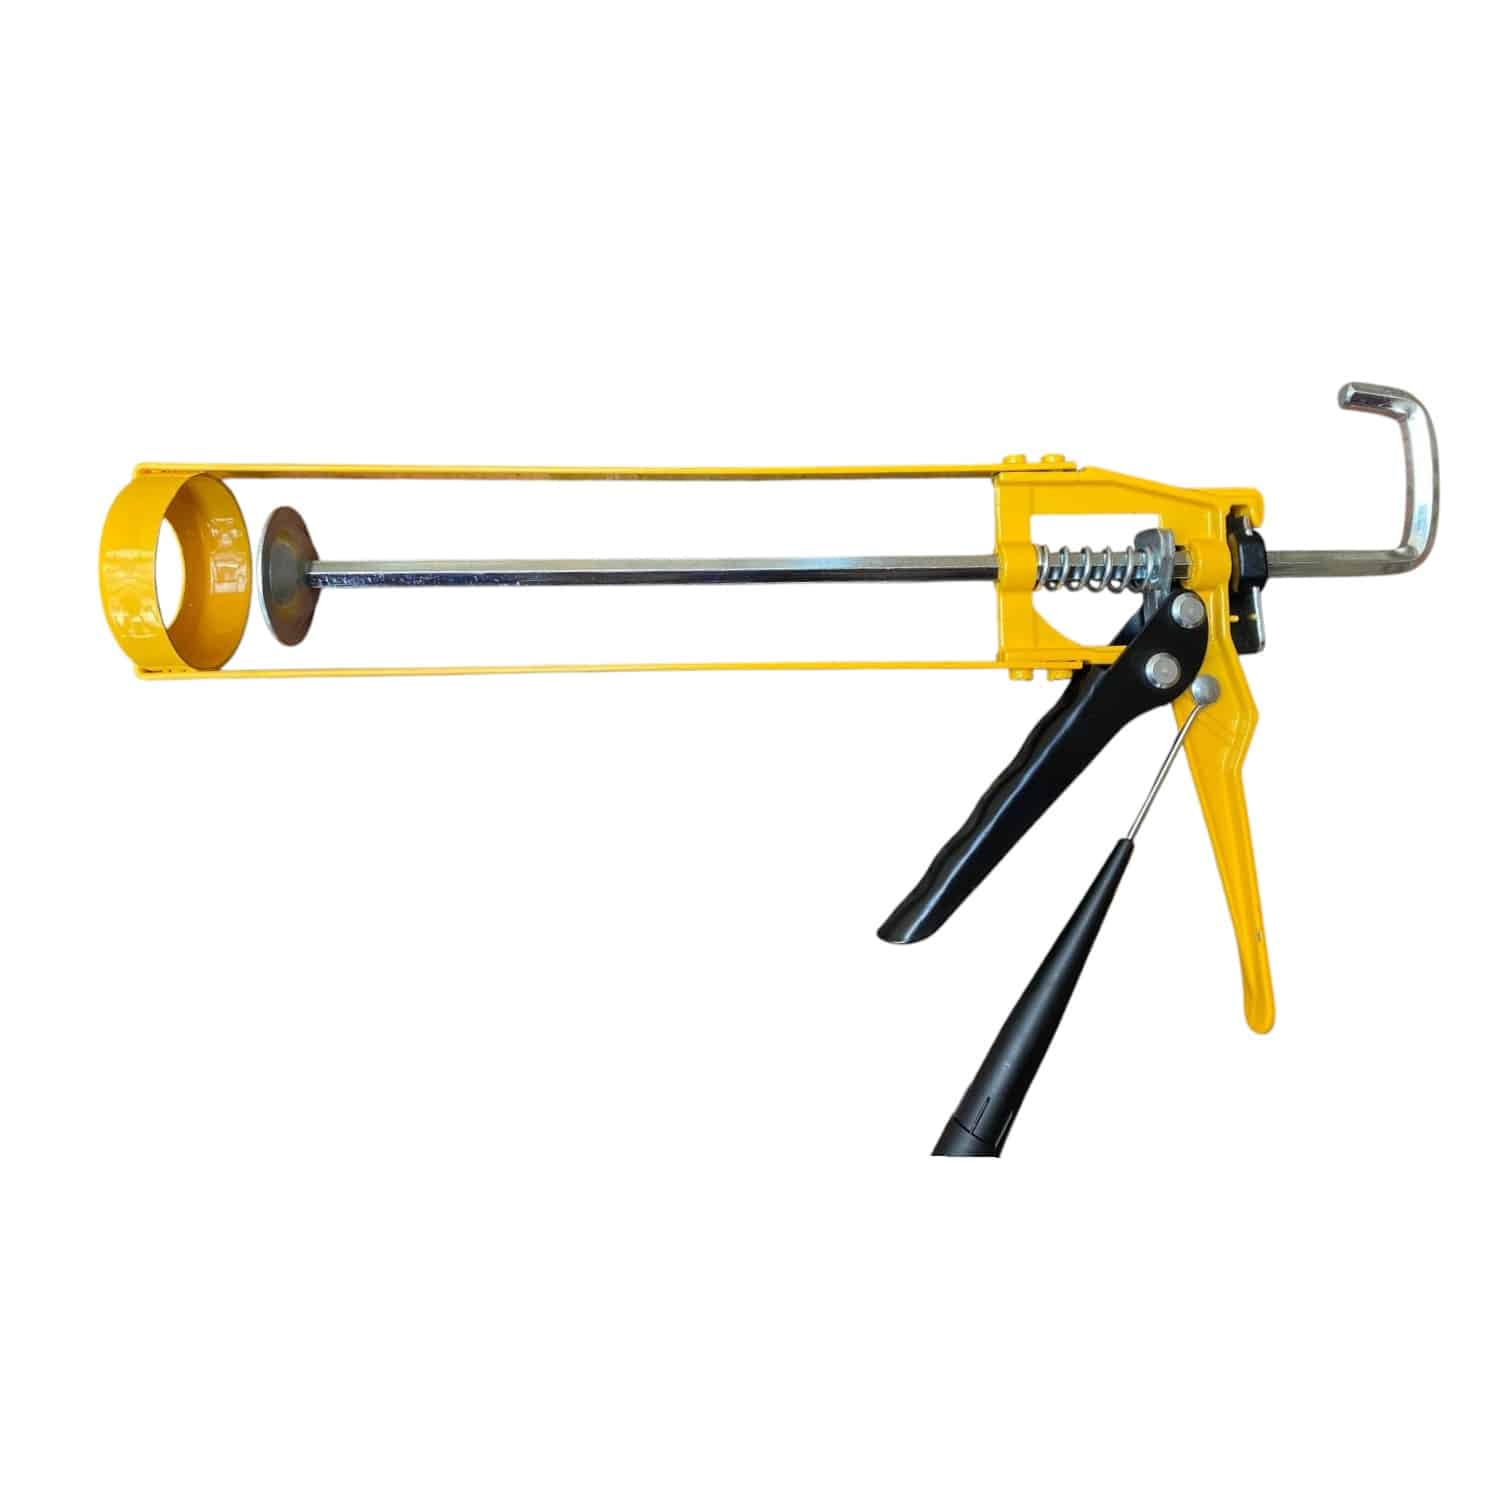
The Kockney Koi Silicone Caulking Application Gun holds a compatible 310ml cartridge and uses a hand-operated trigger to push its contents through the nozzle. It is a useful addition to your pond-building tools when you need to apply cartridge sealant accurately around a suitable joint, fitting or repair. The open frame leaves the cartridge visible, while the rear plunger supplies the pressure needed to dispense the material.
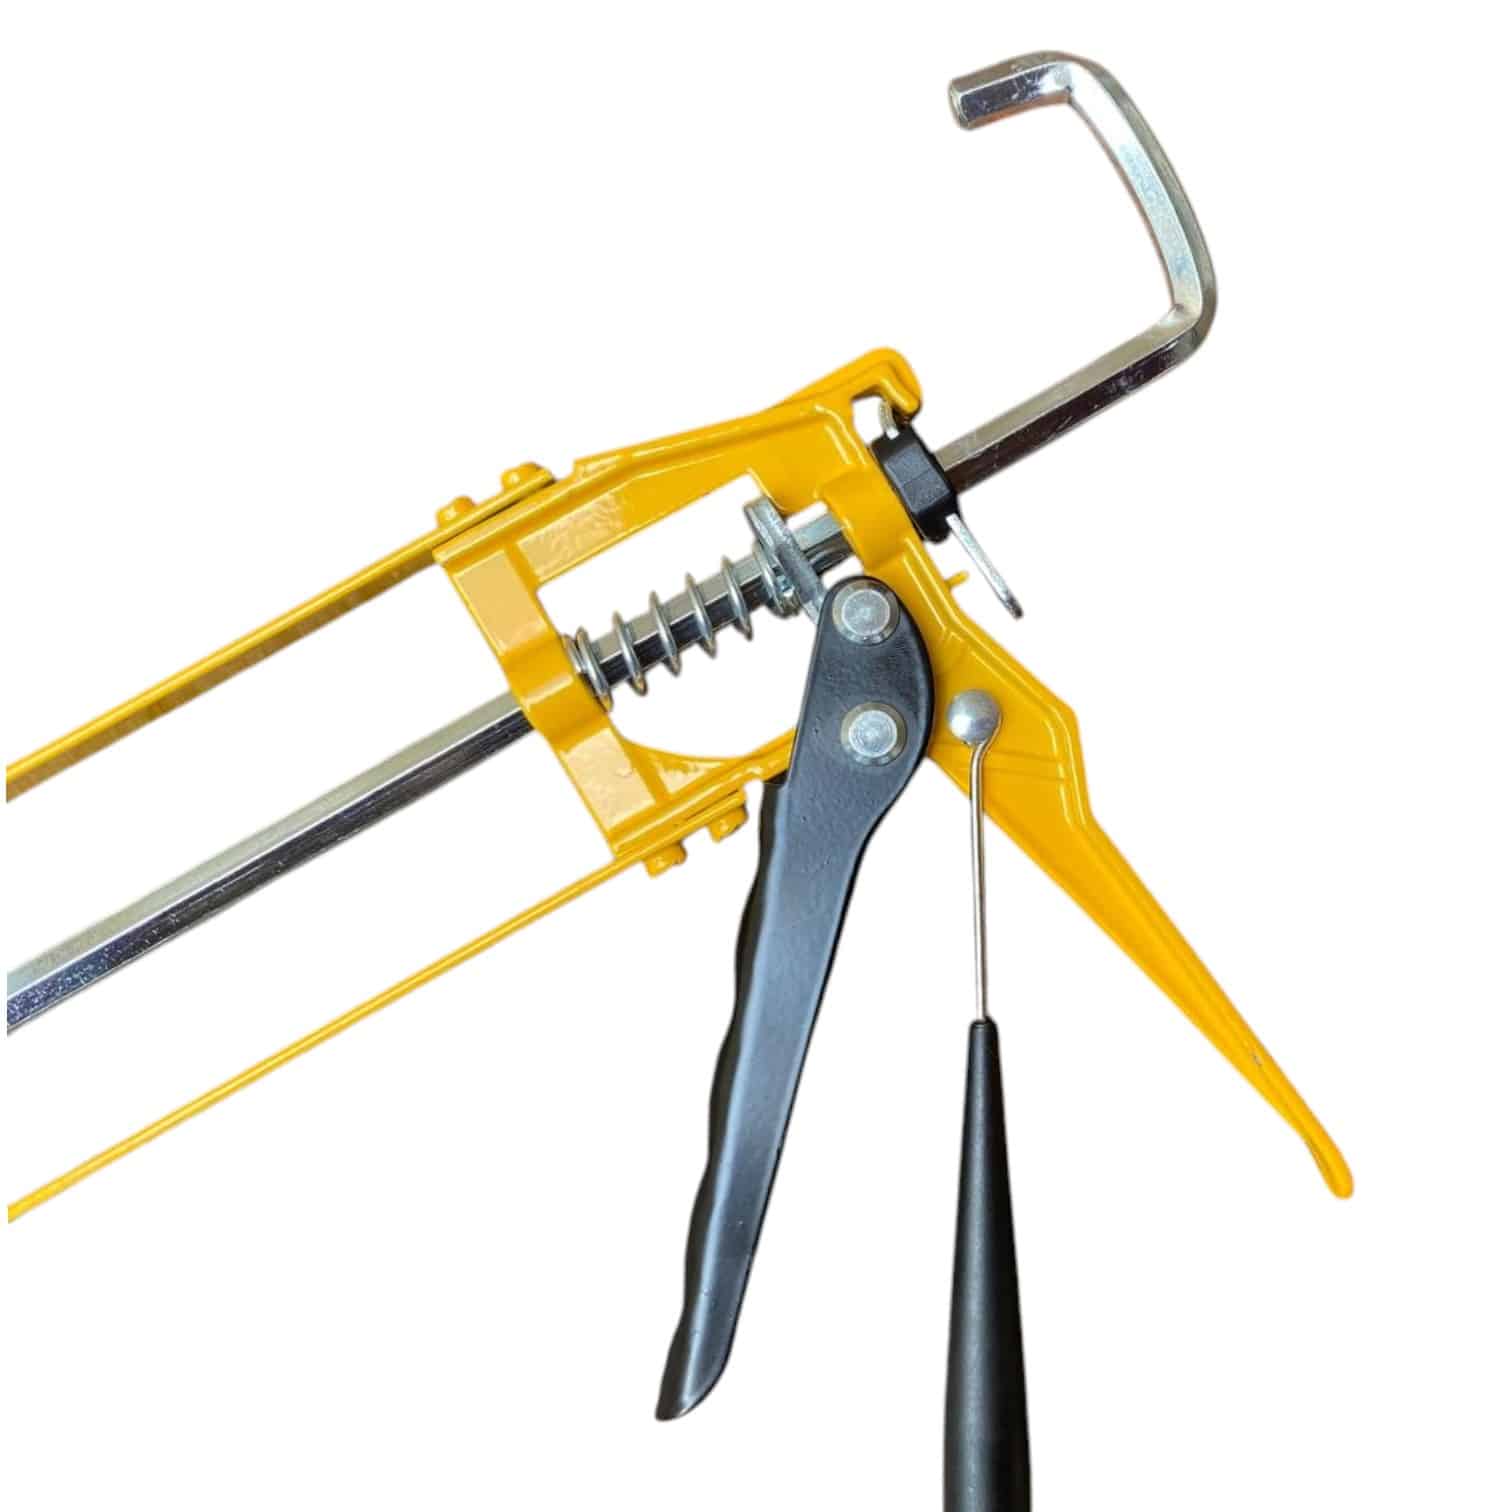
Kockney Koi specifies this applicator for 310ml silicone or caulking tubes. A built-in nozzle-clearing piece folds back against the handle when it is not needed. This keeps the small clearing tool with the gun, ready for the next job, instead of relying on a separate loose item. The gun is supplied without a cartridge: choose the sealant separately for the materials and conditions of your project.
Check the cartridge and the job before starting
Cartridge capacity is an important starting point, but also check the cartridge shape and nozzle arrangement before loading. This product is a manual gun for a rigid cartridge, so a squeezable tube or a product with its own applicator may need a different approach. Keep the cartridge label visible and retain its instructions throughout the job.
The applicator controls how you dispense a product; the sealant determines where and how the resulting joint can be used. For a pond repair, check the chosen sealant’s suitability for the surfaces, water exposure and any fish or plants present. Do not assume an ordinary household silicone is suitable for pond or aquarium work simply because it fits the gun.
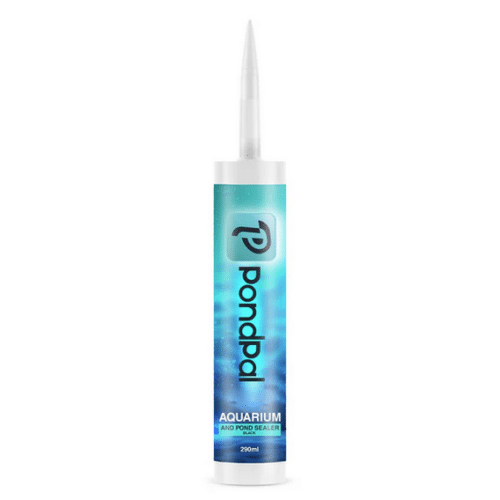
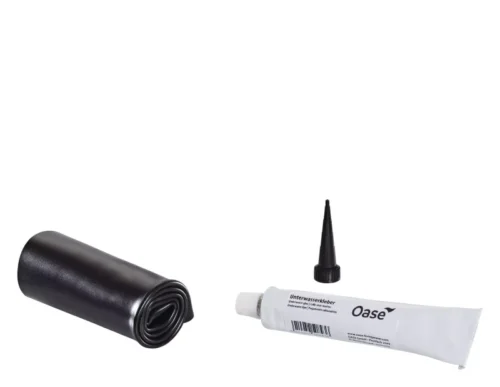
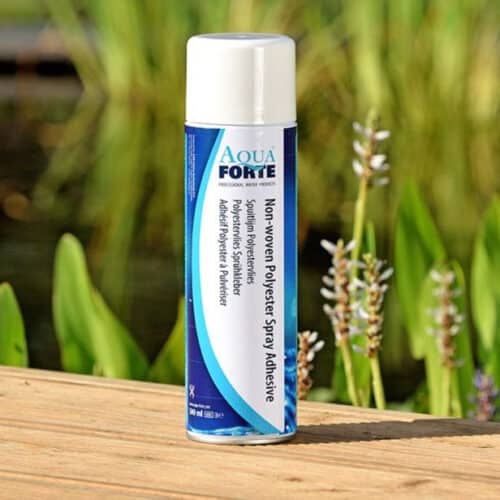
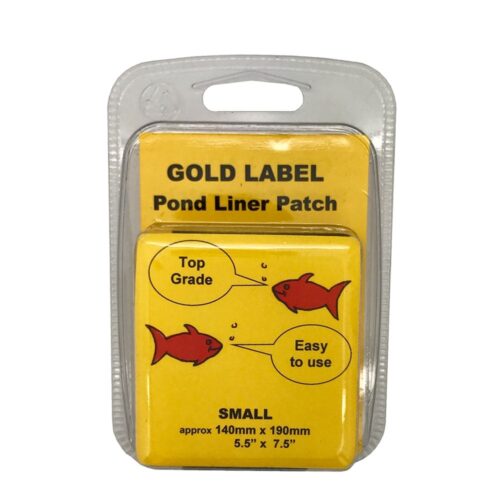
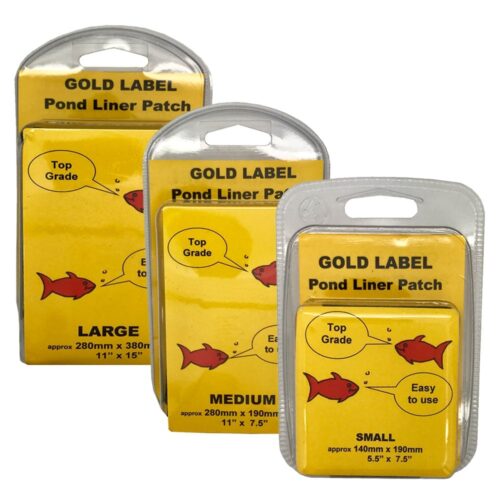
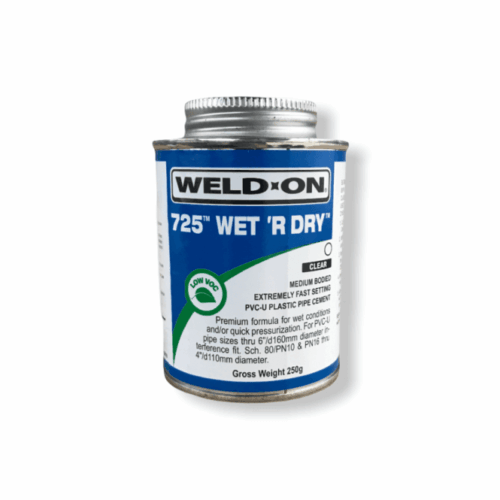
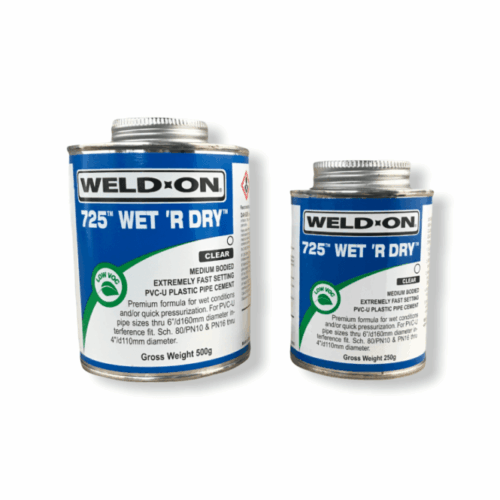
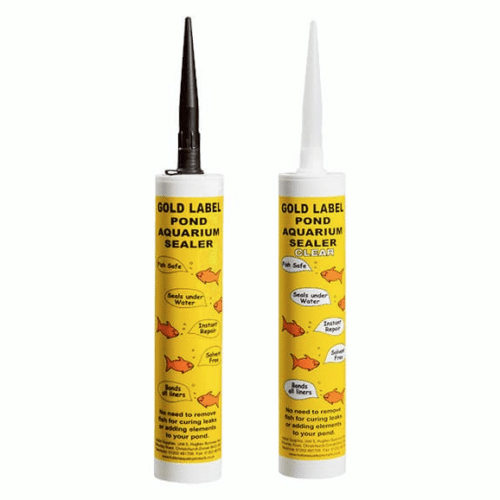
Browse our pond glues, sealants and solvents to compare the available products. Check each product’s cartridge or pack format as well as its intended use. Some are adhesives, some are sealing products and others are intended for specific pipe-jointing methods; they are not interchangeable for every repair.
Prepare the cartridge and working area
Have the necessary cleaning materials, suitable protective equipment and a place to put the gun down before opening the cartridge. Prepare the surfaces exactly as the sealant manufacturer directs. Dirt, loose material or an unsuitable surface condition can undermine a joint even when the bead itself looks neat.
Follow the cartridge instructions when opening its seal and preparing the nozzle. Select a nozzle opening that suits the intended bead, starting cautiously where the instructions permit. A large opening releases material quickly and can make a small joint harder to control. Keep sharp cutting tools away from your supporting hand and protect the surrounding pond liner or finished surfaces.
Release the gun’s plunger and draw it back far enough to seat the cartridge securely. Fit the cartridge into the frame with the nozzle facing forward, then bring the plunger into contact with its rear piston. Check that the cartridge sits squarely before applying pressure. An incorrectly seated cartridge should be repositioned rather than forced with the trigger.
Apply a controlled bead
Practise dispensing a small amount onto suitable waste material if you are unfamiliar with the cartridge or gun. This gives you a feel for the trigger pressure, material consistency and nozzle opening before working on the visible joint. Keep the nozzle directed towards the work and move steadily along the intended line.
Match your movement to the amount of material leaving the nozzle. Follow the sealant manufacturer’s requirements for bead thickness, coverage, tooling and joint assembly. A neat-looking surface is not a substitute for the specified amount of material beneath it, especially where the joint is intended to accommodate movement or bridge an uneven surface.
When pausing, use the release mechanism to take pressure off the cartridge as appropriate, and put the gun where any remaining material cannot drip into the pond or onto a finished surface. Do not leave it balanced on an edge. Keep the nozzle clean enough to see the bead clearly as you continue.
Use the folding nozzle-clearing piece
The attached clearing piece is designed to help with nozzle blockages and folds against the handle for storage. Release pressure before attending to an obstructed nozzle, and follow the cartridge manufacturer’s instructions for clearing or replacing it. Keep the tool directed away from your hands and eyes. If the material has cured, forcing the trigger harder is not a sensible way to restore flow.
Return the clearing piece to its folded position after use. Before putting the gun away, remove excess material using a method compatible with both the tool and the sealant. Keep the moving parts clear of deposits and store the applicator somewhere dry and accessible for its next use.
Finish the repair according to the sealant instructions
Observe the specified curing time and any limits on filling, water exposure or placing the joint under load. These requirements belong to the sealant and the particular application, not to the gun. Our Gold Label Underwater Pond Sealer page explains that product’s available formats and uses; check the selected pack and fitting requirements before combining products.
For liner work, also compare our pond liners and underlay. Choose a repair method appropriate to the existing liner material and the damage involved. Keeping the applicator, cartridge instructions and suitable preparation tools together makes future maintenance easier to organise.

Reviews
There are no reviews yet.