






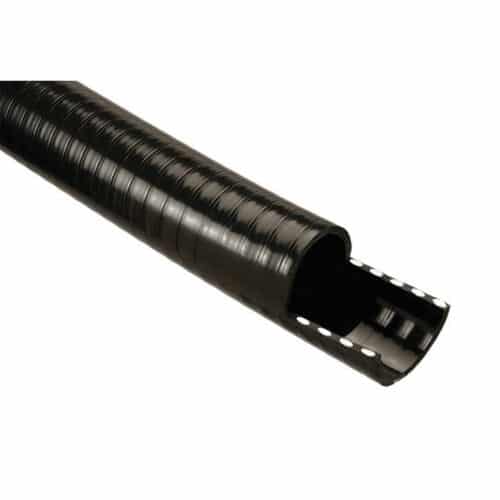
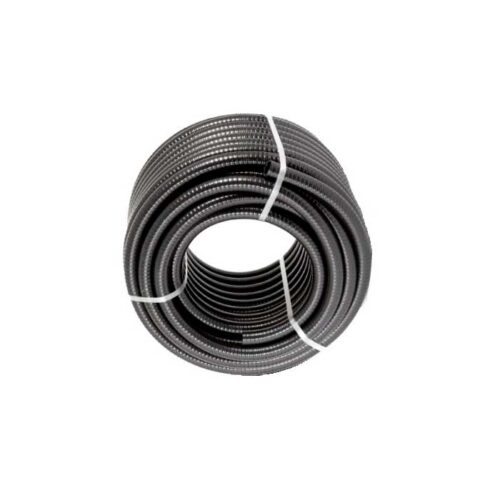
Pond Suction Hose — 30 Metre Rolls
| Product type | Suction hose |
|---|---|
| Roll length | 30 metres |
| Size basis | Internal diameter |
| Option | 1/2 inch internal diameter, 3/4 inch internal diameter |
These pond suction-hose options are supplied as 30 metre rolls with a half-inch or three-quarter-inch internal diameter. They provide a choice of bore for an appropriate suction-side water route, subject to the pump and hose installation requirements.
Price range: £91.35 through £103.30 (inc VAT)
Pond Suction Hose — 30 Metre Rolls
These pond suction-hose options are supplied as 30 metre rolls with a half-inch or three-quarter-inch internal diameter. They provide a choice of bore for an appropriate suction-side water route, subject to the pump and hose installation requirements.
Suction-side routing needs particular care because the pump must draw water through the complete inlet arrangement. An air leak can affect that operation even if a joint does not visibly drip when the equipment is stopped. Check the pump manual, inlet fitting and any priming requirements before planning the route.
Choose the complete roll
| Selected hose size | Roll length |
|---|---|
| 1/2 inch internal diameter | 30 metres |
| 3/4 inch internal diameter | 30 metres |
Choose one size for each roll added to your basket. This listing supplies the hose; pumps, valves, hose tails, clips and other fittings are separate. Buying a full roll gives you material for a planned installation and spare lengths for later changes, but each connection still needs to match the equipment you are using.
Match the hose to the water route
Start with the pump, filter or feature instructions and identify the connection that is actually fitted to the equipment. A nominal hose size is not the same measurement as a BSP thread or a rigid pipe socket. Check whether the equipment needs a hose tail, a union or another adaptor before ordering the components for the route.
Where a connection uses a hose tail, match the hose bore to the relevant part of that tail. A retaining clip secures a suitable joint; it does not correct an incompatible diameter. If an adaptor has several steps, follow its instructions for the required hose size and any trimming, keeping the intended retaining area intact.
Check both size and construction
Similar nominal sizes do not mean that every hose has the same wall thickness, outside profile or installation limits. Measure an existing sound hose if you are replacing a section and compare the assembled joint before choosing a clip. For work requiring a specified working pressure, temperature or bending radius, use a hose documented for those conditions.
These options are identified by the stated size and complete roll length. They should not be selected as a guaranteed substitute for an industrial hose, a drinking-water pipe or a branded assembly with a different specification. The equipment instructions remain the starting point for deciding whether the proposed route is appropriate.
Plan the length before cutting
Measure the actual route, including the turns, vertical sections and the length needed to reach each connection comfortably. Leave enough access to remove a pump or service a filter without pulling hard on the hose. A straight-line distance across the garden rarely represents the complete installed run.
Avoid unnecessary detours and tight turns. The pump has to move water through the complete route, and its delivered flow depends on more than the outlet size: the lift, total hose length and connected equipment all matter. Compare your proposed layout with the pump’s flow information rather than assuming that a longer hose will deliver the same result as a short one.
Keep servicing practical
Place connections where they can be inspected and reached with the system safely isolated. Think about how water will be drained from the affected section during a repair. Where the equipment needs removable connections or an isolation arrangement, plan those before the hose is cut into its final lengths.
Support the route so that it does not hang from a fragile fitting or rub continuously against a sharp edge. Keep the hose clear of moving parts and positions where it can be crushed. Follow its supplied installation information before burying it, covering it permanently or exposing it to conditions beyond the intended application.
Prepare and fit the connections
Switch off and safely isolate the equipment before changing an existing water route. Drain the relevant section, check the hose tail for damage and make sure the end of the replacement hose is clean. Use a suitable tool to make a neat cut, keeping loose cuttings out of the water circuit.
Seat the matching hose fully into its intended position and secure it using the connection method specified for that fitting. Keep a retaining clip square to the joint and accessible for inspection. Tighten sufficiently to retain the hose without cutting the wall or crushing a plastic tail; do not apply a guessed torque to components of unknown construction.
Test the finished route
Refill and restart the equipment as its manual describes. Check the whole route for leaks, movement and restricted bends, then confirm that the flow reaching the filter or feature is suitable. A connection that looks dry while the pump is stopped still needs checking under normal operation.
Include the new hose and joints in routine maintenance. Inspect them after moving the equipment or changing the layout, and replace damaged sections rather than repeatedly tightening a joint around a split hose. Keep unused hose clean and labelled so that its size remains easy to identify.
Complete the installation
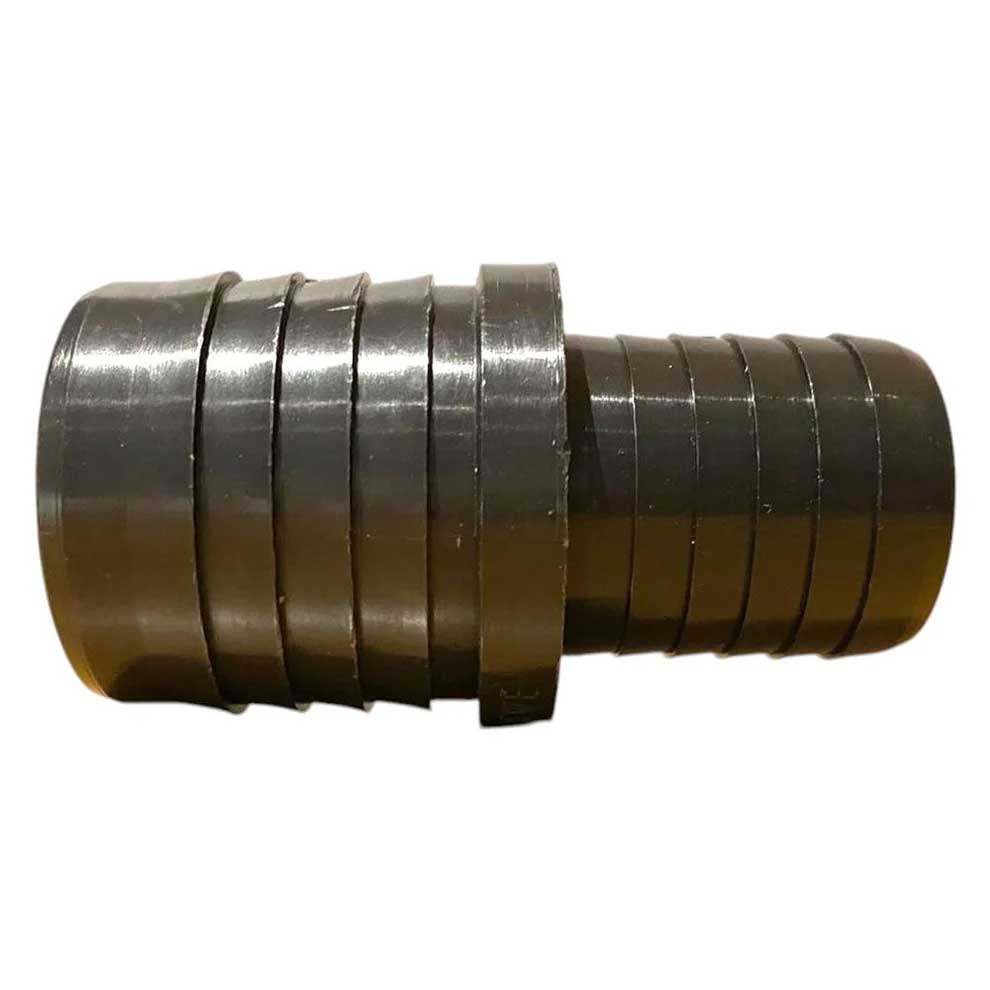
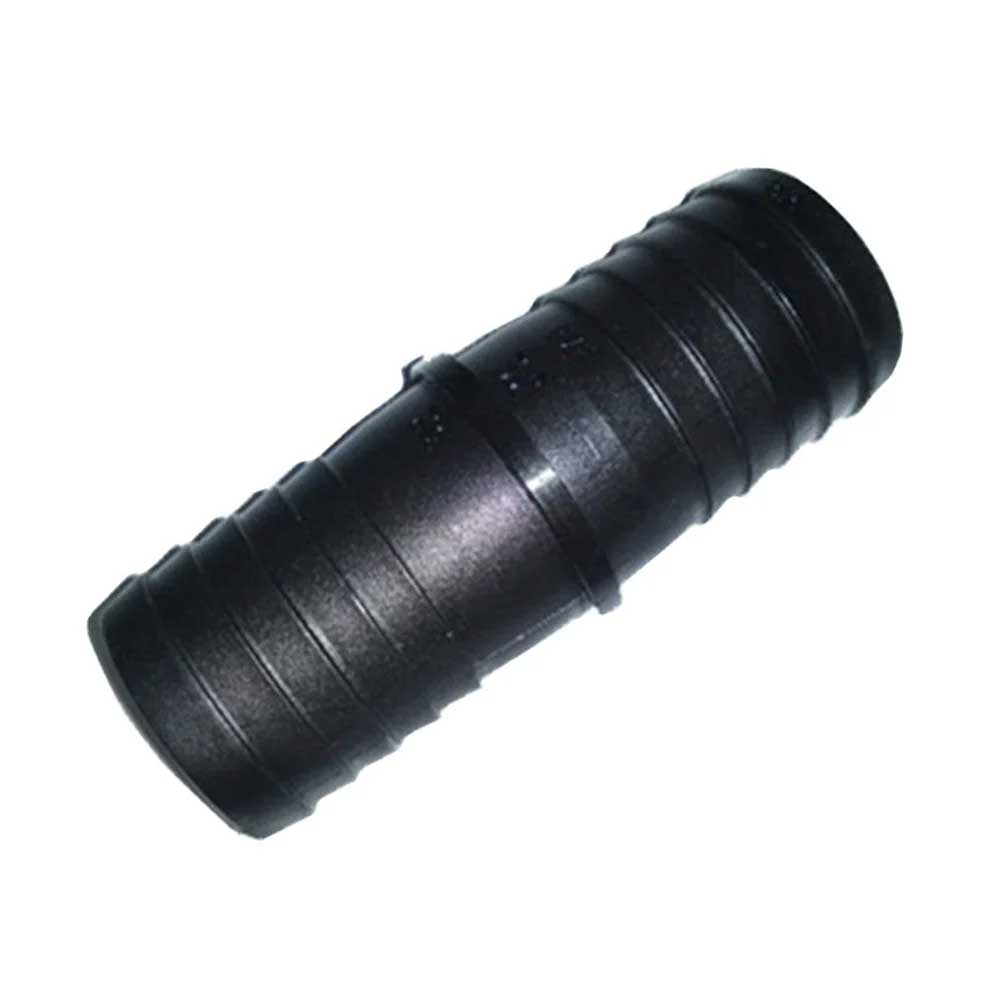
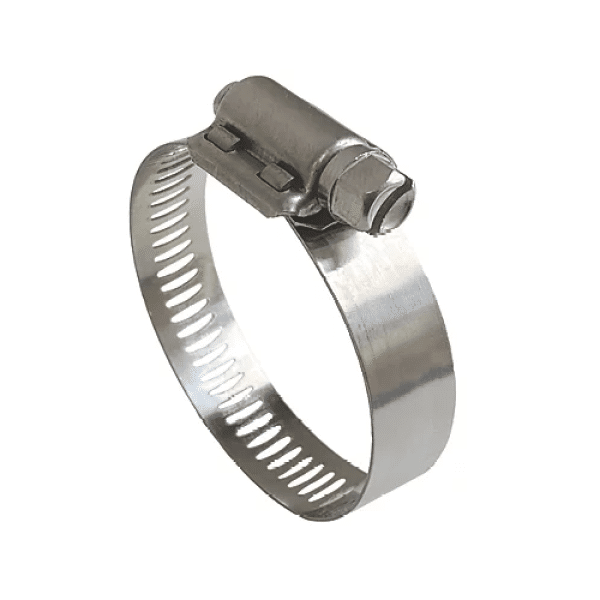
For compatible connecting parts, compare our barbed hose joiners, barbed hose reducers and stainless steel hose clips. Choose their actual sizes to suit the complete joint. For a different flexible-water route, browse the available pond hose options and select the construction intended for that installation.


Reviews
There are no reviews yet.