






Clear Hose – 30 Metre Rolls
| Roll length | 30 metres |
|---|---|
| Colour | Clear |
| Internal bore | 3/8 inch, 1/2 inch, 1 inch |
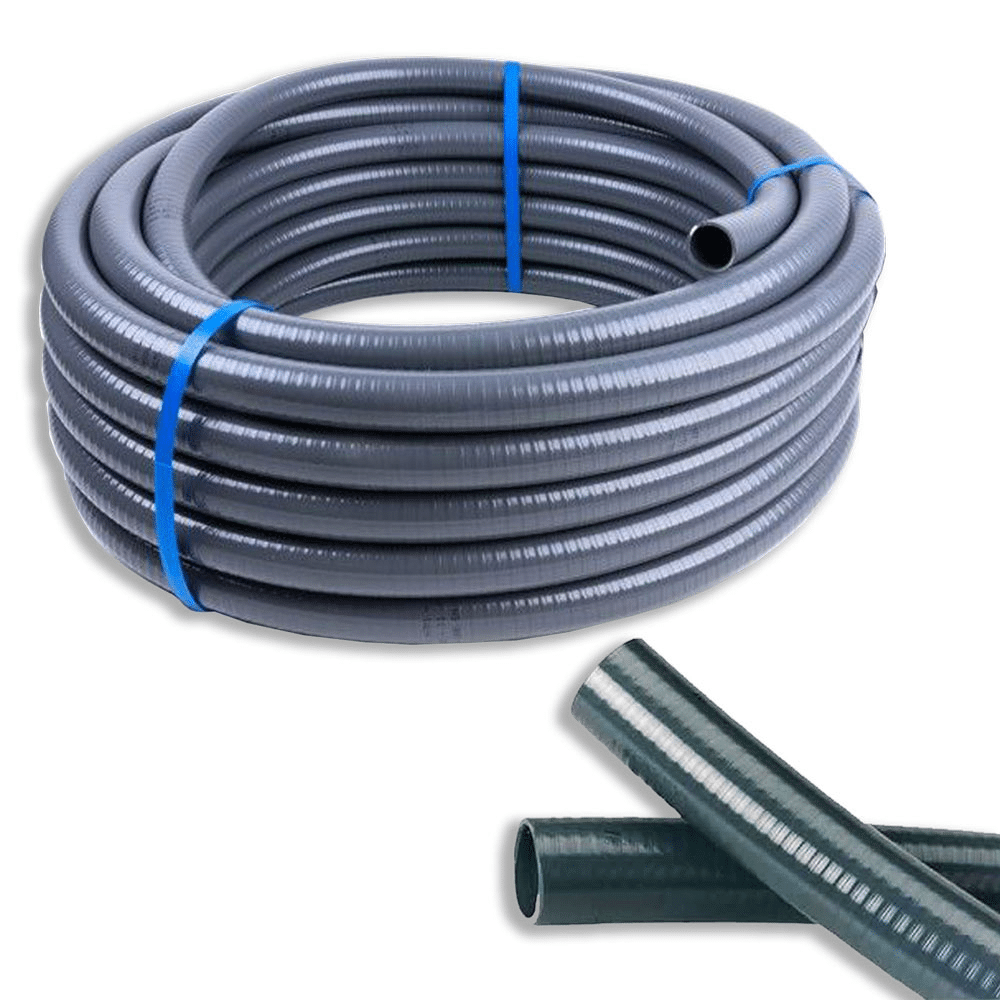
Clear hose supplied in 30-metre rolls. Choose a 3/8-inch, 1/2-inch or 1-inch internal bore and match the hose tails to your selected size. Fittings and clips are selected separately.
Price range: £17.36 through £85.03 (inc VAT)
Clear hose in 30-metre rolls
These clear hose rolls provide a full 30-metre length in a choice of three internal bores: 3/8 inch, 1/2 inch or 1 inch. Choose the bore that matches the hose connections on your equipment. The measurement describes the opening through the hose, not its outside diameter and not a BSP thread size. A full roll is useful when you need several runs from one supply, want to keep replacement lengths available, or are planning a longer installation.
The transparent finish makes the water path visible. That can help when checking whether a line is full of water, spotting accumulated deposits or looking for air pockets. It does not replace checking that the hose meets your system’s working conditions. Match the hose to the actual duty, including the pressure or suction requirement and temperature, rather than selecting it from its appearance alone.
Choose the correct internal bore
| Option | Nominal internal bore | Supplied length |
|---|---|---|
| 3/8 inch | Approximately 9.5mm | 30 metres |
| 1/2 inch | Approximately 12.7mm | 30 metres |
| 1 inch | Approximately 25.4mm | 30 metres |
The metric figures are conversions of the catalogue’s nominal inch sizes, rather than separate metric product options. Check the connection requirements and measure the bore of the hose you are replacing. Measuring across the outside wall can give a different number. If the old hose has become stretched around a hose tail, measure an undistorted section rather than the expanded end.
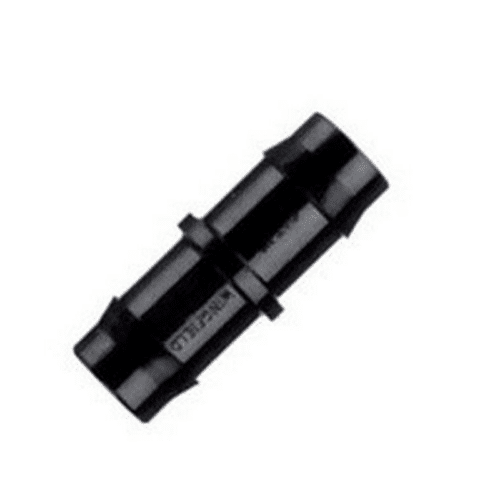
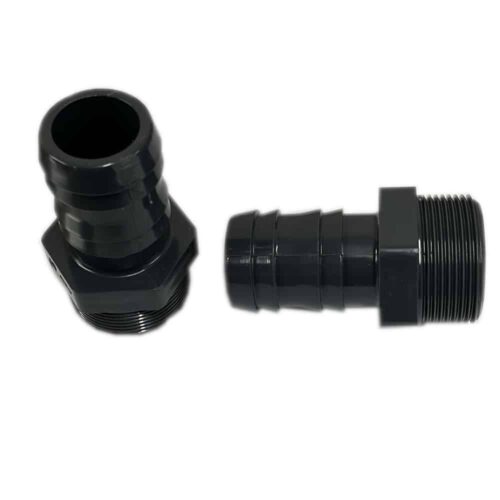
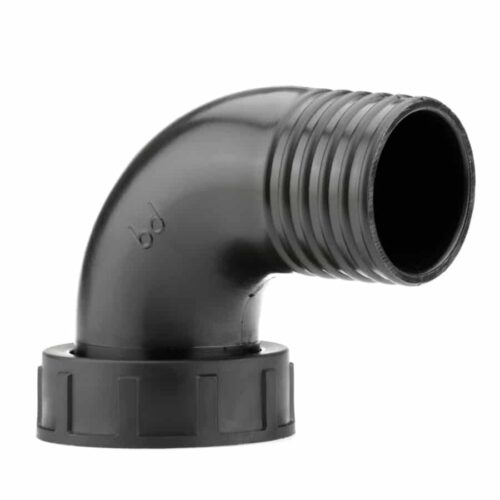
A BSP size describes a threaded connection. A hose-tail size describes the hose connection beyond that thread. These are different parts of the fitting and need to be considered separately. A fitting described as 1-inch BSP does not automatically take a 1-inch hose. Choose a connector with the correct thread for the equipment and the correct hose tail for your selected bore.
Plan the route before cutting
Measure the complete proposed route, including bends, the height difference between connection points and enough accessible hose to service the equipment. A straight-line measurement between two ends can underestimate the length required once the hose follows its real route. Keep a note of the lengths needed for each section before cutting a full roll into shorter pieces.
Allow a gradual curve where the hose changes direction. A sharp fold can restrict the opening and make the line harder to inspect or clean. Support longer runs so the hose is not hanging from a small equipment connector. Keep it clear of sharp edges, avoid crushing it under a lid or door, and leave joints where they can be inspected during routine maintenance.
Before deciding on a long small-bore run, check the equipment’s recommended connection size and hose layout. A narrower opening, extra fittings and additional length all affect water resistance. Changing to a smaller bore simply because it is easier to route can reduce the performance of a water circuit. Use the specified connection size and suitable fittings throughout the route.
Fit and secure the connections
Switch off the relevant equipment, isolate the water route and drain the section before removing an existing hose. Water may remain in a line after the pump has stopped. Keep electrical equipment and plugs clear of the area being drained. Examine the connection points for damage or trapped debris before fitting the replacement.
Cut the required length squarely with an appropriate cutting tool. Avoid a ragged end or a cut that leaves the hose sitting at an angle on its fitting. Push it onto a correctly sized hose tail to the required insertion depth. Do not stretch an undersized hose onto a much larger connection or use a clamp to make an oversized hose fit a small barb.
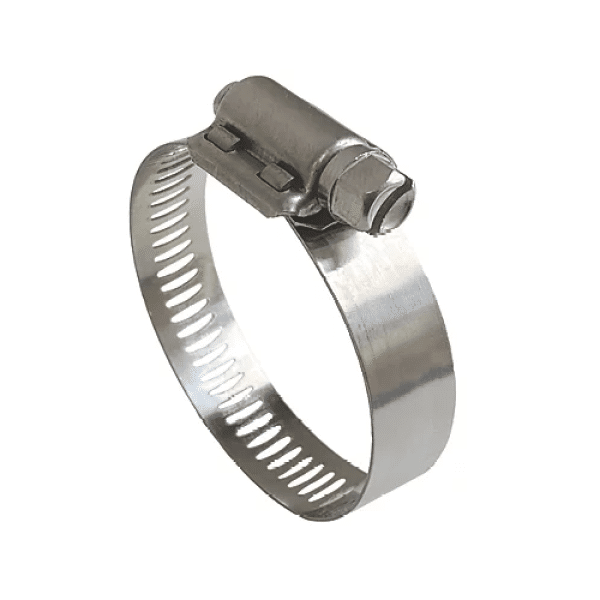
Choose clips for the hose’s outside diameter once it is fitted, not just for the nominal internal bore. Position the clip over the supported connection area and tighten it appropriately for the hose and fitting. Excessive tightening can distort a soft hose or damage a connector. Our stainless steel hose clips provide a range of sizes; select the size that suits the completed joint.
Check the completed line
Restore the water supply and run the equipment according to its instructions. Inspect every connection for leaks and look along the hose for flattened sections, trapped air or a bend that closes when the circuit operates. Check that the installation has not introduced a restriction or left an unsupported section pulling on a connector.
A clear line makes some changes easier to see, but it still needs regular attention. Inspect the hose and joints during your normal equipment checks. Investigate persistent air pockets, new deposits, cracks or loss of flexibility rather than repeatedly tightening the same joint. Drain and clean the line using a method compatible with both the hose and the connected equipment.
Compare the connection systems
Choose this product when the specified clear hose bore and duty suit the connection you need. For a different construction and connection arrangement, compare our flexible heavy-duty imperial solvent-weld hose. It uses a different fitting system, so it should not be substituted solely because an option has a similar nominal inch size. Confirm the full connection arrangement before ordering parts for a new circuit.
Each selected option is a 30-metre roll of hose. Connections and clips are chosen separately to suit the installation. Select the bore from the options above and plan your fittings at the same time so the complete water route uses matching components.





Reviews
There are no reviews yet.