






Worm-Drive Pond Hose Clips — Packs of 10
| Clip type | Worm drive |
|---|---|
| Pack quantity | 10 clips of one selected size |
| Option | 3/8–1/2 inch nominal clip size — 10 clips, 5/8–3/4 inch nominal clip size — 10 clips, 1 inch nominal clip size — 10 clips, 1 1/4 inch nominal clip size — 10 clips, 1 1/2 inch nominal clip size — 10 clips, 2 inch nominal clip size — 10 clips |
Worm-drive clips supplied in packs of ten of the selected nominal clip size. Measure the outside of the assembled hose joint; the clip label is not a guaranteed hose-bore measurement.
Price range: £8.48 through £12.96 (inc VAT)
Worm-Drive Pond Hose Clips — Packs of 10
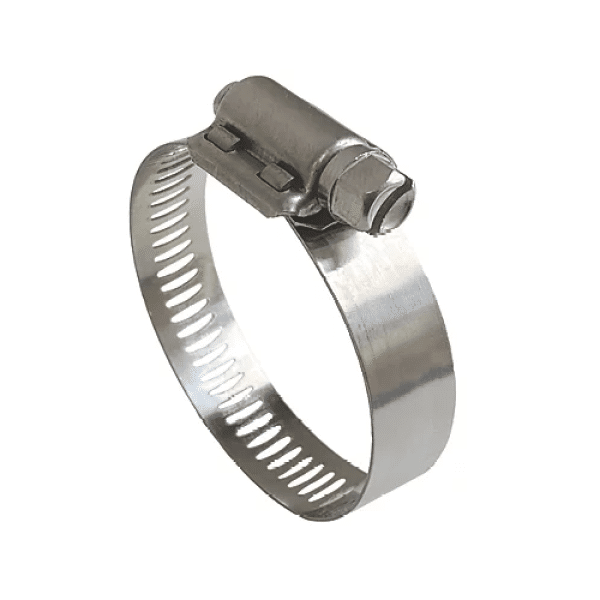
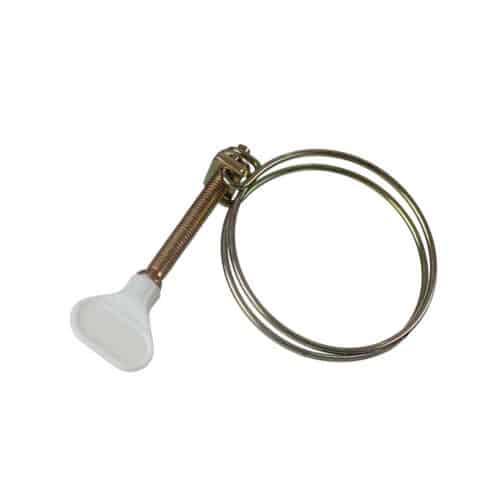
A worm-drive clip secures a suitable hose onto its matching hose tail. The screw adjusts the band around the outside of the assembled hose, making this style useful for an accessible pond-water connection that needs to be checked during routine maintenance. These options are supplied as complete packs of ten clips, so select the required size before adding a pack to your basket.
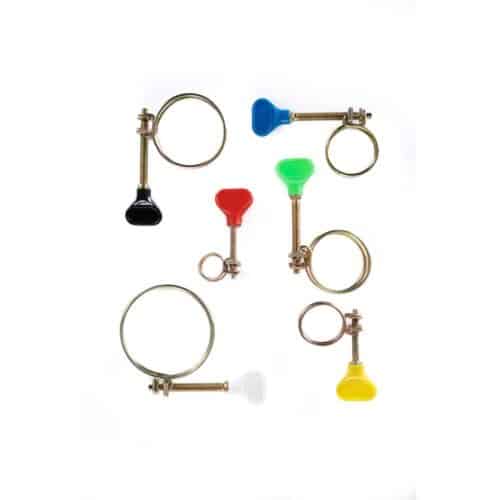
The supplier identifies six nominal clip-size choices. The two smaller choices are shown as size ranges; the larger ones use a single nominal clip size. Those labels are not a measurement of the hose’s outside diameter, and they do not establish an unverified minimum and maximum adjustment range for every band. Check the outside of your hose when it is seated on its fitting rather than choosing a clip solely from the bore printed on the hose.
Choose the complete pack
| Supplier clip-size designation | Supplied quantity |
|---|---|
| 3/8–1/2 inch nominal clip size | 10 clips |
| 5/8–3/4 inch nominal clip size | 10 clips |
| 1 inch nominal clip size | 10 clips |
| 1 1/4 inch nominal clip size | 10 clips |
| 1 1/2 inch nominal clip size | 10 clips |
| 2 inch nominal clip size | 10 clips |
Each selection supplies one size of clip. It is not a mixed assortment containing ten different sizes. Hose, hose tails, pumps and valves are separate items. Keep the remaining clips in a dry, organised place, with the selected size identifiable, so that a later repair does not depend on finding a loose clip of uncertain size.
Measure the hose and fitting together
Hoses with the same internal diameter can have different wall thicknesses and outside profiles. A reinforced or ribbed hose can need a different clip position from a smooth tube. The relevant measurement is the joint you intend to secure: inspect the hose tail, push the compatible hose into its intended position and check where the retaining band should sit.
The clip needs to close firmly around the hose while retaining useful adjustment. A band that is already fully tightened but still loose is not suitable. Equally, a clip that cannot open enough to pass over the assembled connection should not be forced into place. A larger clip is not automatically better, particularly if an excessive loose tail or screw housing would interfere with the surrounding equipment.
Use the correct connection method
These clips are for an appropriate hose-to-tail joint. They do not replace a solvent-weld socket, a threaded seal, a union nut or a flange fixing. A water leak at a different type of connection should be repaired using the parts and sealing method intended for that connection. Tightening an extra band around the outside of an incompatible joint does not correct a mismatch in pipe size or thread.
Before working on the joint, isolate the equipment and drain the affected section in accordance with its instructions. Inspect the hose end for splits, hardened material or damage left by an old clip. Check the tail for cracks or a sharp edge. A fresh clip cannot restore the condition of a damaged hose or fitting, so replace unsuitable components before reassembling the water route.
Fitting a worm-drive clip
Place the clip over the hose before seating the hose on the tail where the arrangement requires this. Fit the hose fully to its intended position, align the band over the appropriate retaining area and tighten with a suitable tool. Follow the hose and equipment instructions rather than applying an invented tightening torque to every material.
The aim is a secure joint without cutting into the hose or deforming a plastic fitting. Stop if the band sits at an angle, the hose begins to distort excessively or the screw mechanism does not operate normally. Keep the screw housing accessible for future inspection. Support the hose run independently so that the joint does not carry the weight of a long unsupported hose.
Check after restarting
Restore the water supply and restart the equipment as its manual describes. Look around the entire joint for leakage and confirm that the hose remains properly seated. Recheck the connection after the system has been moved or serviced, and include visible hose joints in your usual maintenance inspection.
Select the complete joint for the operating conditions of your equipment. The clip is part of the complete installation, so use equipment and hose that suit the intended conditions. For a project requiring a stated stainless-steel specification and millimetre adjustment range, compare our stainless steel hose clips instead.
Plan the rest of the hose connection
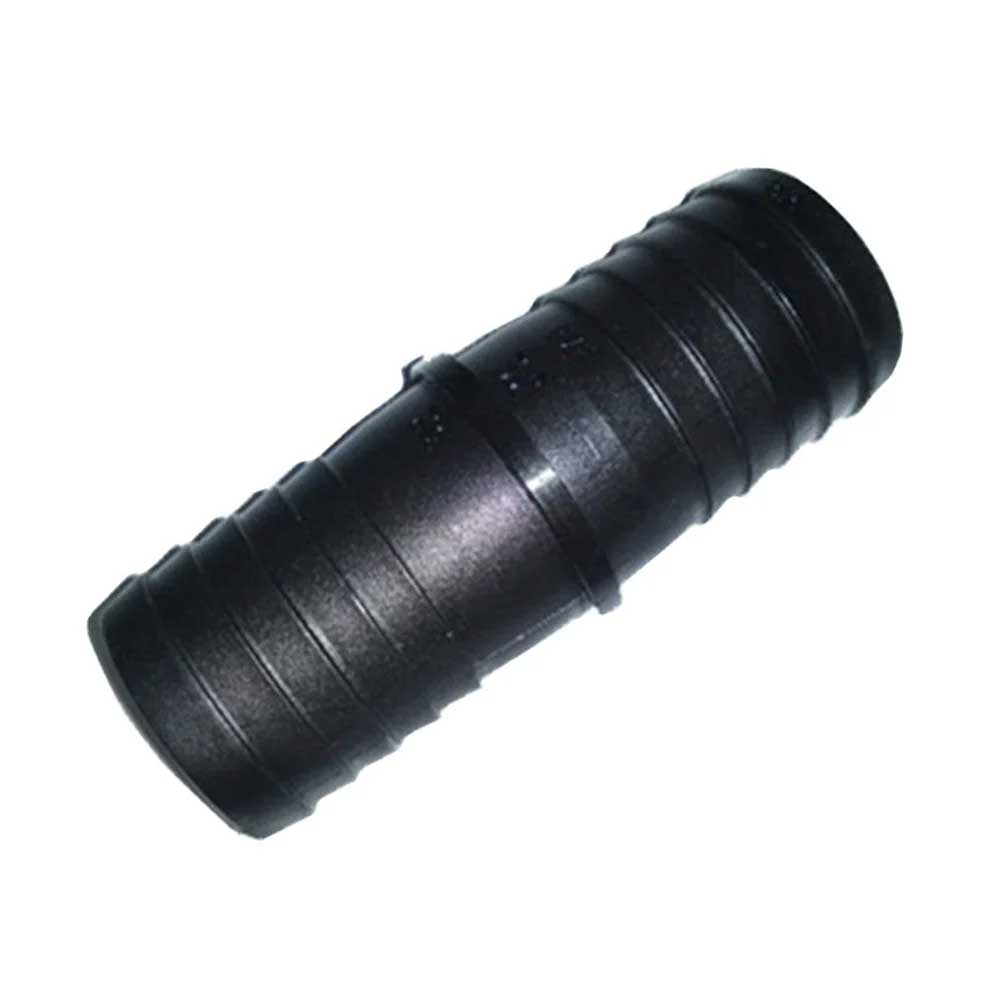
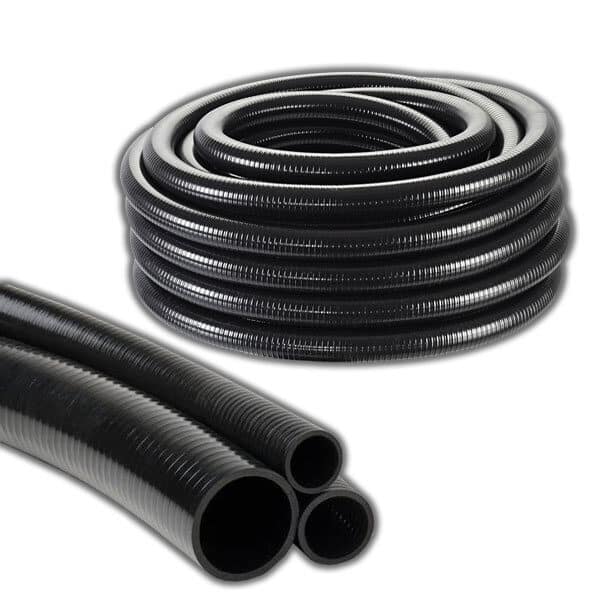
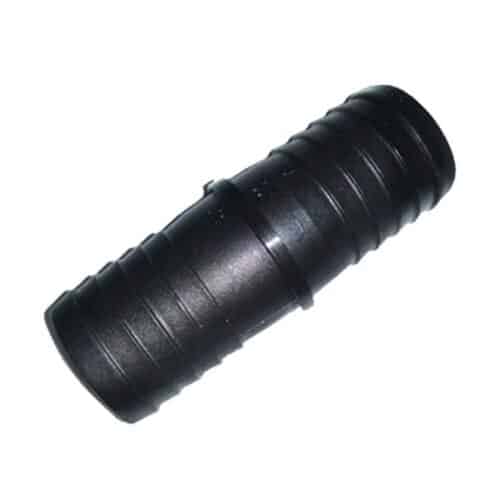
Our heavy-duty flexible pond hose provides sizes for suitable pump and filter installations. For connectors, see our straight barbed hose joiners, checking the hose bore and complete connection before ordering. Buying the hose, fitting and correctly sized clips together makes it easier to assemble a consistent run.






Reviews
There are no reviews yet.