






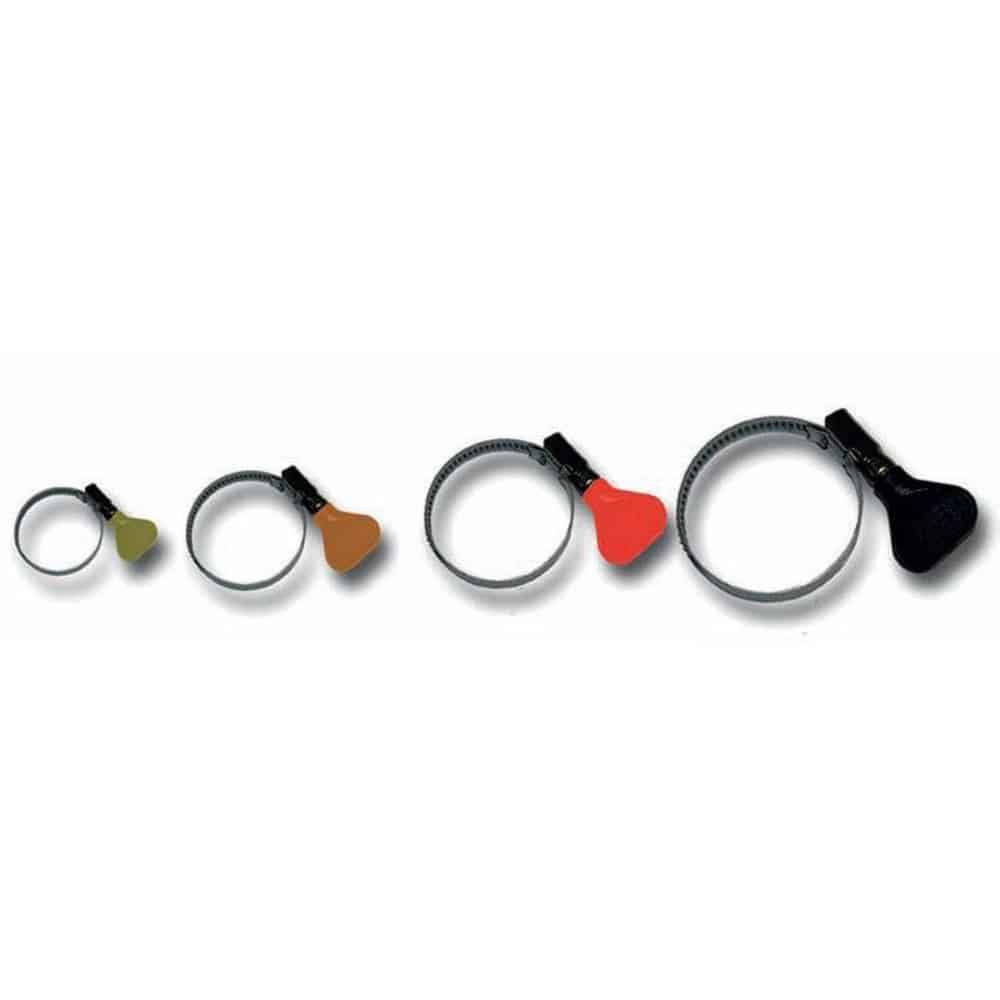
Superflex Pond Hose Clips — Packs of 10
| Application | Compatible Superflex hose connection |
|---|---|
| Pack quantity | 10 clips of one size |
| Option | 1/2 inch Superflex hose — 10 clips, 3/4 inch Superflex hose — 10 clips, 1 inch Superflex hose — 10 clips, 1 1/4 inch Superflex hose — 10 clips |
Packs of ten clips for the selected nominal Superflex hose size: 1/2, 3/4, 1 or 1 1/4 inch. Compare the actual assembled hose joint before fitting; hose and connectors are separate.
Price range: £7.44 through £9.60 (inc VAT)
Superflex Pond Hose Clips — Packs of 10
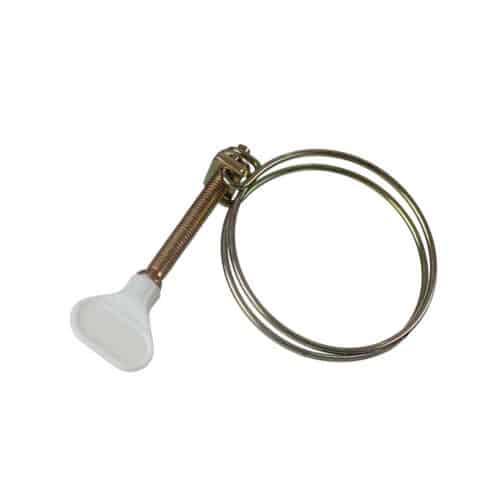
These clips are supplied for the nominal Superflex hose sizes listed in the supplier catalogue. A complete pack contains ten clips of the selected size, giving you retaining clips for several compatible hose connections or spare clips to keep with your pond-maintenance parts.
Choose from 1/2 inch, 3/4 inch, 1 inch and 1 1/4 inch nominal Superflex hose options. The size identifies the hose choice for the clip; it should not be treated as the outside diameter of every hose with the same bore. The hose wall, external profile and hose tail all affect the assembled connection.
Pack sizes and contents
| Nominal Superflex hose size | Quantity per selected pack |
|---|---|
| 1/2 inch | 10 clips |
| 3/4 inch | 10 clips |
| 1 inch | 10 clips |
| 1 1/4 inch | 10 clips |
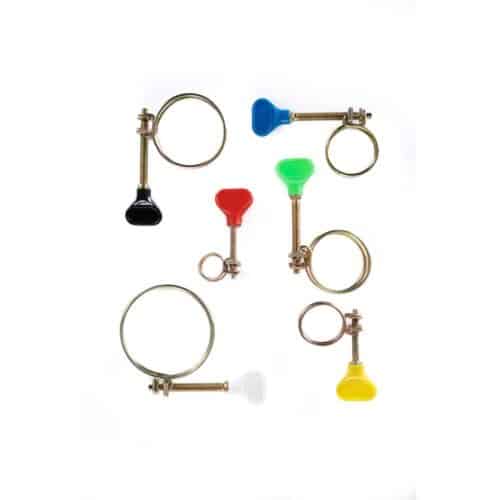
The pack contains one clip size, not a mixture of all four. Hose and fittings are supplied separately. Keep the remaining clips labelled with the selected size so they can be identified easily when a hose is changed or a new connection is added.
Check the actual hose joint
Start with the hose specification and the fitting it will connect to. The clip needs to sit in the intended retaining position around the outside of the assembled hose. A soft smooth tube, a reinforced hose and a ribbed hose can have different outside profiles even when their nominal internal sizes are similar.
Compare an undamaged existing clip and joint where possible. If the old hose is stretched, cracked or worn at the connection, check a sound section of the hose and replace damaged material rather than relying on extra tightening. The condition of the hose and fitting is as important as choosing a clip with the appropriate nominal label.
A retaining clip does not change the connection standard
Use these clips for the intended compatible hose connection. They do not make a BSP thread into a hose tail, turn a rigid pipe socket into a hose connection or replace a union’s own sealing arrangement. A hose must fit the tail properly before the retaining clip is secured.
A clip’s presence does not establish the pressure or temperature rating of the complete joint. Follow the hose and equipment instructions for the installation and use components documented for the intended operating conditions. Check the stated clip size against the actual joint; select a documented material grade or adjustment range where the installation requires it.
Preparing for a hose change
Switch off and safely isolate the equipment before opening the water route. Drain the relevant section and have a suitable container ready for retained water where needed. Keep the hose ends clear of loose dirt so that debris is not introduced into the pump or feature when the route is reassembled.
Inspect the hose tail and replace it if it is cracked or damaged. Make sure the hose end is sound and can reach the fitting without a sharp fold. Have the retaining clips ready before seating the hose, particularly if access will be restricted once the connection is assembled.
Fit and position the clip correctly
Seat the matching hose fully into its intended position and secure the clip in the correct retaining area. Keep it square to the hose rather than angled across the connection. Follow the relevant fitting instructions and avoid applying an invented tightening torque to a clip or hose of unspecified construction.
The joint should be retained without cutting the hose, crushing it or placing unnecessary load on a plastic fitting. If the clip cannot sit correctly or the hose does not match the tail, resolve that mismatch before restarting the equipment. Forcing an unsuitable clip into place is not a reliable repair.
Support and test the hose route
Support the hose independently so that a long run does not hang from its connection. Leave access for inspecting the clip during routine maintenance and for removing it when the pump or filter needs servicing. Avoid a layout in which another item continually pushes the hose sideways against the fitting.
After refilling or restarting the route according to the equipment manual, inspect the joint for water escaping or movement of the hose. Check new connections before leaving the equipment unattended. Repeat the inspection after moving equipment or changing the hose route, since that work can disturb a previously secure joint.
Compare other retaining options
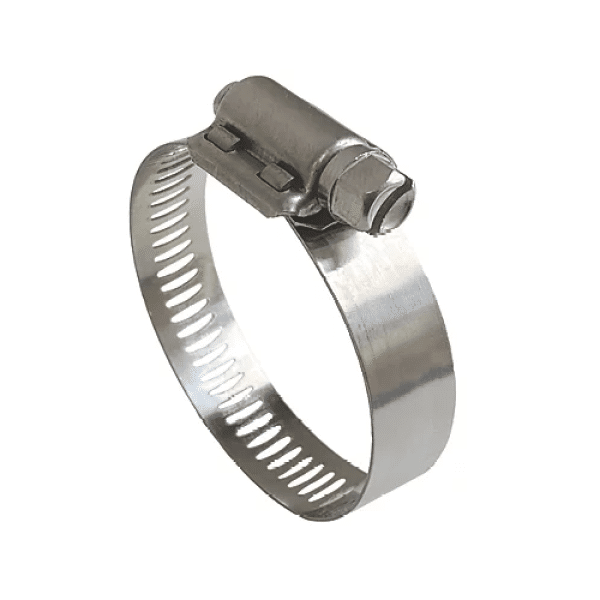
Our stainless steel hose clips offer documented millimetre adjustment ranges to compare for suitable joints. Our separate hose clips listing includes other options. Check the exact selected product and pack rather than assuming all clips in the same nominal size have the same construction.
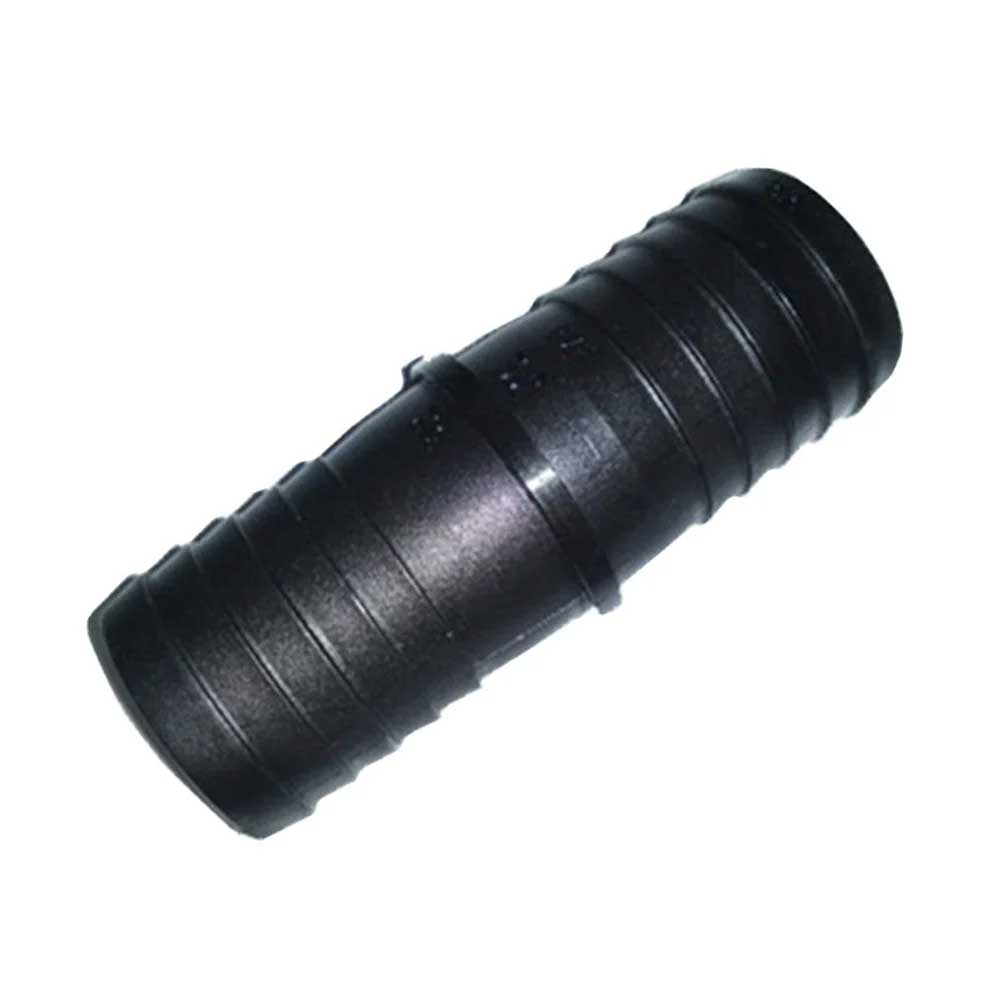
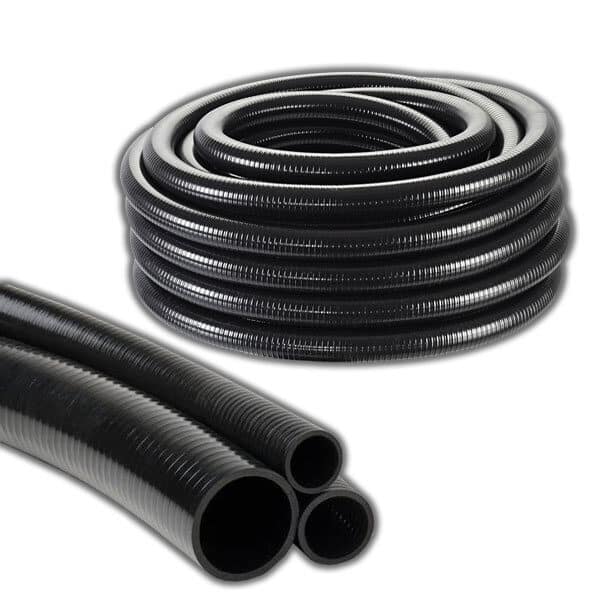
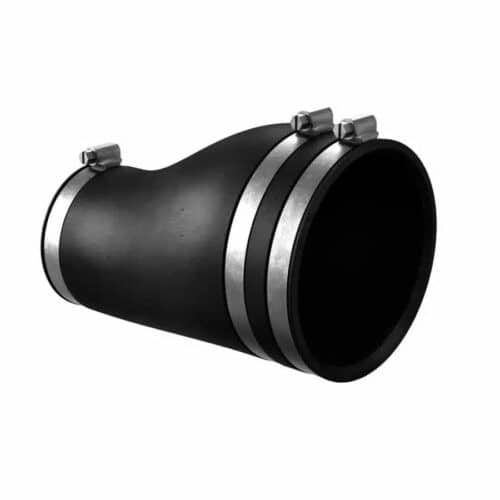
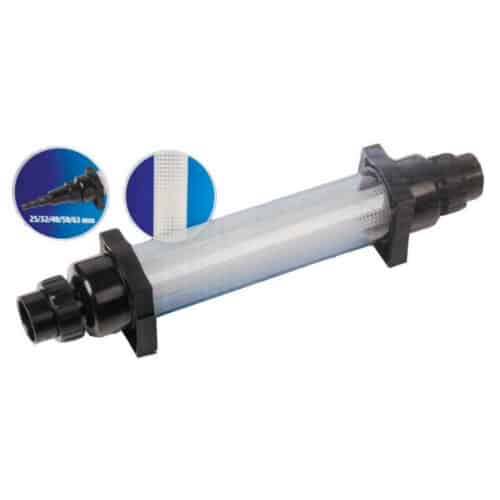
For the surrounding route, browse flexible pond hose and barbed hose connectors. Matching the hose, tail and retaining clip together helps you prepare an installation that can be inspected and maintained easily.






Reviews
There are no reviews yet.