






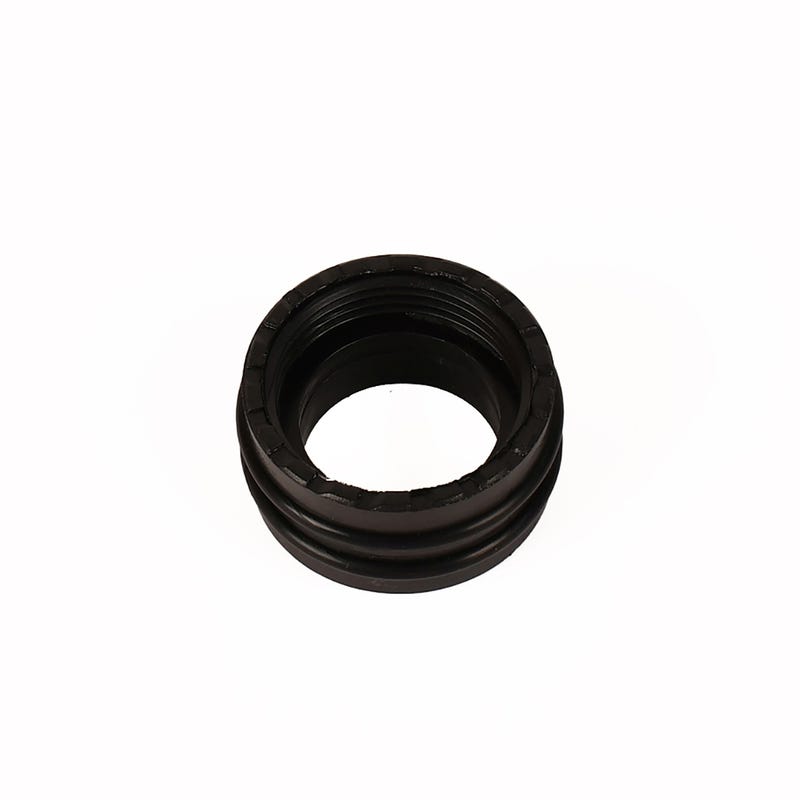
TMC Pro Clear UV Lock Nut
| Brand | |
|---|---|
| Manufacturer reference | PROCLRL/NUT |
Genuine TMC Pro Clear UV lock nut, manufacturer reference PROCLRL/NUT. Replacement compression fitting for the matching quartz-sleeve end assembly. One nut supplied; seals, quartz sleeve and electrical components are separate.
£2.99 (inc VAT)
TMC Pro Clear UV Lock Nut
Replacement compression fitting for the quartz-sleeve end assembly
The TMC Pro Clear UV Lock Nut is the replacement fitting identified by TMC as PROCLRL/NUT. It forms part of the end assembly around the quartz sleeve on the compatible Pro Clear UV clarifier. Choose this spare when the original matching nut is damaged or missing and the surrounding components remain serviceable. One lock nut is supplied; the quartz sleeve, O-rings, lamp, electrical lampholder and outer cover are separate components.
The correct replacement helps you retain a serviceable UV unit instead of replacing the whole clarifier because of a small damaged fitting. It is important to identify the component accurately: a UV clarifier contains several threaded fittings, and the hose connection nut performs a different job from the quartz-sleeve compression fitting.
Check the model and part before ordering
TMC lists PROCLRL/NUT among the spare parts for its Pro Clear Ultima UV clarifiers. Check the model label on your unit and compare the original fitting with the product photograph and the exploded maintenance diagram in the manufacturer’s instructions. The product reference provides a more reliable identification than describing a part simply as a black plastic nut.
This item should not be confused with TMC’s separate two-inch hosetail lock nut, reference PROCLRHTNUT, or the Pro Pond 110 lock nut, reference PP110WL/NUT. Similar names do not mean that the fittings are interchangeable. If your unit has an older model name or a different end assembly, ask us to check it using the full model details and a clear photograph before ordering.
How the end assembly works
In the Pro Clear Ultima maintenance diagram, the compression fitting sits around the end of the quartz sleeve. The lamp is inside the sleeve, with its electrical lampholder outside the water chamber. The O-ring is a separate sealing component. TMC’s maintenance instructions show the fittings and O-rings being removed before the sleeve is withdrawn for cleaning.
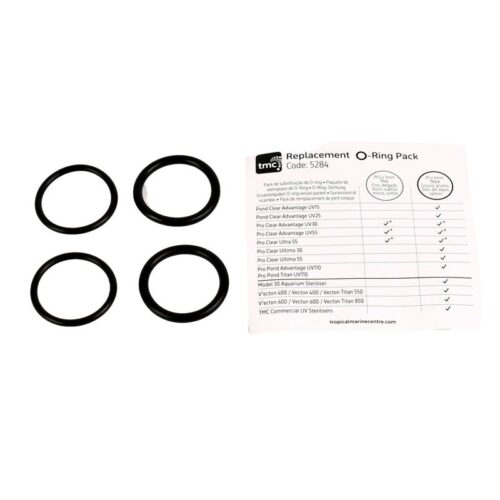
A replacement nut does not include a replacement seal. If the unit has been leaking, inspect the condition and seating of the O-ring as well as the nut and surrounding threads. A split, damaged or poorly positioned seal can still leak after a new nut is installed. Our TMC Pro Clear replacement O-ring pack is listed separately; check its compatibility with your particular unit when planning the repair.
Preparing for maintenance
Follow the instructions for the exact UV model throughout the work. TMC directs users to isolate both electricity and water before opening the unit. Disconnect the relevant pond appliances before putting hands into the water, and never look directly at an illuminated UV lamp. Give yourself a clean, stable work area where the long glass components can be handled without being knocked or bent.
On the Ultima, access starts with removing the outer end covers and carefully disconnecting the lamp holders. The lamp is then withdrawn before the compression fittings and O-rings are removed. Keep each part in order and take care around the quartz sleeve. Do not pull a glass component sideways to make room for a fitting, and replace cracked quartz rather than putting it back into service.
Inspecting and refitting the components
Check the mating threads and sealing area before fitting the replacement. A sound nut cannot repair a damaged body thread or a broken sleeve. Remove loose dirt carefully and inspect the original parts in good light. If the replacement does not engage normally, stop and check the identity and alignment of the components instead of forcing the thread.
TMC specifies hand tightening of the compression fittings in the Ultima maintenance procedure. Seat the O-rings correctly at the ends of the quartz sleeve before tightening. The manufacturer recommends new O-rings during the annual lamp change. Reassemble the lamp holders and protective covers in the sequence shown in the model’s instructions, keeping the electrical connections dry.
Checking for leaks before restoring power
After reassembly, restore the water supply first and examine the serviced connections carefully. TMC instructs users to check for leaks before switching the electrical supply back on. If moisture appears around an end fitting, isolate the water again and investigate the seal, sleeve and assembly. Avoid treating extra tightening as a substitute for finding the cause.
Once the system is watertight and correctly assembled, return it to operation according to its manual. Check the repaired area again during the next routine inspection. Keep the model and spare-part reference with your maintenance notes so that future lamps, sleeves and seals can be matched to the same unit.
Plan the rest of the UV service
Opening the end assembly is also an opportunity to inspect the quartz sleeve for deposits and damage. A dirty sleeve restricts the UV light reaching the water even when the lamp is working. Follow TMC’s cleaning guidance for your model and handle the sleeve carefully throughout removal and refitting.
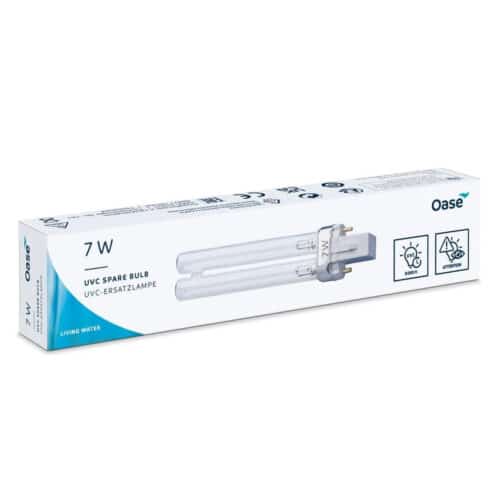
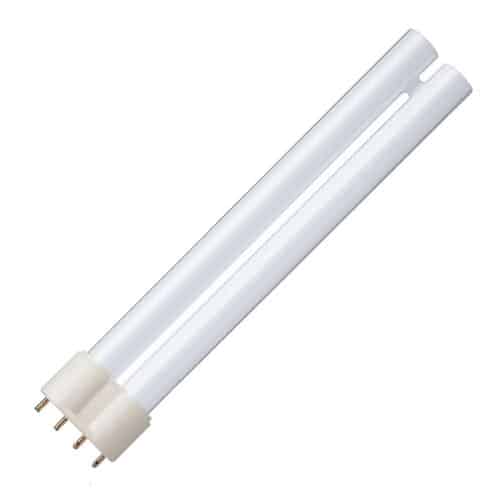
The lock nut restores the mechanical assembly; it does not renew an ageing lamp or remove deposits from the sleeve. Consider those separate maintenance needs when assessing the clarifier’s performance. Keep filtration and water flow within the requirements of the complete UV unit, and use the manufacturer’s service instructions as the reference for the finished installation.



Reviews
There are no reviews yet.