






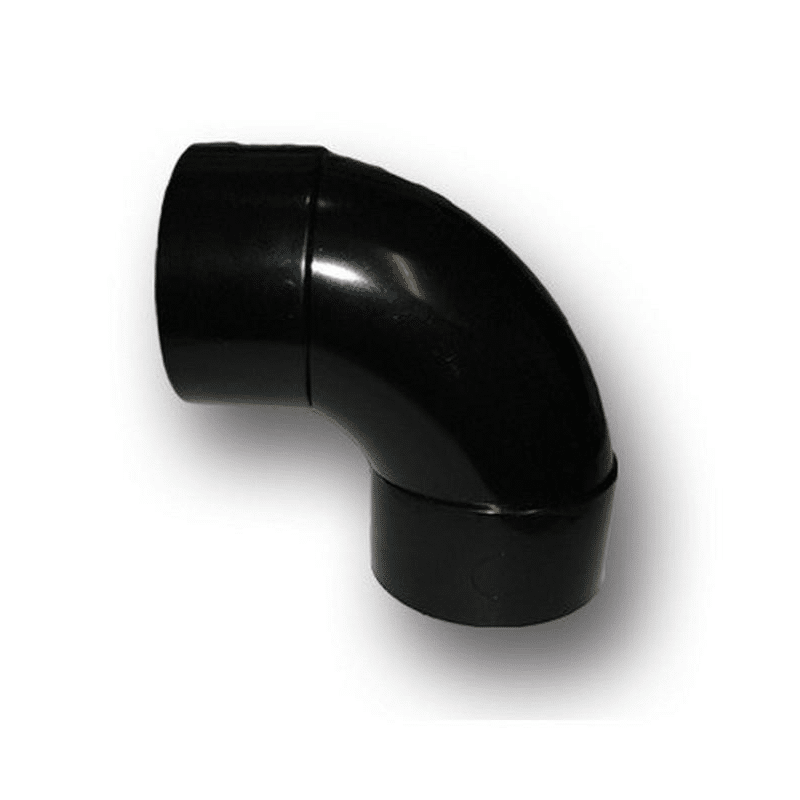
Kockney Koi 1½ inch Long-Tail 90° Solvent-Weld Bend
| Brand | |
|---|---|
| Material | ABS |
| Connection type | Solvent weld |
| Nominal size | 1½ inch |
| Bend angle | 90° |
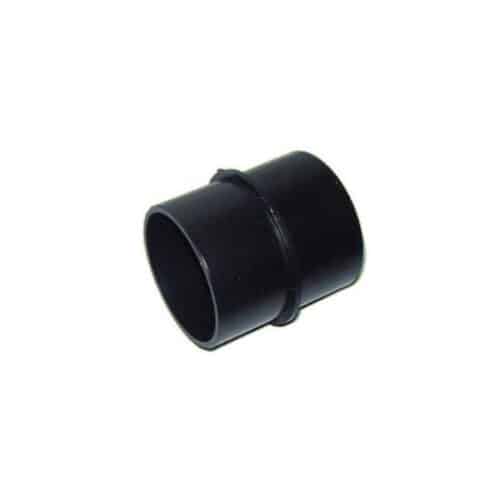
Black ABS 1½ inch long-tail conversion bend from Kockney Koi. A 90° solvent-weld fitting, manufacturer reference 001572. Check the actual mating dimensions and pipe system before assembly.
£1.99 (inc VAT)
Kockney Koi 1½ inch long-tail 90° solvent-weld bend
This Kockney Koi long-tail bend changes the direction of compatible pond pipework through 90 degrees. It belongs to the manufacturer’s 1½ inch solvent-weld range and is also described by retailers as the 40mm long-tail bend. Manufacturer reference 001572 identifies the specific fitting, helping you distinguish it from a conventional elbow or a swept bend when planning a repair.
The fitting is made from black ABS and uses a permanent solvent-weld joint. Its extended tail is the feature that distinguishes this version from the standard compact bend. Choose it where the connection arrangement calls for a long-tail conversion fitting, and check the actual mating dimensions before ordering. Nominal inch and metric labels alone are not sufficient to establish that two different pipe systems will fit together.
Key details
- Brand: Kockney Koi.
- Fitting: 90° long-tail conversion bend.
- Manufacturer’s nominal size: 1½ inch.
- Material: ABS.
- Colour: black.
- Jointing method: solvent weld with compatible components and cement.
- Manufacturer reference: 001572.
- Supplier reference: KK529.
- Barcode: 5031589001572.
Choosing a long-tail bend
A pond installation can need several different types of bend even when all the pipework is described using the same nominal size. A compact elbow changes direction in a relatively small space; a swept bend makes the turn over a longer curve; a long-tail fitting has an extended connection section. These descriptions refer to different physical arrangements, so one should not automatically be substituted for another.
When replacing an existing bend, compare the shape and connection ends as well as the size marking. Check how much straight pipe or socket space is available on each side. Include the insertion required for the joints when measuring the finished assembly, rather than measuring only the visible gap between the existing components.
For a new installation, work out the complete route before joining anything permanently. Allow access to valves, pump unions, filter drains and cleaning points. A fitting that looks convenient in an empty filter bay can become difficult to reach once the rest of the equipment and support brackets are fitted.
Check the pipe system before assembly
This bend is from the Kockney Koi solvent-weld range. It should not be confused with the manufacturer’s separate Schedule 40 pressure-pipe fittings. Similarly, a pipe sold as 40mm waste pipe, 40mm metric pressure pipe or 1½ inch imperial pressure pipe may use a different actual outside diameter or joint arrangement.
Read the markings on your existing pipe and measure the mating parts accurately. Check the material compatibility of the pipe, fitting and adhesive. If the components belong to different systems, use an appropriate conversion fitting instead of forcing them together or trying to compensate for a loose fit with extra cement.
No universal working-pressure figure is stated here. The completed system must remain within the limits of its actual pipework, fittings and equipment. A fitting’s nominal size does not establish its pressure rating, and the most restrictive component can determine the acceptable operating conditions.
Preparing the joint
Isolate the affected equipment and drain the pipework before starting. Plan the orientation carefully and prepare the pipe ends using the method required for the material. Keep mating surfaces clean and use the cleaner, preparation procedure and solvent cement specified for the components being joined.
Follow the adhesive manufacturer’s instructions for insertion, working time and assembly. Do not assume that a cement intended for another plastic is suitable for ABS. Avoid using a joint to pull badly aligned pipework into place: the pipe route and supports should carry the installation without placing unnecessary strain on the bend.
Once the joint begins to set, leave it undisturbed. Cure time depends on the particular adhesive and conditions, so follow its instructions before filling or putting the system into service. A joint that feels dry at the surface may still need more time before it is ready to carry water.
After installation
Restore the water supply and equipment carefully, checking both connections for leakage. Look for movement when a pump starts or a valve is operated, and adjust the pipe supports if needed. If there is a leak, isolate the system and investigate the joint rather than relying on a coating of cement around its outside.
Remember that solvent-weld joints are permanent. Where equipment needs to be removed for cleaning or servicing, plan suitable detachable connections elsewhere in the pipework. Leave enough room to reach those connections without disturbing the newly installed bend.
Related pipework and alternatives
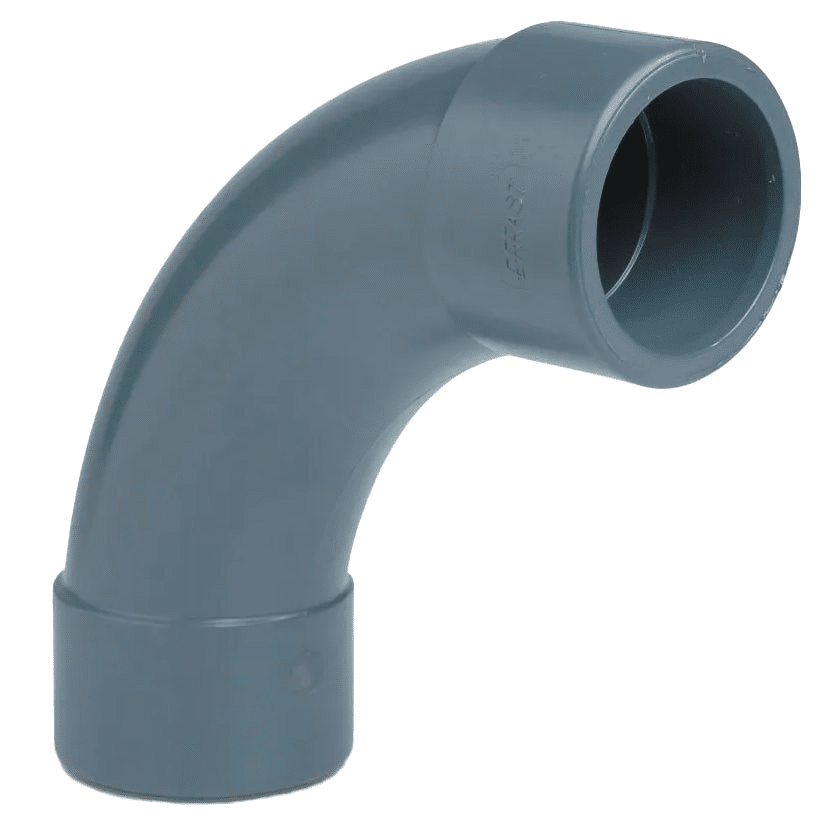
For a conventional elbow, compare our black waste 90 degree bends, checking the selected size and connection system. If your installation uses imperial grey pressure pipe, our PVC imperial pressure-pipe swept bends belong to a different range and should be selected to suit that pipework.
You can also browse our pond building supplies for other installation components. Keeping the pipe system, fitting type and jointing method consistent makes it easier to assemble a neat installation and identify the right replacement parts later.



Reviews
There are no reviews yet.