






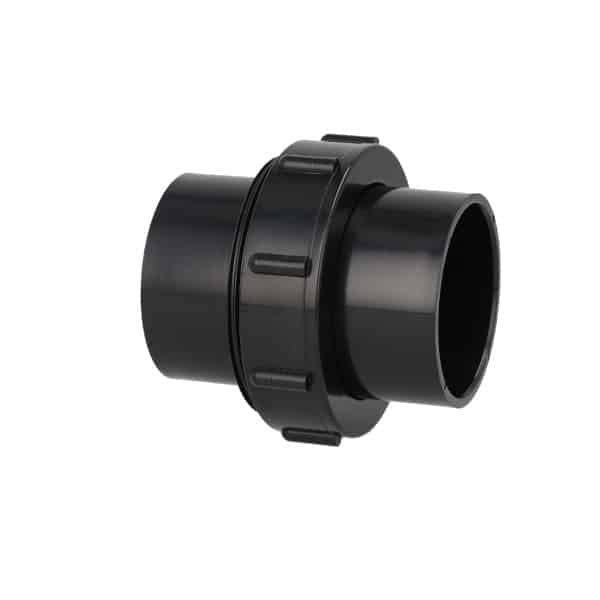
Kockney Koi 2 Inch Variflow Demountable Coupling
| Brand | |
|---|---|
| Connection | 2 inch female BSP to matching solvent weld |
| Manufacturer part number | 004566 |
Kockney Koi 2 Inch Variflow Demountable Coupling. Manufacturer part 004566. A removable central union helps disconnect compatible equipment without cutting the pipe. Check the complete connection before fitting.
£13.23 (inc VAT)
Kockney Koi 2 Inch Variflow Demountable Coupling
The Kockney Koi Variflow coupling connects a compatible 2 inch male BSP equipment outlet to matching solvent-weld pipework. Its central union allows the connection to separate for servicing, so the adjoining pipe does not have to be cut every time the equipment is removed.
It is a useful fitting to consider when planning access around a dry-installed pond pump, UV clarifier or another component with the correct threaded connection. The equipment must be suitable for that installation method in its own right. Adding this coupling does not make a submersible-only pump suitable for running outside the pond.
Specification and connection details
| Brand | Kockney Koi |
|---|---|
| Manufacturer part | 004566 |
| Barcode | 5031589004566 |
| Threaded end | 2 inch female BSP |
| Pipe end | Matching Kockney Koi 2 inch solvent-weld system |
| Service connection | Removable central union |
| Pack | One coupling |
Check the pipe system as well as the nominal size
The manufacturer’s description places this fitting in its 2 inch solvent-weld range. Pond pipe labels can be confusing because nominal inch sizes, waste-pipe sizes and pressure-pipe measurements are not interchangeable. Check the actual mating pipe and socket before applying cement rather than choosing an adaptor from a rough conversion into millimetres.
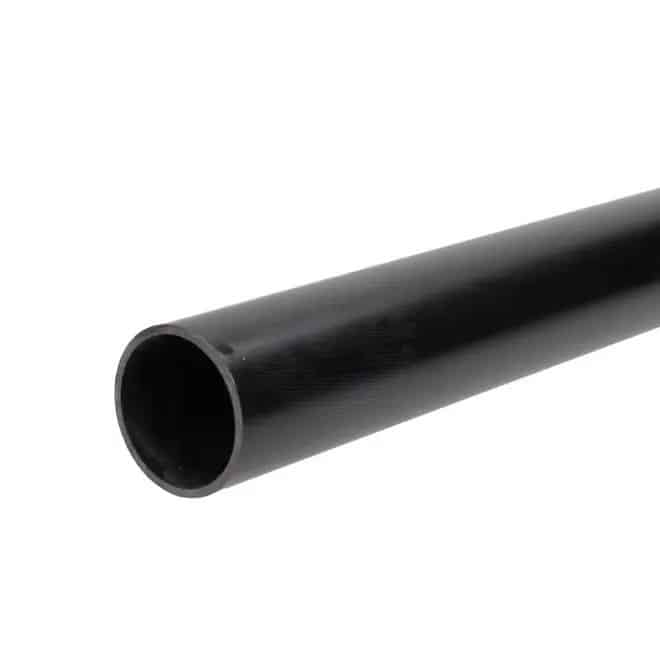
Start with the matching option in our black waste solvent-weld pipe range and confirm compatibility across the full route. A metric pressure pipe or an imperial pressure fitting may have a different outside diameter despite a similar description. A joint that has excessive clearance or needs forcing should be checked before assembly.
What the removable union does
The union is the separable joint in the middle of the fitting. Undoing its collar allows the two halves to part, leaving one side attached to the equipment and the other attached to the pipe. This can make cleaning, inspection and replacement much easier when the original layout includes enough room to move the component away.
The solvent-weld part of the connection remains permanent. The union does not make glued joints reversible, and it does not regulate water flow. Despite the Variflow name, this product is a connection fitting rather than a valve or pump controller. Use a suitable valve if you need to isolate or adjust the circuit.
Planning a serviceable equipment layout
Check the pump or clarifier manual first, including its connection sizes, permitted installation positions and any requirement for its own supplied unions. Position pipework so the equipment can be removed without forcing the surrounding pipes sideways. Leave working space around the collar and enough clearance to withdraw the unit after the union is separated.
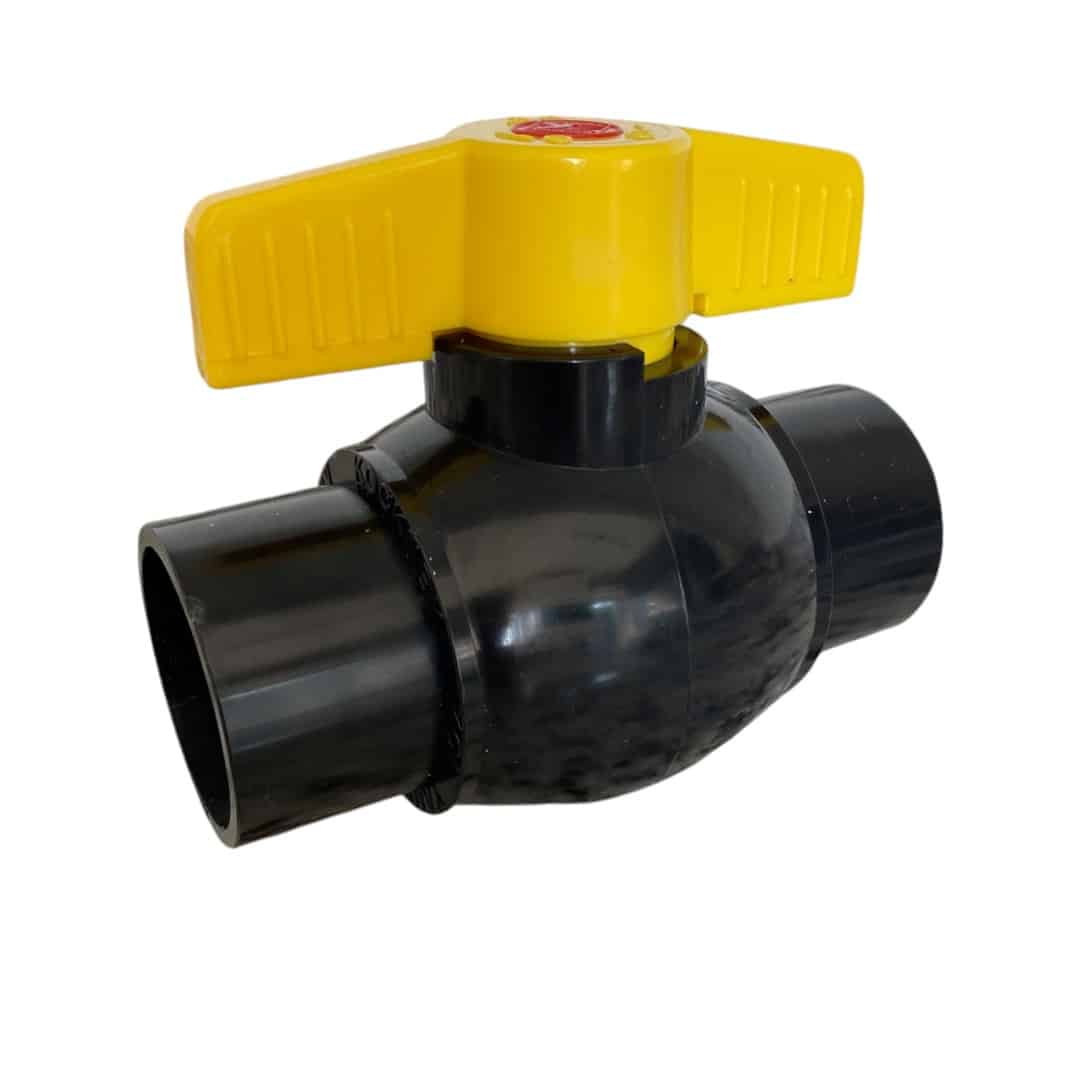
For an accessible isolation point in compatible pipework, compare our Kockney Koi black waste ball valves. Support the adjoining pipes independently so their weight does not rest on a plastic equipment inlet or outlet. Plan the route before cutting the pipe, especially where several bends or fittings meet close together.
Making the threaded connection
The female BSP end needs a matching male BSP connection. Inspect both threads, start the fitting squarely by hand and follow the connected equipment’s instructions for its sealing method. Some equipment seals on a face washer or O-ring; other connections use an appropriate thread seal. These arrangements should not be treated as interchangeable.
Do not force the coupling onto a different thread or use excessive tightening to correct a leak. Check the sealing surface and compatibility instead. Keep solvent cement away from the union’s removable parts and any surface that needs to remain clean for sealing. The service joint must still be able to open after installation.
Preparing the solvent-weld pipe connection
Measure carefully, cut the pipe squarely and remove burrs before assembly. Check the route and orientation, then use a solvent cement approved for the materials being joined. Follow the adhesive manufacturer’s preparation, insertion and curing instructions. Cement is not a means of filling an oversized socket around the wrong pipe.
Allow the full stated curing period before admitting water or running the pump. The appropriate wait depends on the cement and installation conditions, so there is no single curing time specified here for every application. Keep the completed joint accessible while you check the system for leaks.
Opening the union for maintenance
Switch off and isolate powered equipment, then isolate and drain the relevant water route before loosening the collar. A pipe below pond level may continue to release water if the surrounding circuit has not been closed off. Do not rely on an electrical switch alone to prevent water movement.
When reconnecting, clean and inspect the mating parts and any seal, align the two halves correctly and close the union without drawing misaligned pipes together by force. Restore the flow gradually and check for seepage. Retaining the manufacturer’s reference makes future identification easier if a fitting needs replacing.
Other useful connections
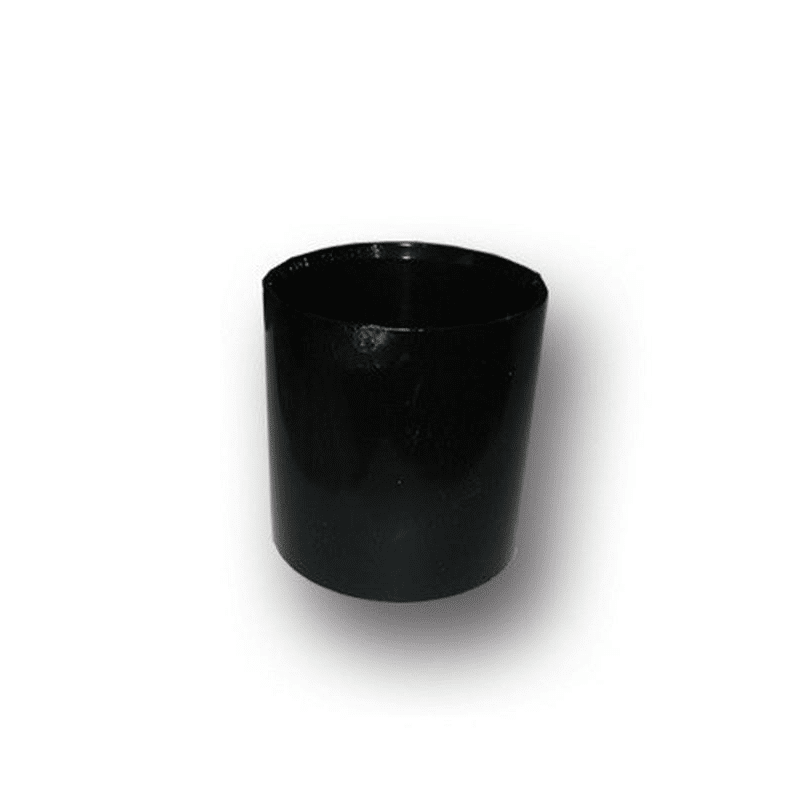
If you need a removable join between two matching pipes rather than a threaded equipment connection, compare our black waste split connectors. For a permanent straight pipe join, see black waste straight connectors. Selecting each fitting for its specific role keeps the layout easier to understand and maintain.



Reviews
There are no reviews yet.