






Black 21.5mm Overflow Pipe and Fittings
| Product type | Overflow pipe and fittings |
|---|---|
| Colour | Black |
| System size | 21.5mm overflow |
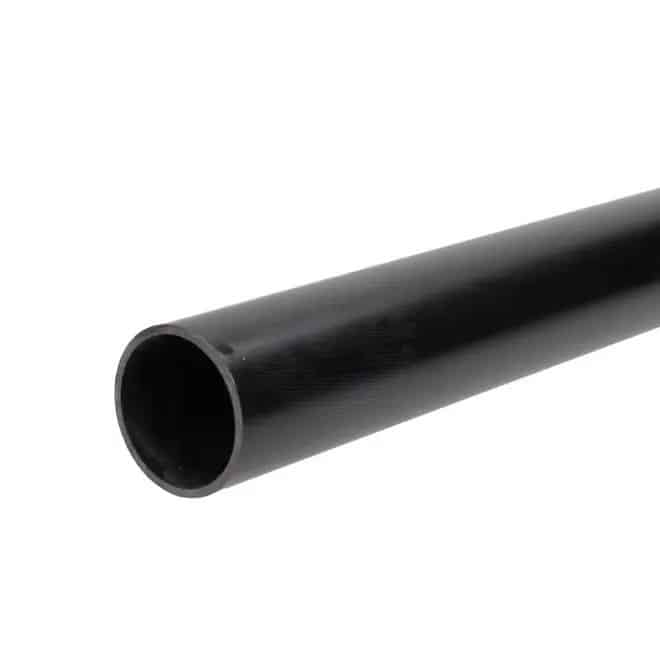
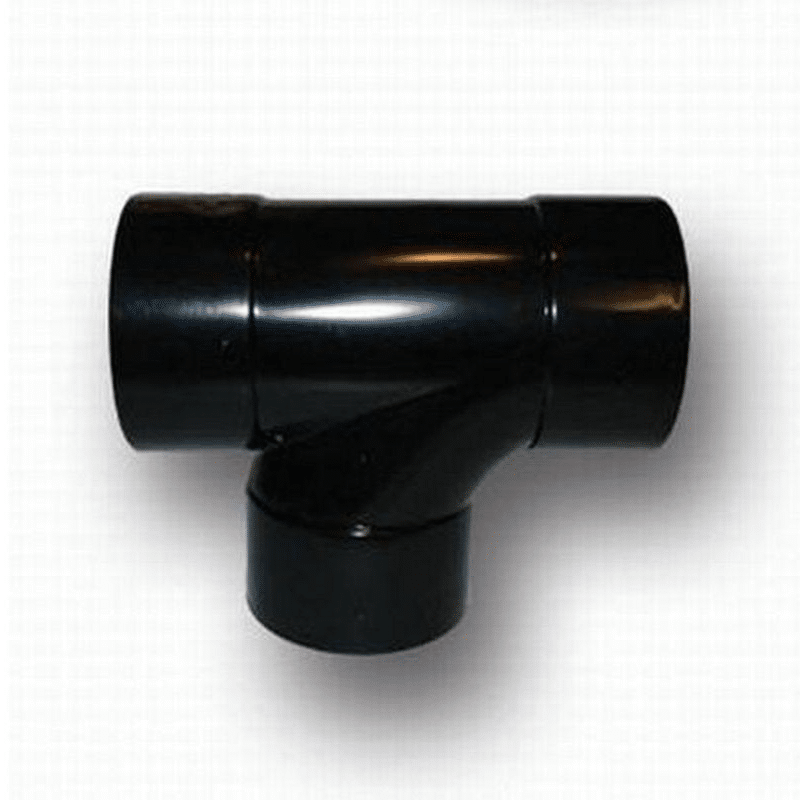
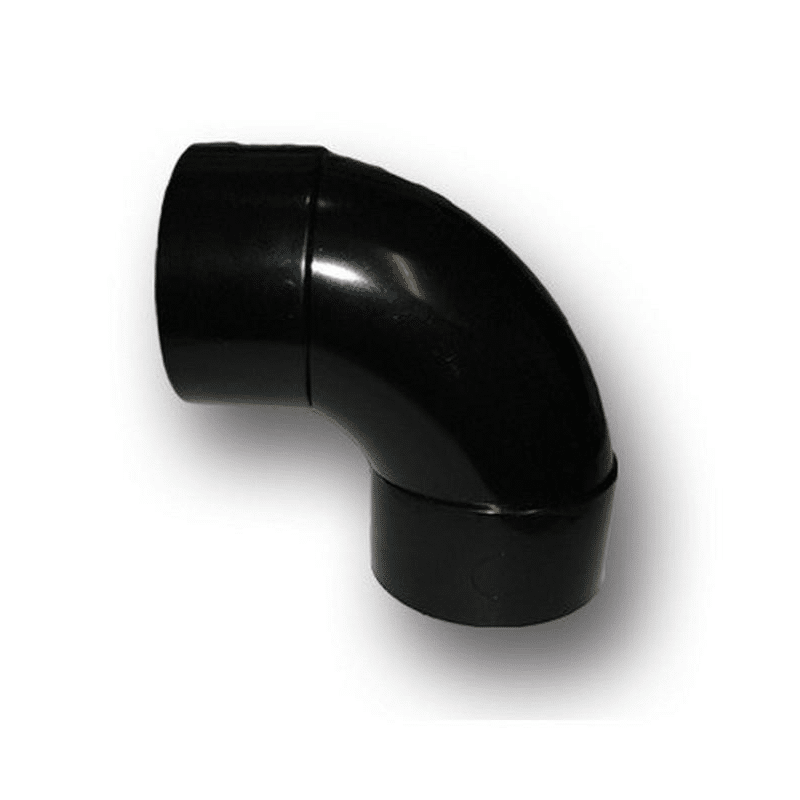
| Option | 21.5mm black solvent-weld pipe — 3 metre length, 21.5mm black solvent-weld 90° bend, 21.5mm black solvent-weld 45° bend, 21.5mm black solvent-weld tee, 32mm to 21.5mm black solvent-weld reducer, 40mm to 21.5mm black solvent-weld reducer, 21.5mm pipe clip |
Choose black 21.5mm overflow pipe in a 3 metre length, 45° or 90° bends, a tee, 32/40mm reducers or a 21.5mm support clip. Each selection supplies one stated component.
Price range: £1.19 through £13.32 (inc VAT)
Black 21.5mm Overflow Pipe and Fittings
This range brings together black 21.5mm overflow pipe and the listed connecting parts for a compatible solvent-weld route. Choose the exact item needed for your layout: a 3 metre pipe length, a 90° or 45° bend, a tee, a reducing connection or a supporting pipe clip.
Each selection supplies one stated item, rather than a complete mixed installation kit. The pipe clip is a support component; the pipe, bends, tee and reducers have their stated solvent-weld roles. Plan the required quantities before ordering so that the route includes both the connecting pieces and suitable support.
Choose the required component
| Component | Supplied quantity |
|---|---|
| 21.5mm black solvent-weld pipe — 3 metre length | One length |
| 21.5mm black solvent-weld 90° bend | One fitting |
| 21.5mm black solvent-weld 45° bend | One fitting |
| 21.5mm black solvent-weld tee | One fitting |
| 32mm to 21.5mm black solvent-weld reducer | One fitting |
| 40mm to 21.5mm black solvent-weld reducer | One fitting |
| 21.5mm pipe clip | One clip |
What the different parts do
The straight pipe option supplies one 3 metre length. Measure the actual route before cutting it into sections, allowing for the lengths that enter the matching sockets. The 21.5mm size is the stated overflow-system size and should not be treated as an imperial pressure-pipe bore.
The 90° bend makes a right-angle change in direction, while the 45° bend provides a shallower turn. Choose the fitting around the space and route rather than adding unnecessary bends. A tee connects the listed branch arrangement; the full installation still needs to provide the intended water path.
Reducing connections and pipe support
The reducer choices provide the stated 32mm-to-21.5mm or 40mm-to-21.5mm transition. Read both sizes before selecting one. Check the receiving connection and complete pipe standard, especially where the route meets equipment or a separately branded pipework assembly.
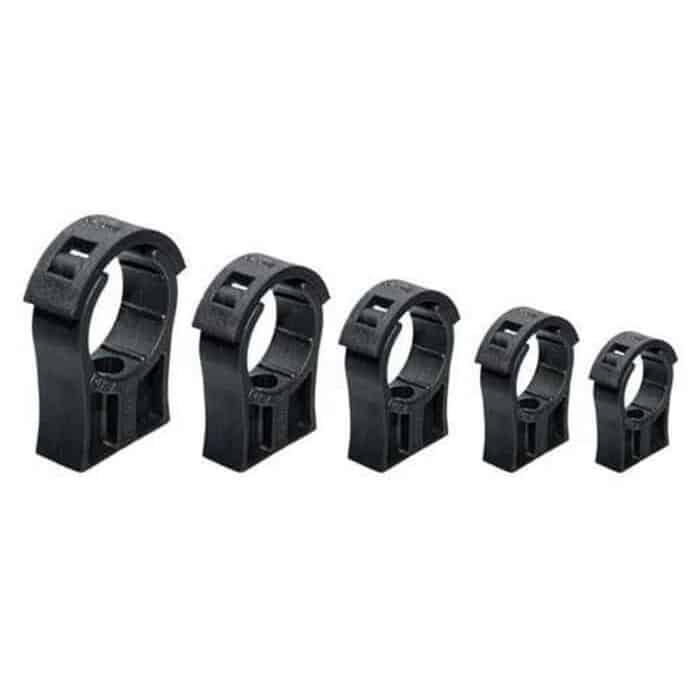
The 21.5mm clip supports a compatible section of pipe. It is not a water-sealing fitting and does not join two cut ends. Choose fixings suited to the mounting surface separately, then arrange supports so that the pipe is held without transferring avoidable strain to a small equipment connection.
Check the route before assembling
Identify the purpose of the overflow or small water route and follow the connected equipment’s instructions. Overflow-system pipework should not automatically be used as a substitute for a pressure-rated pump delivery line. If the installation requires a specified working pressure or a different material, choose a documented pipe system for that service.
Measure the usable space and any changes in height. Leave access to places that need cleaning or inspection, and plan where discharged water is intended to go. A short, clear route is easier to check than a concealed arrangement that cannot be inspected when a blockage or leak is suspected.
Keep connection methods consistent
Use matching pipe and fittings for the intended solvent-weld system. Push-fit joints, BSP threads and hose tails use different connection methods. A similar nominal size does not mean that those parts can be assembled interchangeably or sealed by adding more adhesive.
Before making a permanent joint, arrange the parts to check the final alignment and available insertion. Mark the positions needed by the installation. Once a solvent-weld joint has set, routine removal is not the same as undoing a union, so consider future access before completing the assembly.
Preparing solvent-weld joints
Use cleaner and solvent-weld cement appropriate to the actual pipe and fitting materials. Follow the adhesive’s preparation, application and curing instructions, including its temperature and ventilation requirements. No universal setting time is given here because it depends on the selected adhesive and installation conditions.
Cut pipe neatly and remove burrs or loose debris using the correct tools. Keep the joint surfaces clean and check the socket for damage before applying the bonding product. Assemble the joint as the adhesive instructions require and avoid disturbing it during the specified curing period.
Support, test and inspect
Fit the pipe supports without forcing the route out of alignment. Check that the mounting surface and fixings can support the installation. Leave the jointing products to cure fully before returning the route to service, then inspect the connections under the intended operating conditions.
Check for leaks and confirm that water follows the intended path. Include the route in routine maintenance, keeping it accessible for inspection and removal of obstructions. Changes elsewhere in the installation can affect a previously satisfactory discharge arrangement, so recheck it after equipment is moved or modified.
Compare larger pond pipework
Our black waste solvent-weld pipe, black waste 90° bends and black waste tee pieces are separately sized ranges. Our pipe clips offer other support options. Compare their actual system sizes and jointing methods rather than assuming they match this 21.5mm overflow family.





Reviews
There are no reviews yet.