





Pond Liners: EPDM, Butyl, PVC, Underlay and Repair
Choosing a pond liner: material, sheet size and a sound installation
A pond liner needs to do more than cover the bottom of the hole. It has to follow the sides and shelves, reach the finished edge and connect properly to any drains or skimmers. Choose the material and the installation together. A good membrane cannot compensate for a sheet that is too small, an unsupported corner or the wrong repair adhesive.
For a new pond, start with the finished shape, ground conditions and edging detail. Then compare a suitable pond-grade EPDM, butyl or PVC liner, its protective underlay and the fittings needed to complete it. For an existing pond losing water, locate the problem before buying a replacement sheet. Water escaping over a low edge needs a different answer from a puncture.
We build and maintain ponds as well as supplying pond equipment. When you ask us about lining a pond, a sketch with the dimensions and a few clear photographs is much more useful than the surface area alone. This guide explains what to measure, what to compare and where a repair needs a material-specific method.
Before ordering: establish the exact material, measure the complete prepared profile and decide how the edge will be secured. Keep enough allowance to finish the pond properly. The flat sheet dimensions on a product page are not the finished pond dimensions.
EPDM, butyl or PVC: compare the actual pond liner
“Rubber liner” is not a complete specification. EPDM and butyl are different synthetic rubbers, although they can look and feel similar. PVC is a different material again. Keep the product name and thickness with your measurements so that a later repair does not depend on guessing from the colour of an old offcut.
| Material | A useful starting point | What still needs checking |
|---|---|---|
| Pond-grade EPDM | A flexible synthetic rubber membrane. Our Gordon Low range includes 0.75mm and 1mm EPDM options. | Exact thickness, sheet construction, underlay, fittings and the approved joining system. |
| Butyl | A separate synthetic rubber used for pond lining. It should not be used as another name for EPDM. | Material identity, current quotation and compatible repair products for the particular liner. |
| PVC | A flexible plastic pond liner; the Gordon Low product in our range is 0.5mm PVC. | Suitability for the pond design, careful protection and PVC-specific joining or repair instructions. |
What EPDM offers
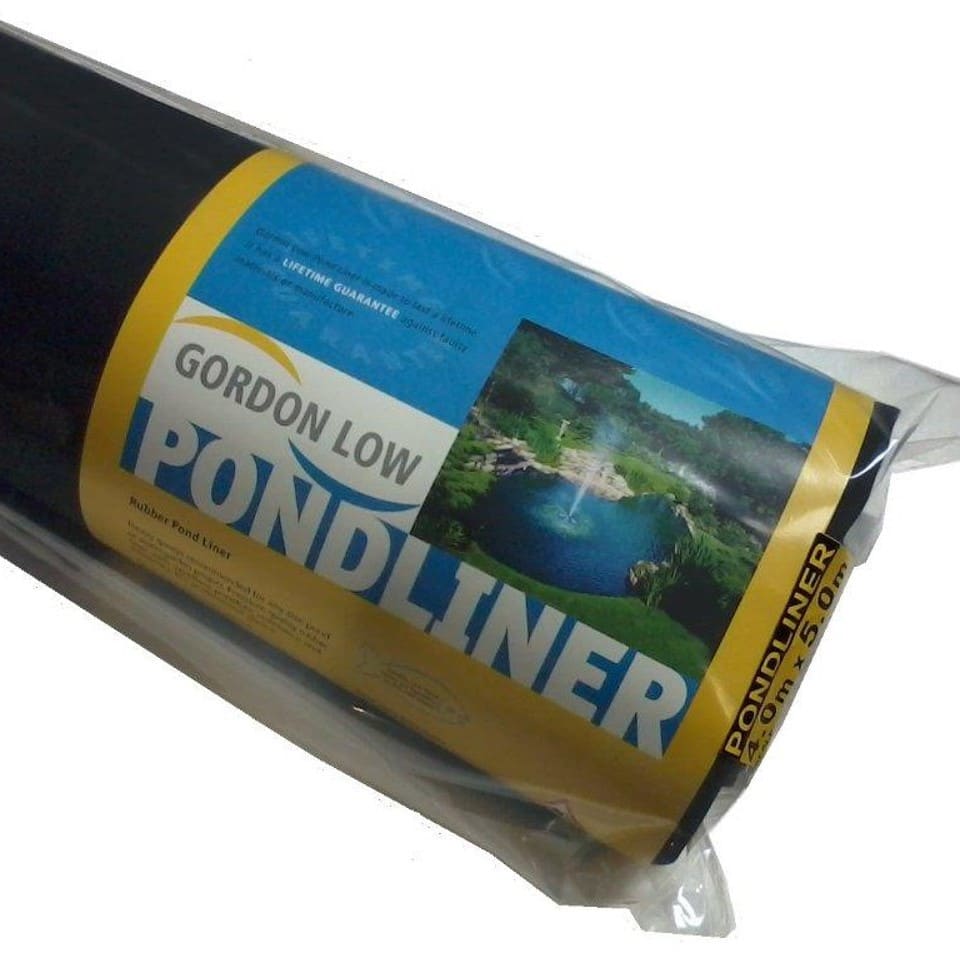
Gordon Low identifies its SealEco Greenseal membrane as fish-safe EPDM and explains that it is vulcanised during manufacture. Our 0.75mm EPDM liner and 1mm EPDM liner give you two thicknesses to compare. Flexibility helps with the pond profile, but it is not a reason to stretch the material across a gap.
A thicker option does not remove the need for ground preparation or make every penetration safe. Look at the whole specification and the manufacturer’s installation requirements. Avoid treating thickness alone as a promise that the liner cannot be punctured, or that it will tolerate any amount of ground movement.
Where butyl and PVC fit into the decision
Butyl remains a legitimate pond-lining material. If an existing pond is butyl, that identity matters when arranging repairs or alterations. There is no need to call it EPDM to compare it with a modern EPDM quotation. Ask for the actual material on the paperwork and compare the finished installation cost rather than relying on a familiar description.
Gordon Low describes its 0.5mm PVC liner as an option for small to medium ponds. Check that the chosen sheet and fixing method suit your design. A cheaper sheet is only useful if it is large enough and can be protected and installed correctly. There is no universal pond-size boundary at which every owner must switch materials.
Choose a liner intended for the proposed pond use. Do not assume that an unlabelled sheet, a roofing membrane or a product described simply as waterproof is suitable for fish. The intended application, manufacturer information and any accessory restrictions should agree.
A flat sheet and a box-welded liner are different orders
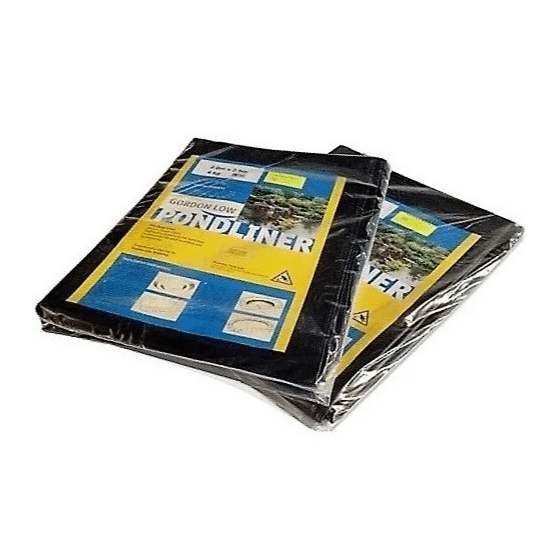
A flat liner arrives as a sheet. You position it inside the pond and arrange the surplus around changes of direction. “Made to size” can mean a flat sheet cut or fabricated to your requested overall dimensions. It does not automatically mean the corners have been shaped to fit your pond.
A box-welded liner is made into a three-dimensional shape before installation. For a straightforward rectangular pond, that means a floor and fitted sides rather than bulky folds at each corner. Gordon Low describes its shaped liners as factory-fabricated to precise dimensions. They still need a correctly prepared, supporting structure.
Our custom box-welded EPDM liner page separates a simple rectangular order from designs needing a full plan. Measure the finished internal surfaces that the liner will actually touch, after any layers that alter the dimensions. Do not order from external brickwork measurements or an approximate sketch of an unfinished excavation.
- Label the length, width and depth clearly, with the units written beside them.
- Show shelves, steps, sumps and changes of depth; a single depth does not describe those features.
- Include the required top edge or flap detail and any planned penetrations.
- Check that the drawing matches the pond’s orientation and the completed internal dimensions before confirming manufacture.
A shaped liner is particularly worth discussing where visible corner folds would affect the finish. A flat sheet may be a more straightforward route for a gently curved garden pond. Neither choice fixes an unstable wall. For a structural build, read our concrete block koi pond guide; for a different waterproof finish, see our pond fibreglassing guide.
How much pond liner do you need?
Measure in both directions, following the route the liner will take. For an initial rectangular-pond estimate, add twice the maximum depth to the maximum length, then add the allowance needed beyond the two ends. Repeat for the width. Write out the two results separately; the liner needs to meet both of them.
For example, consider a proposed pond 5m long, 3m wide and 1.2m deep. If the planned edge needs 0.5m of material at each opposing side, the initial estimate is:
- Along the length: 5 + 1.2 + 1.2 + 0.5 + 0.5 = 8.4m.
- Across the width: 3 + 1.2 + 1.2 + 0.5 + 0.5 = 6.4m.
That gives an estimated flat sheet of at least 8.4m × 6.4m before the final profile measurement. An 8m × 7m sheet is not enough: one direction is 0.4m short, even though its total area is greater than 8.4 × 6.4 = 53.76m². Sheet area cannot make up for a missing length.
The 0.5m allowance is part of this example, not a rule for every pond. Gordon Low’s estimator also allows 0.5m at each edge, but explicitly says the fixing arrangement may require less or more. Wide edging, an anchor trench, a beach or a separate bog area can change the requirement.
Use the finished excavation to check the estimate
Before ordering, lay a flexible tape along the prepared profile: down one side, over each shelf, across the bottom and up the other side. Include the proposed edge fixing. Repeat across the other direction and check the widest or most demanding routes, rather than measuring only through an attractive central view.
Record where each measurement was taken. A shallow shelf on one side and a deeper return on the other can make an assumed symmetrical calculation misleading. An irregular pond may need several profile measurements before the overall sheet size is clear. If the shape changes after you order, measure it again before cutting anything.
Keep liner size and pond volume separate. The sheet’s square metres do not tell you how many litres the finished pond contains. Shelves and slopes also mean a simple length × width × depth box may overstate the actual water volume. Use a suitable volume method when selecting equipment or treatment doses.
A useful check before checkout: write “required sheet length” and “required sheet width” beside the two final measurements. Compare those with the selected pack or custom-sheet dimensions, then check the underlay coverage separately. Keep a copy of the measurements with the order.
The made-to-size options on our EPDM product pages help with ordering a flat sheet. They do not replace checking the excavation or turn a flat order into a box-welded liner. If shelves, a stream or unusual edges make the measurements unclear, send us the dimensioned plan before placing the order.
Choose protective underlay for the liner and the ground
Underlay sits between the prepared surface and the waterproof membrane. It is a protection layer, not another waterproof liner. A sheet of fleece does not turn rubble, a sharp ledge or an unsupported hollow into a suitable base.
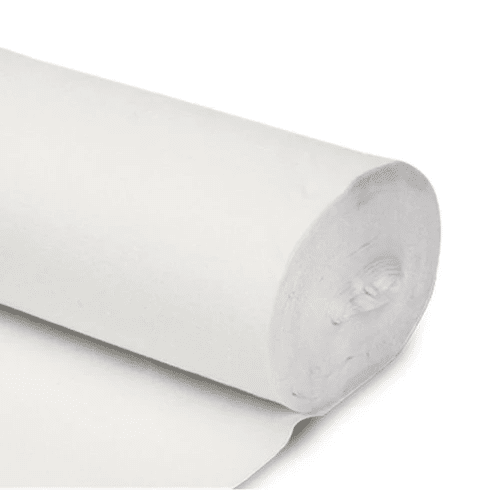
Gordon Low supplies non-woven, needle-punched polypropylene geotextiles in 150gsm and 250gsm grades and recommends its heavy-duty underlay beneath its liners. Our white 150gsm underlay and black 250gsm underlay are separate options. The number describes mass per square metre; it is not a universal puncture-resistance rating.
Check the protection specification for the particular lining system. Other manufacturers can require different grades or additional protection on masonry, slopes or beneath stonework. Do not transfer one brand’s minimum grade to every membrane, and do not choose solely because the fleece colour matches an installation photograph.
Include the sides, shelves and finishing detail
Measure the surfaces that need protection, not just the flat floor. Plan how adjoining underlay pieces will meet using the manufacturer’s overlap instructions. Keep coverage in place while the liner is unfolded, and check for gaps where material has moved at a shelf or corner.
If rocks or other heavy objects will sit above the liner, their contact points need consideration too. The layer underneath cannot prevent damage from a sharp object placed on top. Ask for the correct protection detail for those loads; adding an unidentified scrap of material is not a substitute for specifying it.

Prepare the pond before opening the liner
Check the excavation while you can still see it. Remove sharp stones, roots and building debris, smooth the contact surfaces and deal with soft pockets or unsupported areas. Keep the preparation tidy while other work continues nearby: a clean excavation can acquire screws, broken stone or offcuts before the liner goes in.
Set the intended water level and review the perimeter against it. A low point at one end can limit the whole pond, regardless of how high the opposite bank looks. Include the waterfall, stream and skimmer openings in that level plan rather than treating each as a separate finishing job.
Groundwater needs attention before lining. Water collecting in the excavation, wet unstable ground or a history of water beneath an old liner warrants a site assessment. A heavier liner is not a drainage design. Do not cut a hole in the new membrane to let groundwater through, or empty a pond with suspected groundwater pressure without advice on the consequences.
For a raised pond, the walls and base must support the water and any stonework independently of the liner. Confirm the structure, the finished internal surfaces and the fitting positions before relying on a membrane to make the pond watertight. Structural cracks, movement or uncertain retaining walls need competent assessment.
Also think about delivery and handling. Find out the packed sheet’s weight and how it will reach the pond. Clear a route, prepare a clean working area and arrange suitable help or handling equipment. Dragging a heavy folded sheet through sharp gravel to save a few minutes is an avoidable risk.
Fit the sheet without pulling it tight
Check the delivered material, dimensions and visible condition before cutting or fixing it. Position the sheet so there is enough allowance around the entire pond. A fold that looks generous on one side can hide a shortage at the opposite edge.
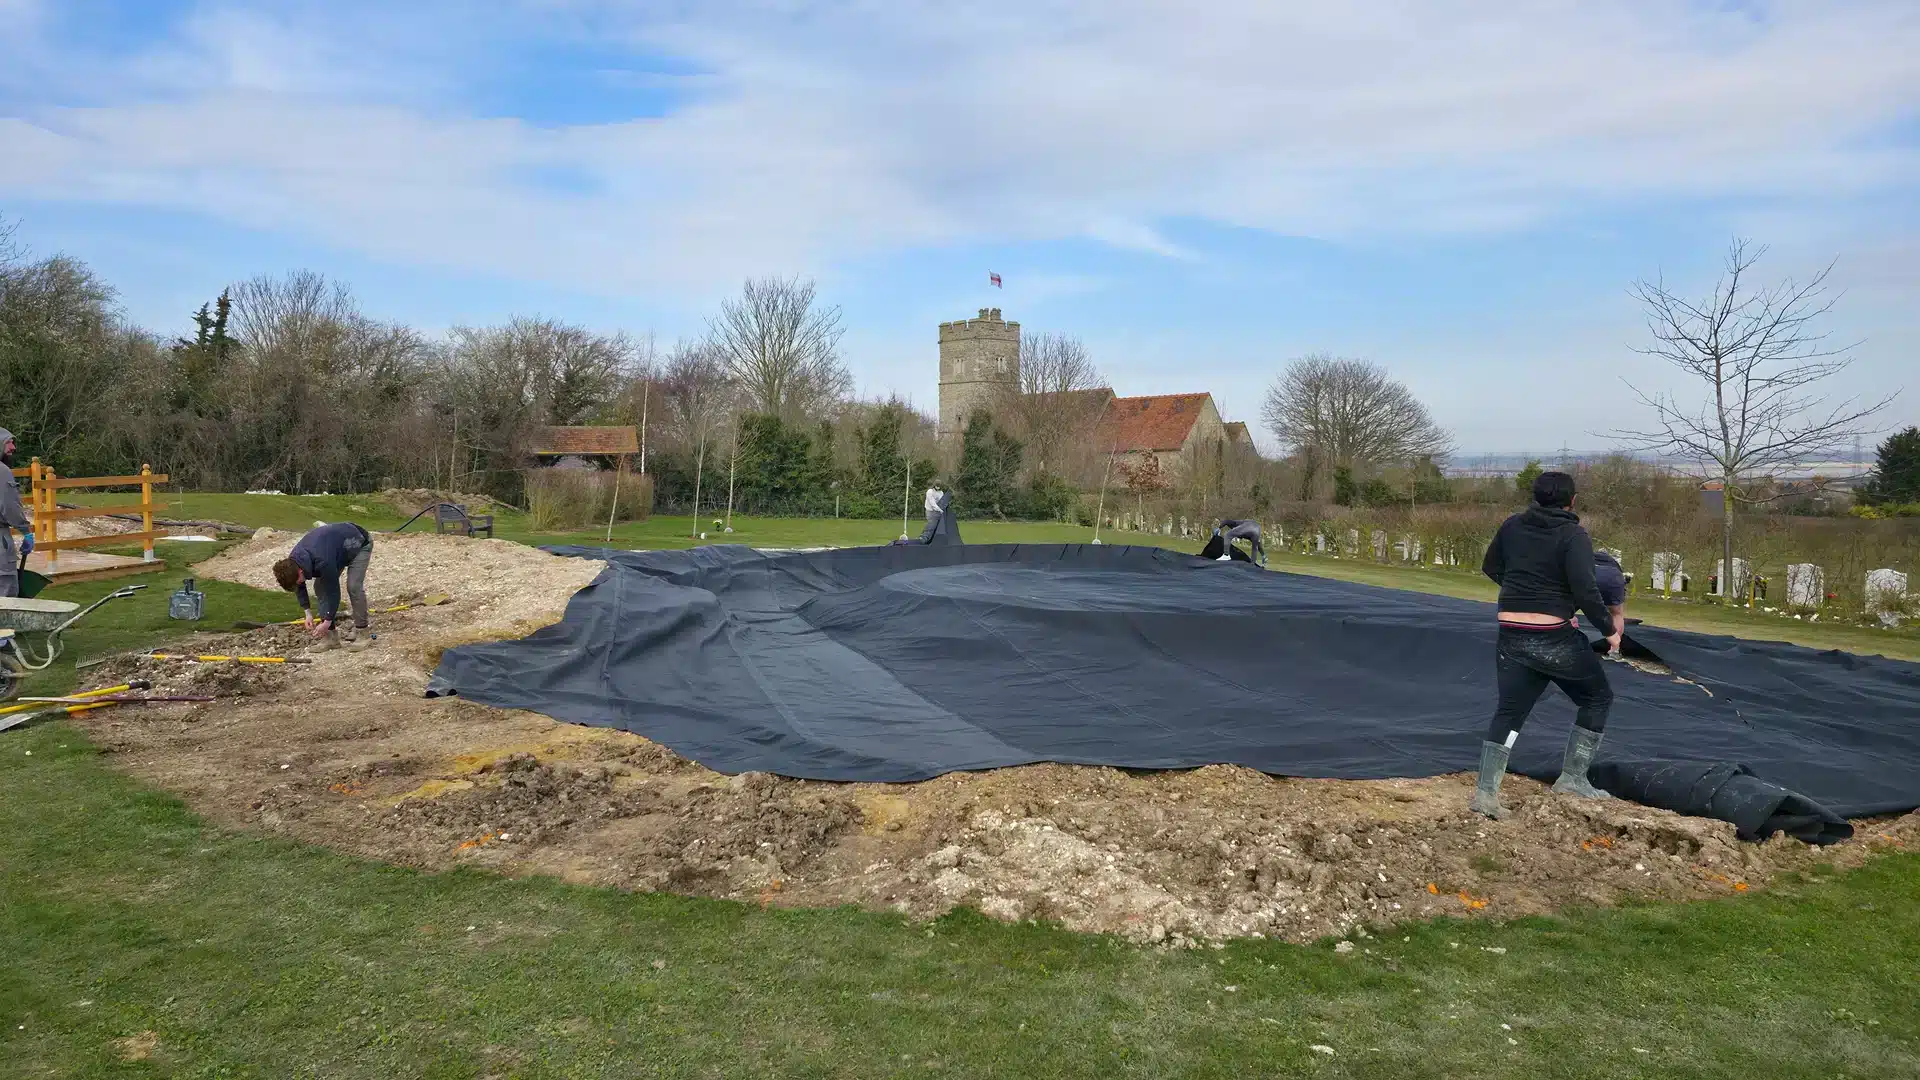
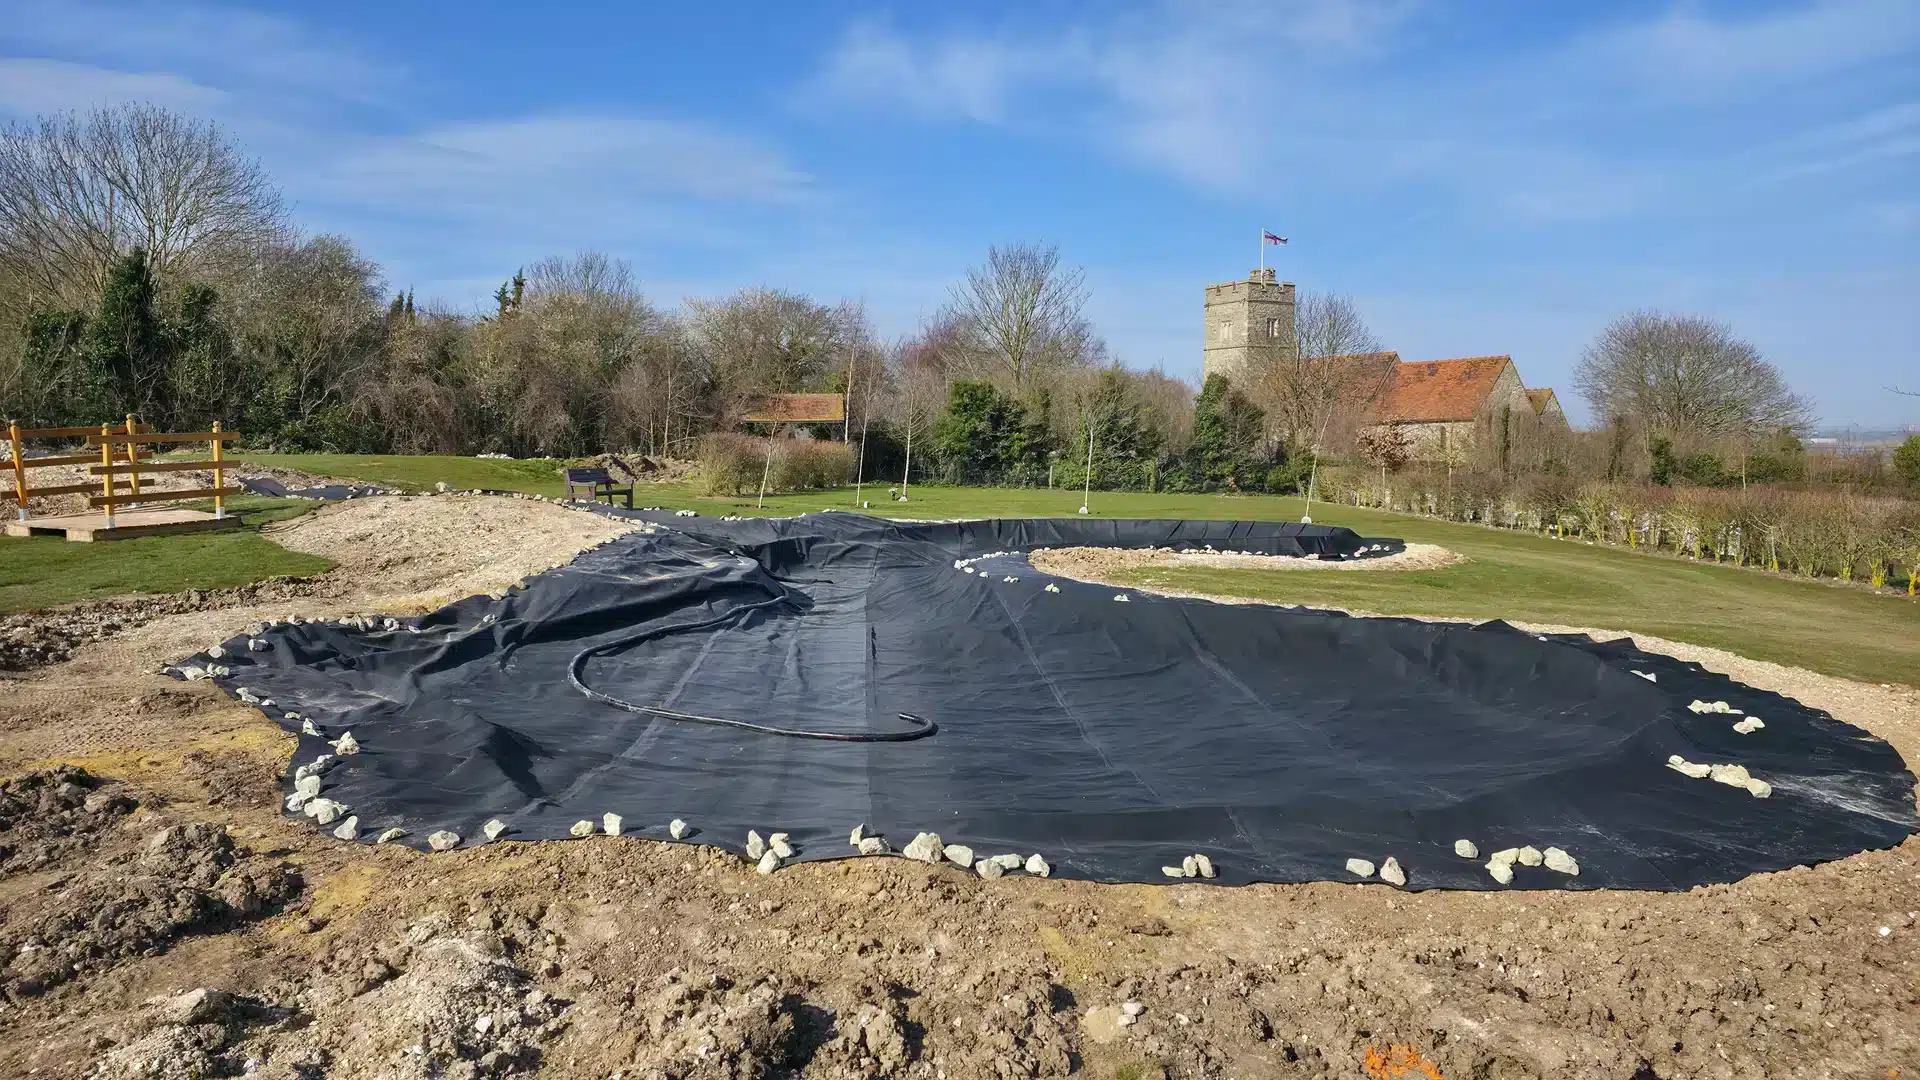
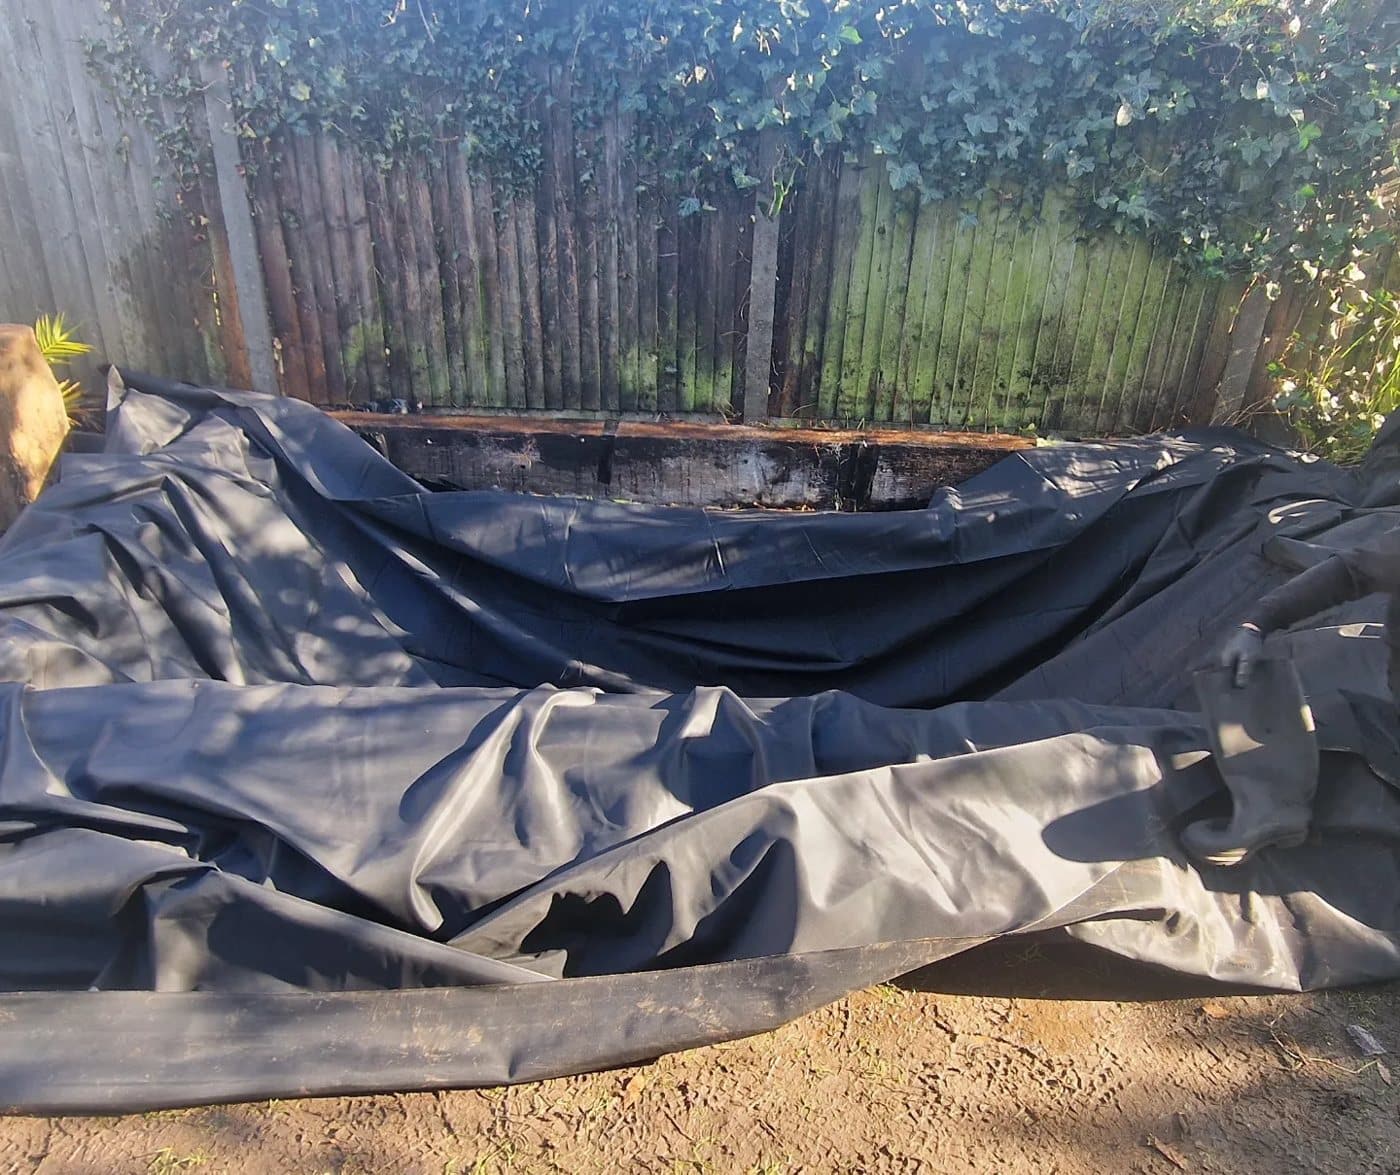
Unfold and arrange the membrane to follow the prepared profile, allowing it to rest against the base and sides. Move surplus carefully into manageable folds. The aim is a supported lining, with enough slack for the shape; stretching rubber across a corner merely because it will reach stores up a problem for filling.
Keep footwear, tools and working surfaces free from sharp grit. Protect the liner when equipment or stonework is placed, and avoid dragging objects across it. Where an installation needs mechanical handling or large panels, plan that work rather than improvising inside a partly lined excavation.
Fill gradually and watch what changes
As water is added, the sheet settles against the pond. Watch the folds and the allowance at every edge. Stop and assess a developing shortage or a section bridging a hollow while it is still possible to correct the arrangement safely. Do not pull against water-loaded material or reach beneath a heavy supported object to adjust it.
Leave the final trimming until the liner has settled and the fixing detail has been checked. Cutting to a neat-looking line while the pond is empty can remove material that is needed once it fills. Any manufacturer-specific fixing, relaxation or filling instructions take precedence over a general sequence.
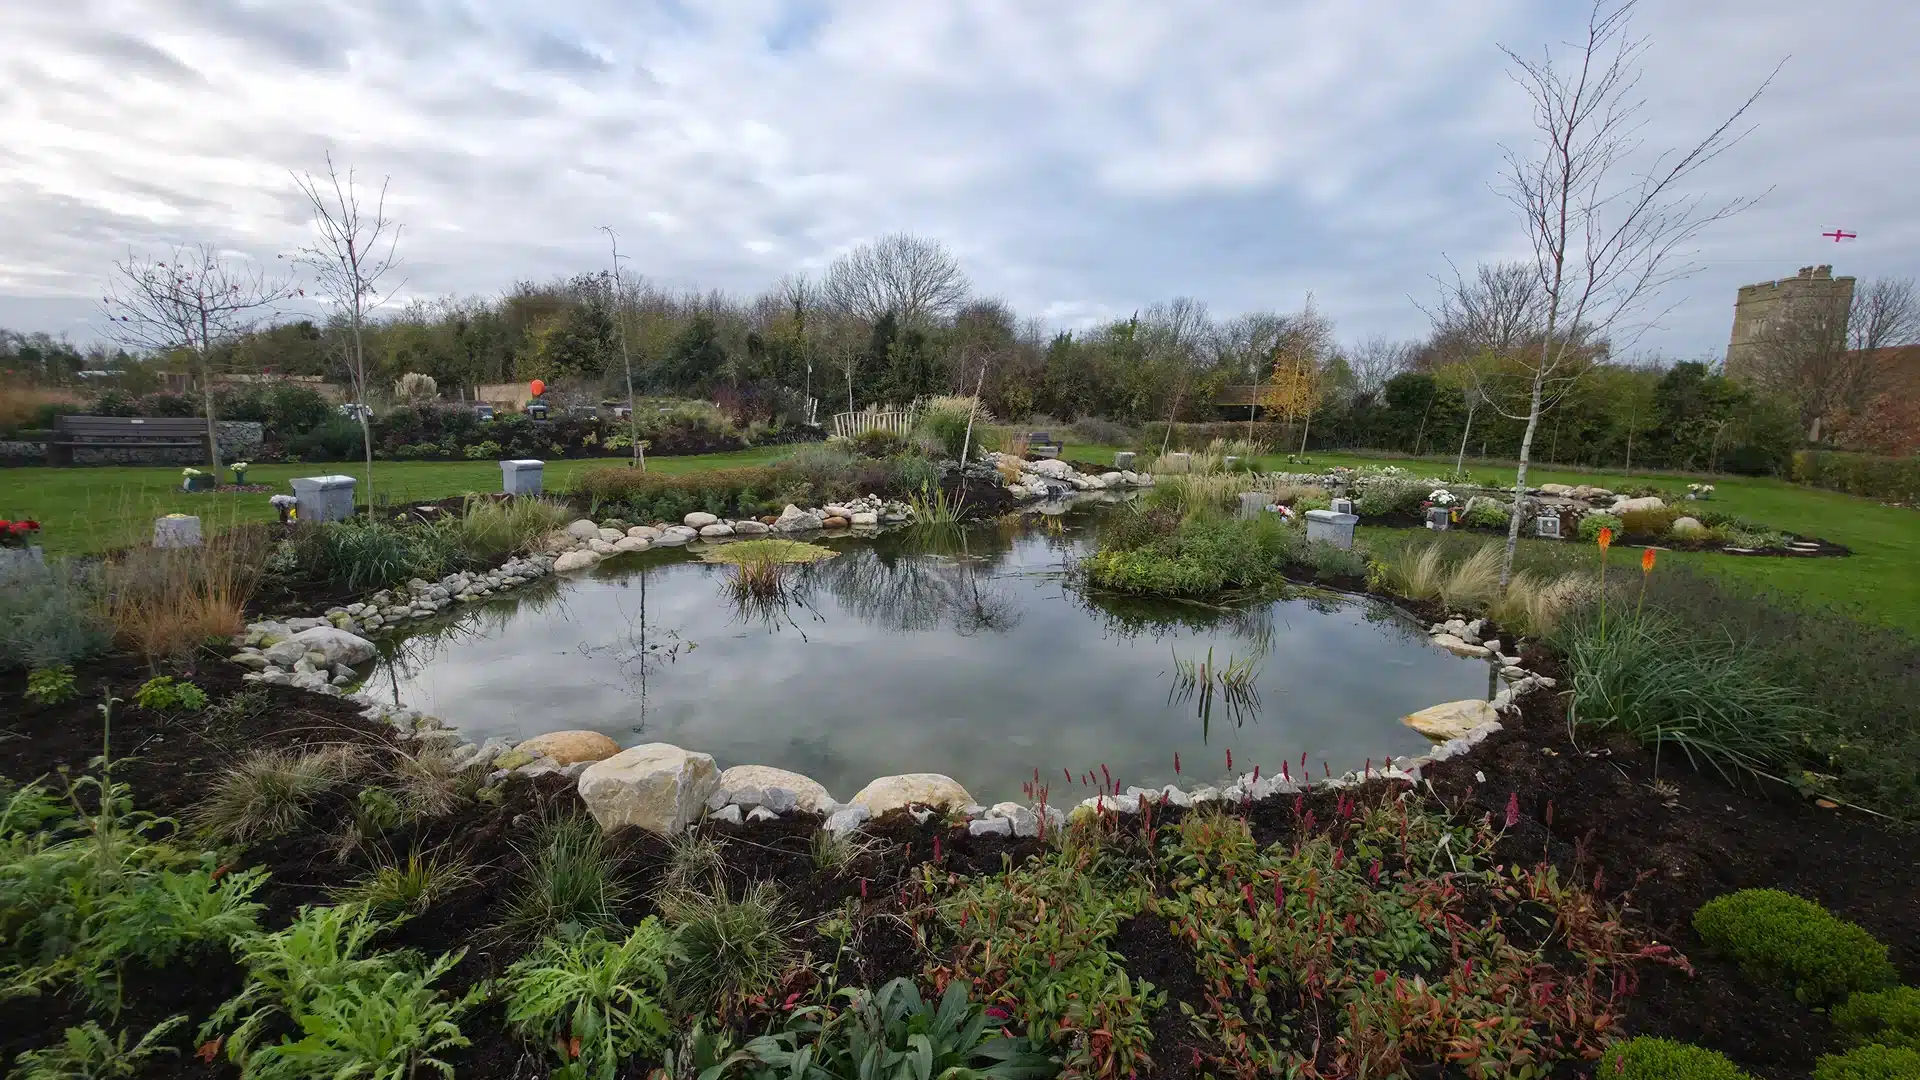
The photographs here show real installation stages, rather than a prescription for every pond. The sheet needs to suit its own excavation, edge and equipment connections. Retain access to fittings for testing before covering them with a permanent finish.
Finish the edge so water stays inside
The liner’s upper edge must work with the intended water level. A low section can allow water out even when the sheet itself is undamaged. Check the whole perimeter, including hidden corners behind planting, and test with the water feature running as well as with still water.
Plan where wet materials will meet the outside ground. Oase describes a capillary barrier at the pond edge: a detail that interrupts a route for water to move beyond the lined pond. Soil, planting media or other absorbent materials bridging that detail can undermine its purpose. The finish should make sense in section, not just look tidy from above.
A stream or waterfall also needs enough liner around its sides and beneath the return route. Look for splashing, low margins and stones redirecting flow outside the lined area. Pond and waterfall sections that appear to overlap from above still need a suitable watertight arrangement.
Leave the edge accessible until the normal running level and circulation have been checked. Once paving, heavy rocks or permanent edging cover a problem, correcting it becomes harder. Keep any necessary inspection points and equipment access clear in the finished design.
Plan bottom drains, skimmers and pipe penetrations early
Every opening through a liner needs the correct fitting and sealing detail. A liner flange clamps the membrane at a connection; it is not a general instruction to cut a hole and add a generous bead of sealant. The gasket arrangement, fasteners, sealant if required and cutting sequence depend on the actual fitting.
Check material compatibility with both the fitting and liner manufacturers. Follow the supplied instructions for preparation and tightening. A PVC pipe adhesive, an EPDM tape primer and an underwater sealant have different jobs. Similar black packaging does not make them interchangeable.
- Confirm the fitting size, pipe route and available access before lining.
- Support the connected pipework so it does not hang from the membrane.
- Keep the sealing surfaces clean and avoid folds crossing a clamping face.
- Test the connection before concealing it with stonework, backfill or a permanent edge.
Where a window, unusual penetration or awkward change of level is involved, have the whole detail agreed before ordering a shaped liner. A successful flat-sheet order does not resolve those connections automatically. Send the relevant drawings and fitting information if you want us to help check the combination.


Joining sheets requires a complete system
A single suitably sized panel can avoid an on-site seam, but large sheets may themselves contain factory-made joins. “Supplied as one sheet” and “manufactured without any seams” are different descriptions. Ask which construction is being supplied if that matters to the design.
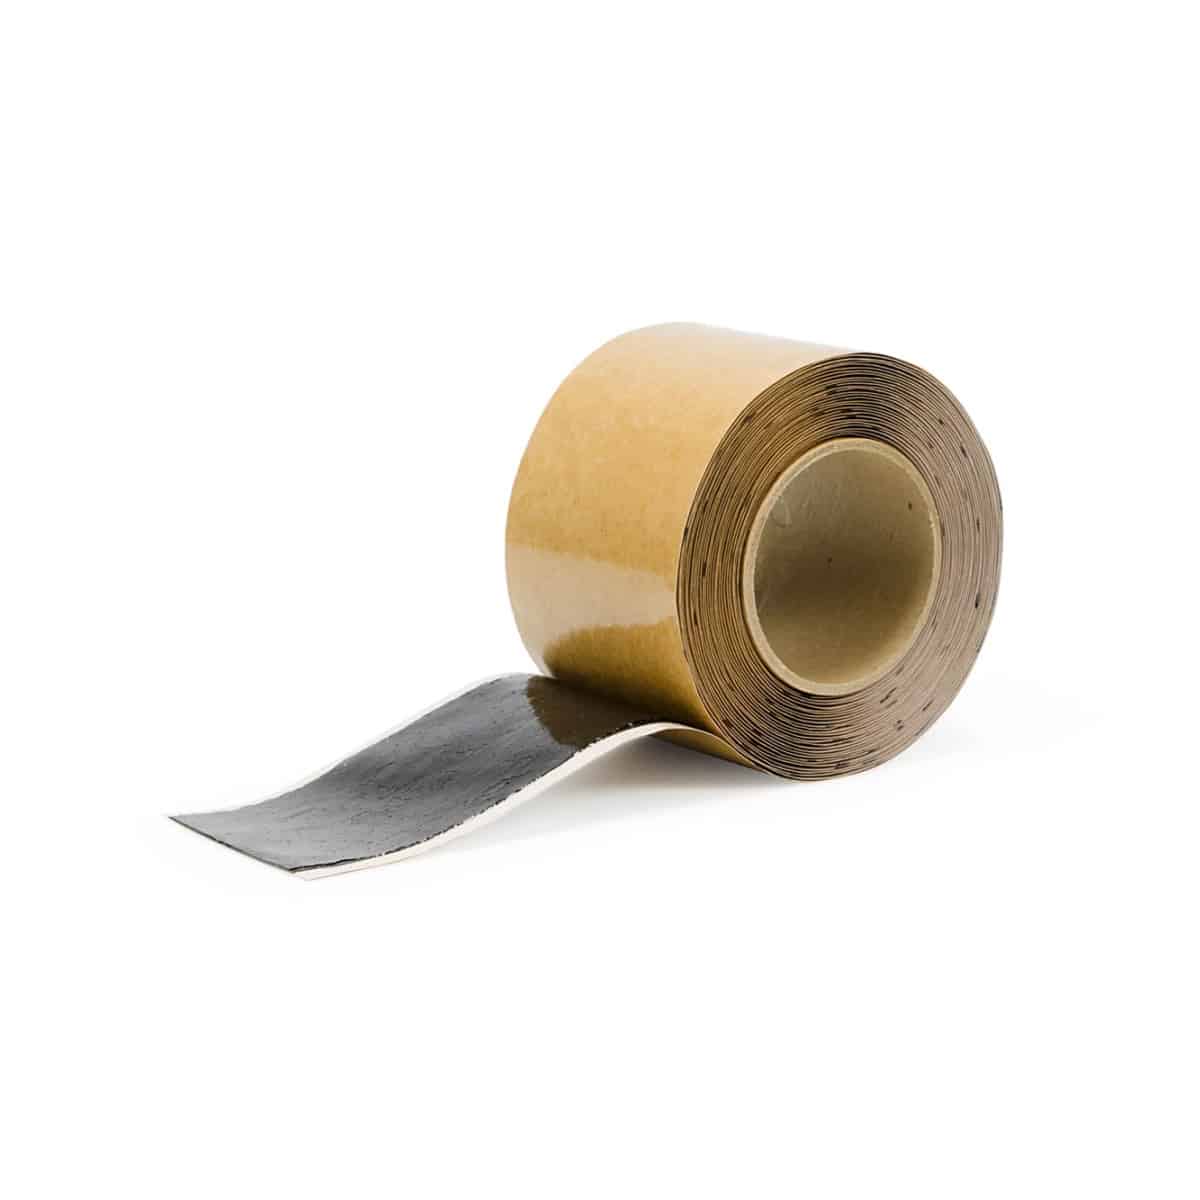
For site joining, use the membrane manufacturer’s compatible materials and instructions. Aquascape’s EPDM method uses prepared surfaces, tape primer, double-sided seam tape and cover tape as required. Its instructions call for a smooth overlap without wrinkles, correct pressure and proper preparation. Buying tape alone does not complete that system.
Plan a workable seaming area. It needs access for cleaning, applying the specified products and pressing the joint, rather than a crease trapped against a wall. Check how seam intersections and penetrations are to be finished. An overlap width or drying time quoted for one system must not be copied to another brand or type of tape.
PVC joining is different. Oase distinguishes heat-welded PVC joints from PVC adhesive used for smaller repairs or shorter straight joints. Do not use an EPDM tape method as a substitute for the PVC manufacturer’s procedure. Large or complicated site seams deserve specialist installation and inspection.
Keep the system instructions and product details with the pond records. They are useful if a later alteration needs to join to the existing lining, and far more reliable than trying to identify an old adhesive from its appearance.
A falling water level does not always mean a hole
Before exposing the liner, inspect the accessible edges, waterfall, stream, hoses and filter connections. Note whether the loss happens continuously or mainly when the water feature runs. Wet ground near a low edge can point to a different problem from a cut in the sheet.
Aquascape recommends comparing the water level with the waterfall pump off to help separate pond loss from the circulating route. In a fish pond, plan that test around the actual life-support system: maintain suitable water depth and aeration, and do not leave essential filtration switched off without a safe arrangement. Seek advice if the waterfall pump also provides the pond’s essential circulation.
Mark the level at a fixed point and record the conditions. If the level stabilises, inspect the perimeter and fittings around that height, but do not treat it as a precise hole locator. Evaporation, low edges and more than one source of loss can complicate the result. Do not allow a pond to drain to an unsafe depth while waiting for it to stop.
A visible puncture needs repair; it also needs an explanation. A sharp stone still pressing against the same spot, movement at a fitting or an unprotected rock above the liner can damage a new patch too. Correct the cause as part of the repair plan.
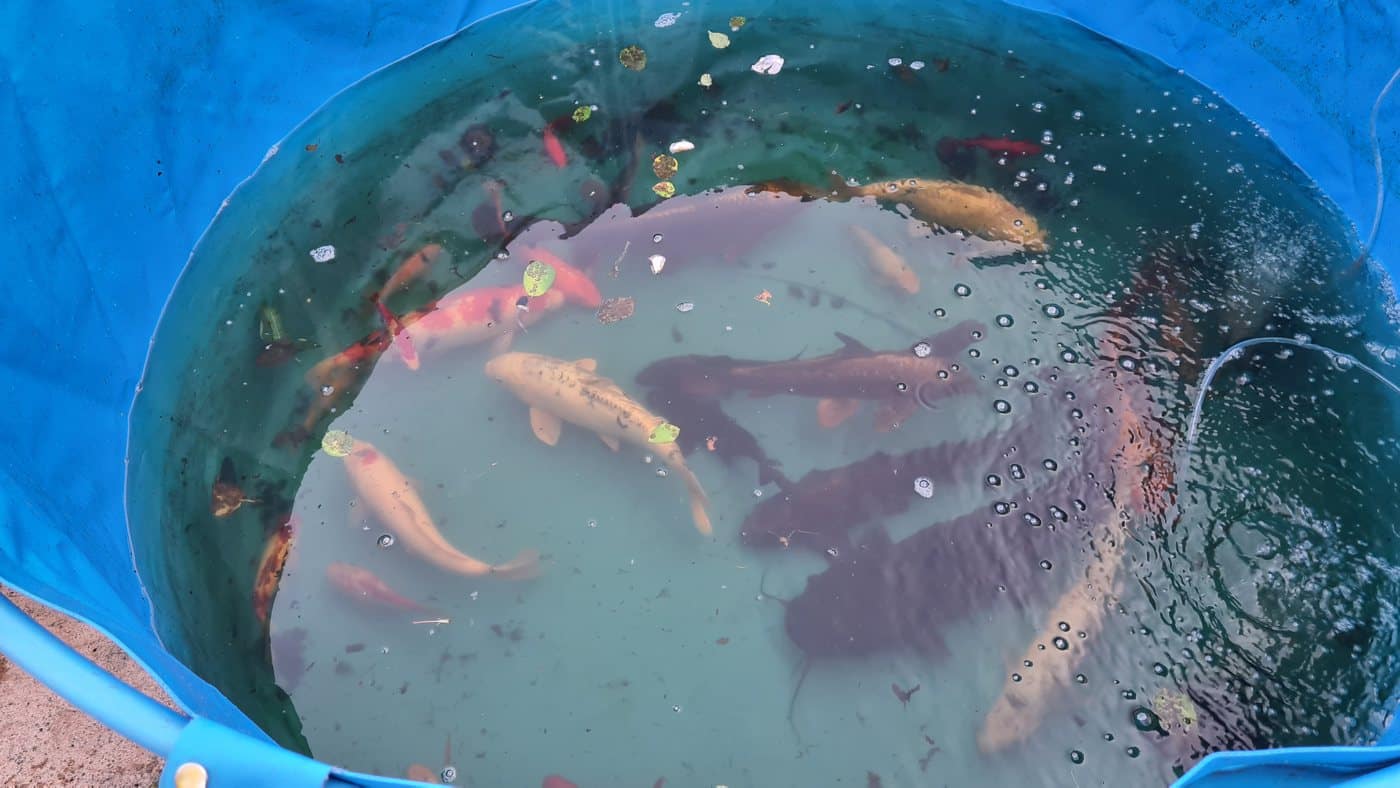
Choose the repair around the material and the damage
A small accessible puncture in otherwise serviceable liner is a different job from a split under a heavy wall, a failed fitting or widespread deteriorated material. Consider access and the surrounding condition before deciding that one patch will solve the problem.
EPDM patches and tape repairs
Aquascape identifies its liner patch, part 22018, as an 8-inch self-adhesive repair for holes, tears and cuts in EPDM. That does not establish compatibility with PVC, or with every unidentified rubber liner. Check the preparation directions and the sound material needed around the damage before selecting a repair size.
Where a tape system requires clean, dry and primed surfaces, prepare those conditions rather than applying it through algae or dampness. Primer is part of the joining process, not a substitute for cleaning a contaminated surface. Use the overlap, curing time and cleaner specified for the repair product; if those directions are missing, obtain them before starting.
PVC can have a different repair method
The Oase PVC pond liner repair kit, part 50843, is specifically described for PVC and permits repair with water remaining in the pond. Oase lists an application range of +5°C to +30°C. Follow the kit’s complete instructions; this is a product-specific exception to dry repair methods, not permission to use any adhesive underwater.
Do not assume that a tube marked “pond sealer” is the right product for a long seam, a load-bearing joint or a damaged drain connection. Establish the substrate and the job it must perform. If identification is uncertain, keep an offcut, receipt or old product label and ask before buying.
After any repair, follow the stated return-to-service conditions, refill safely and monitor the level with the relevant equipment operating. Record the repair location, date and products used. Repeated loss at the same point warrants reassessment rather than another layer of unrelated material.
Weather matters when cleaning, priming and bonding
Plan the repair window around the product instructions as well as the forecast. A surface that looks dry can develop condensation; rain, dust and moisture can interfere with a seam. A membrane remaining flexible in cold weather does not mean its adhesive can be applied at any temperature.
For example, Elevate’s PondGard installation guide excludes wet or contaminated seaming conditions and warns against using heat guns or flames to dry its primers and adhesives. Those are instructions for that system. Check the equivalent requirements for the liner and products you are actually using, including storage conditions and any limits on refilling.
Read the label and safety information before opening cleaners, primers or adhesives. Arrange the required ventilation and protection, keep ignition sources away where directed and use products without thinning or mixing them unless expressly instructed. Avoid turning a rushed wet-weather repair into a second problem.
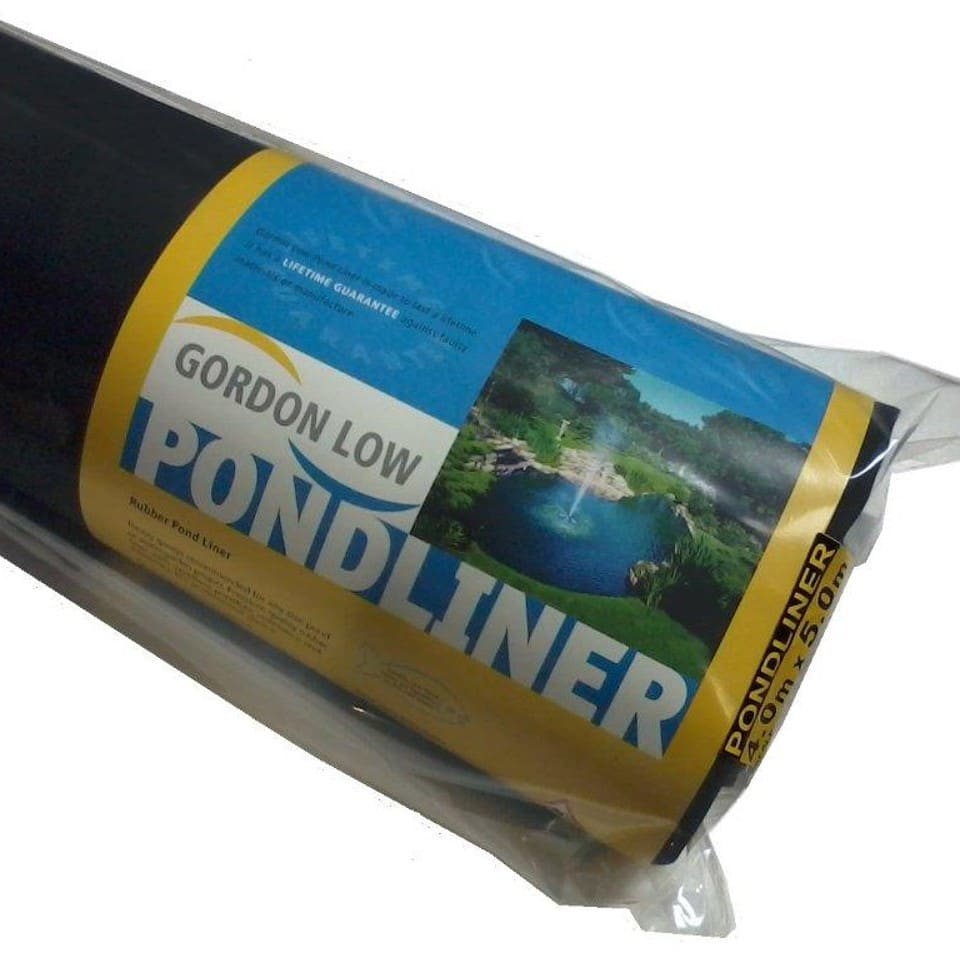
Compare the cost of the complete lining job
Compare quotations using the same required sheet dimensions, material and thickness. Then add the protection layers, any shaped manufacture or site seams, fittings, repair or bonding materials, edging and delivery. A low price per square metre can be misleading if the available pack leaves a large unusable offcut or excludes materials needed for the installation.
For a replacement, access can be as important as the sheet. Consider fish holding, water management, lifting edging, removing damaged material and restoring the finish. Ask what is included instead of assuming that “reline” covers every part of the pond and equipment.
Read a guarantee as a set of terms, not a predicted lifespan. Check who provides it, the exact product and sheet size covered, installation requirements, exclusions and evidence you must retain. A material guarantee should not be described as covering all installation damage, fittings or consequential costs unless its terms say so.
What we need to help you choose the right liner
Send a plan that shows the pond clearly. It need not be an architectural drawing for a simple flat sheet, but the dimensions and fixing detail must be understandable. For shaped work, use the full dimensioned information needed for manufacture.
- The pond: new build or replacement, finished internal dimensions, shelves and deepest point.
- The surface: soil, masonry or another construction, with photographs of awkward corners or damage.
- The water level and edge: how the perimeter will be secured and how much material that needs.
- The connections: drain, skimmer, pipe and window details, including the actual products where known.
- The order: a flat sheet or shaped liner, material, thickness and separately required underlay.
- The repair: existing liner identity, location and extent of damage, plus safe access and fish-care arrangements.
You can compare our pond liners and underlay once those requirements are clear, or contact us with the plan and photographs. We would rather help clarify a measurement or connection before the order than have you discover the problem after cutting the liner.
The checks worth keeping: the final drawing, order specification, liner label, fitting instructions and photographs of connections before they are concealed. Keep those together with any guarantee and repair records. They make future maintenance and alterations much easier to plan.