






PTFE Thread Sealing Tape – 12m Roll
| Product type | Thread sealing tape |
|---|---|
| Roll length | 12m |
| Pack quantity | 1 roll |
Single 12m roll of PTFE thread-sealing tape for suitable water-pipe connections. Check whether your joint seals on the thread or uses a washer or O-ring; follow the fitting manufacturer’s instructions. Fittings and tools sold separately.
£1.99 (inc VAT)
PTFE Thread Sealing Tape – 12m Roll
A single 12-metre roll of PTFE tape for water-pipe threaded connections where the fitting manufacturer specifies thread-sealing tape. It is a useful consumable to keep with your pond plumbing tools when assembling suitable threaded adaptors, valves and pump connections. This listing is for the tape only: pipe fittings, washers, sealants and tools are sold separately.
Before applying any tape, identify how the particular connection is designed to seal. Some joints seal along the threads; others use the thread only to pull an O-ring, gasket or washer against a flat face. The second type often needs no tape at all. The presence of a screw thread is therefore not, by itself, a reason to wrap it. Follow the instructions supplied with the pump, UV, valve or fitting.
Product details
- Product: PTFE thread-sealing tape.
- Roll length: 12 metres.
- Pack quantity: one roll.
- Application: suitable water-pipe threads, subject to the fitting manufacturer’s instructions.
- Not a replacement for solvent-weld cement, a hose clip, an O-ring or a liner repair patch.
Choose the correct plumbing components first, then the sealing method. Tape cannot make two different thread standards compatible, repair a cracked housing or compensate for a badly damaged thread. If a connection has been leaking repeatedly, inspect the fitting and its sealing surfaces instead of simply adding more material.
Check the connection before you start
Turn off the equipment and isolate the relevant pipework before opening a joint. Allow any pressure to dissipate and arrange a container for water that remains in the pipe. If the connection sits below pond level, make sure the isolation arrangement actually prevents the pond from draining through the open fitting. Keep electrical connections clear of water throughout the work.
Look for a rubber washer, an O-ring groove or a union face. For example, many pond heater unions are designed around supplied O-rings. Adding tape to the union nut does not repair a missing or pinched O-ring. Replace the correct seal where necessary and clean the mating surfaces. If the instructions call for a gasket, fit that gasket rather than trying to substitute a thread seal.
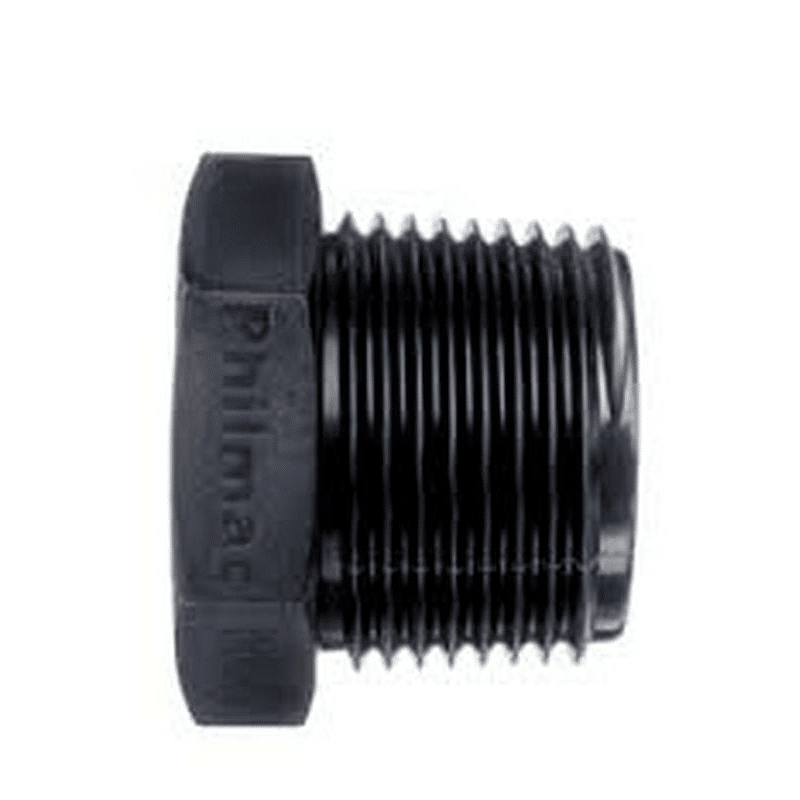
For a thread-sealed connection, check that both parts have the correct size, thread form and material compatibility. Nominal BSP sizes do not describe the outside diameter of a thread in ordinary inches. Match the fitting specification, not an approximate measurement of the pipe or hose beside it. Our BSP threaded reducers help connect appropriate different nominal sizes; check the male and female ends before ordering.
Applying tape to a suitable thread
Remove old tape and loose debris without scratching the fitting. Check that the thread is clean, intact and free of material that could prevent proper engagement. Follow the fitting manufacturer’s wrapping direction, coverage and assembly guidance. Keep loose tape away from the open water passage, where fragments could travel into equipment.
Start the connection by hand so that the threads engage squarely. If it immediately feels tight or sits at an angle, stop and check for cross-threading, an incorrect size or excessive tape. Do not force a connection together to overcome a mismatch. Plastic fittings can be damaged by overtightening, particularly where a rigid male fitting is screwed into a plastic female housing.
There is no universal number of turns of tape or tightening torque for every pond fitting. Thread dimensions, fitting materials and the manufacturer’s design all matter. Use the instructions for the actual connection instead of treating an internet rule of thumb as a specification. If a joint needs backing off to achieve alignment, follow the maker’s instructions for resealing and reassembly rather than assuming it remains watertight.
Check the finished joint
Restore water flow gradually and inspect the connection while the system is running normally. Dry the surrounding area first so that a fresh leak is easier to distinguish from water left over during maintenance. Watch for drips, movement or distortion, and check again after the equipment has been operating for a while.
If the joint leaks, isolate and depressurise it before adjusting or dismantling it. Avoid tightening a plastic housing progressively harder while the pump is operating. Find the cause: damaged threads, a displaced washer, incorrect alignment and unsuitable fittings need different remedies. Tape is a consumable used in a correctly designed connection, not a structural repair for failing equipment.
Plan the rest of the plumbing
Threaded joints, solvent-weld sockets and flexible hose connections have different assembly requirements. Use the specified cement for a solvent-weld joint, and correctly sized hose and suitable clips for a hosetail connection. A single product should not be expected to replace all three methods. Leave access around removable equipment so that future servicing does not require cutting apart otherwise sound pipework.
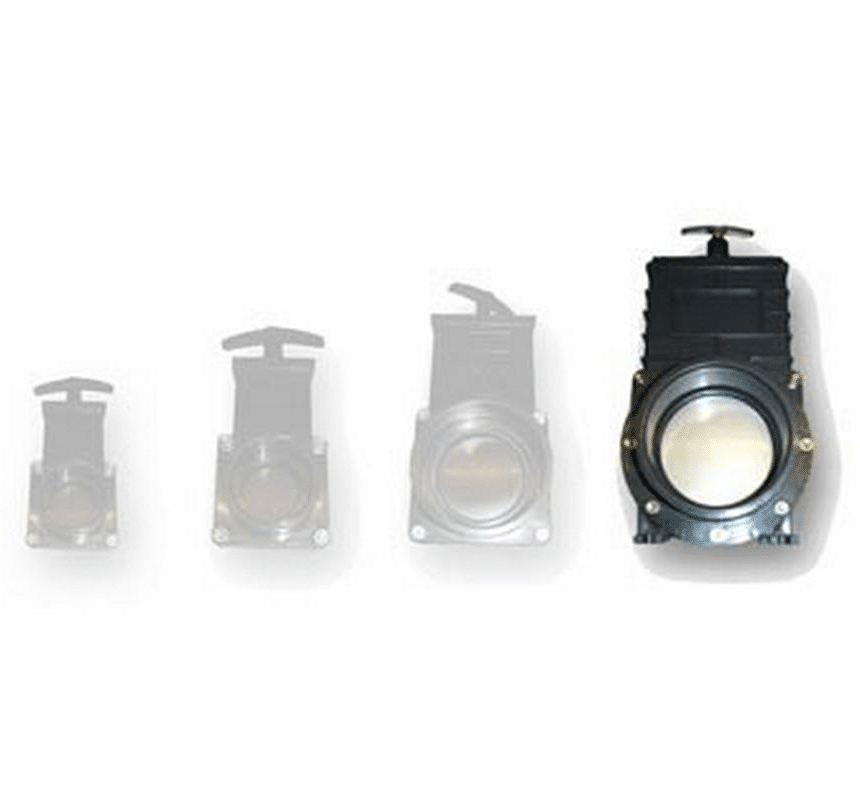
For pipework that needs isolation during maintenance, compare our Valterra slide valves and check the exact connection type. Those valves are a separate plumbing choice, not an indication that tape belongs on their solvent-weld sockets. Keep the remaining roll clean and protected from dirt so it is ready for the next suitable threaded joint.





Reviews
There are no reviews yet.