





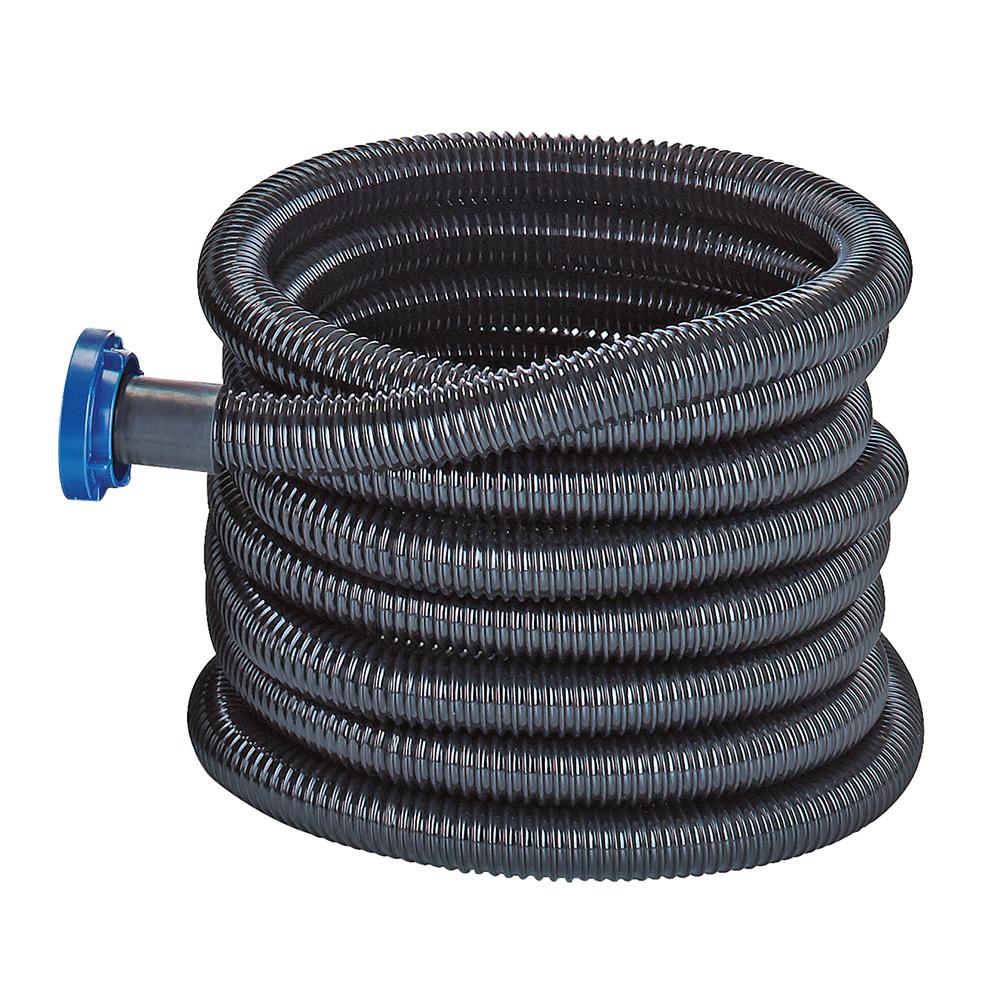
Oase PondoVac 5 Discharge Hose Extension – 43487
| Brand | |
|---|---|
| Compatible Model | PondoVac 5 |
| Part Number | 43487 |
| Accessory type | Dirty-water discharge hose extension |
Genuine Oase PondoVac 5 dirty-water discharge hose extension, part 43487. For the outlet side of the vacuum; separate from the suction hose and from the Classic/3/4 discharge extension kit.
£141.84 (inc VAT)
Oase PondoVac 5 Discharge Hose Extension
Direct dirty water away from the pond with the correct PondoVac 5 outlet hose
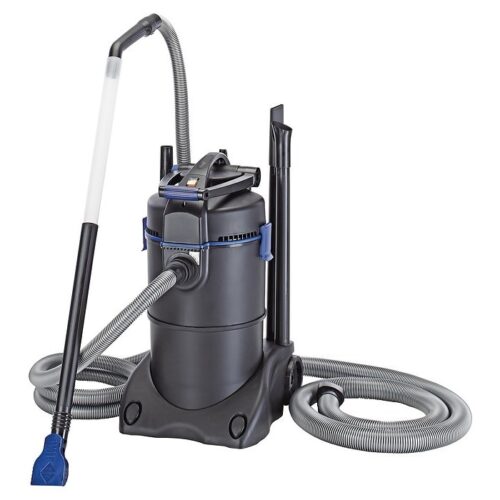
The Oase PondoVac 5 discharge hose extension, part 43487, is intended for the dirty-water outlet side of the PondoVac 5 pond vacuum. It helps you route the water being removed to a suitable discharge point while keeping the vacuum in a practical working position beside the pond. It is an accessory for the discharge system, rather than the suction hose that connects to the cleaning pipes and nozzles.
Choosing the correct hose matters because the PondoVac range uses different discharge arrangements. The PondoVac 5 has a pumped dirty-water outlet with a C-connection. If you already own a Classic, PondoVac 3 or PondoVac 4, compare the accessory specified for that model instead of selecting this part simply because the product name includes PondoVac.
Product identification
| Manufacturer | Oase |
|---|---|
| Part number | 43487 |
| Intended vacuum | PondoVac 5 |
| Purpose | Dirty-water discharge hose extension |
| Connection system | PondoVac 5 C-connection outlet system |
| Vacuum included | No; hose accessory only |
Discharge hose or suction hose?
The suction side draws water and debris from the pond into the vacuum. The discharge side carries the collected dirty water away from the machine. Extending the discharge route does not extend the reach of the cleaning nozzle into the pond. Keeping that distinction clear makes it easier to buy the accessory that actually solves your access problem.
If your existing outlet hose is damaged, inspect the hose and its couplings to identify the affected component before ordering. If you need a longer discharge route, measure the route the hose will follow around paths, planting and other obstacles. The straight-line distance to the destination may be shorter than the practical hose route. Allow room to position the vacuum securely and to reach its controls without stepping over the hose.
Designed for the PondoVac 5 system
The Oase PondoVac 5 combines suction with a separate dirty-water pump. Oase uses a C-connection on the pressure side to provide the intended outlet connection. Use compatible hose fittings and check that the connection seals correctly before cleaning the pond. A loose or unsuitable outlet connection can release dirty water beside the machine instead of carrying it to your chosen destination.
The hose does not change the vacuum’s pumping limits. Extra hose length, bends and changes in level affect the discharge route, so follow the PondoVac 5 instructions when planning the layout. Avoid kinks, crushed sections and unnecessary tight bends. Do not assume that an extension allows the machine to pump to any height or distance.
Plan a suitable dirty-water outlet
Choose the discharge point before starting the vacuum. Make sure it can receive the volume of water you expect to remove without overflowing or allowing dirty water to run back towards the pond. Position the hose outlet so that it will stay in place as water starts to flow. Keep the end visible where practical so you can notice a restriction or unexpected change in flow.
Keep the route clear of doors, sharp edges and places where vehicles or garden equipment could crush the hose. A sensible layout also reduces trip hazards while you move around the pond. Where the route crosses a working area, stop and rearrange it before continuing rather than repeatedly dragging the vacuum or pulling on its connections.
Connecting and checking before use
Switch off and isolate the vacuum before changing its hose arrangement. Check the coupling faces and seals for trapped grit, debris or visible damage. Bring the connectors together squarely and secure them as directed in the vacuum instructions. Do not force a damaged connection or use the hose to pull the machine into position.
Start with a short operational check and watch the discharge route. Confirm that water reaches the intended destination, the connectors remain secure and no water escapes around the machine. If discharge becomes restricted, stop the vacuum and investigate the hose, outlet and relevant components before resuming. Continued suction with an unsuitable discharge arrangement can interrupt cleaning and create avoidable mess.
Cleaning and storage
After use, follow the vacuum instructions for cleaning the dirty-water circuit. Remove retained debris, drain the hose and allow it to dry before storage. Store it without sharp folds or heavy objects resting on it. Inspect the couplings again before the next session, particularly if the hose has been moved around a rough pond edge or dragged across paving.
Regular checks are useful even when the hose appears sound. Look for abrasion, splits, crushed areas and damage near the ends, where handling places more strain on the material. Replacing a damaged component before the next pond clean is easier than dealing with a leak halfway through the job.
Related PondoVac accessories
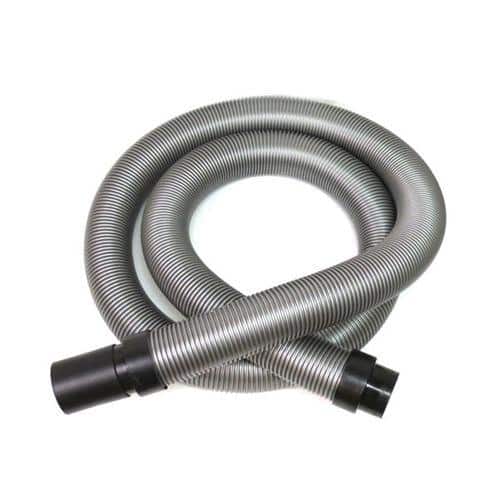
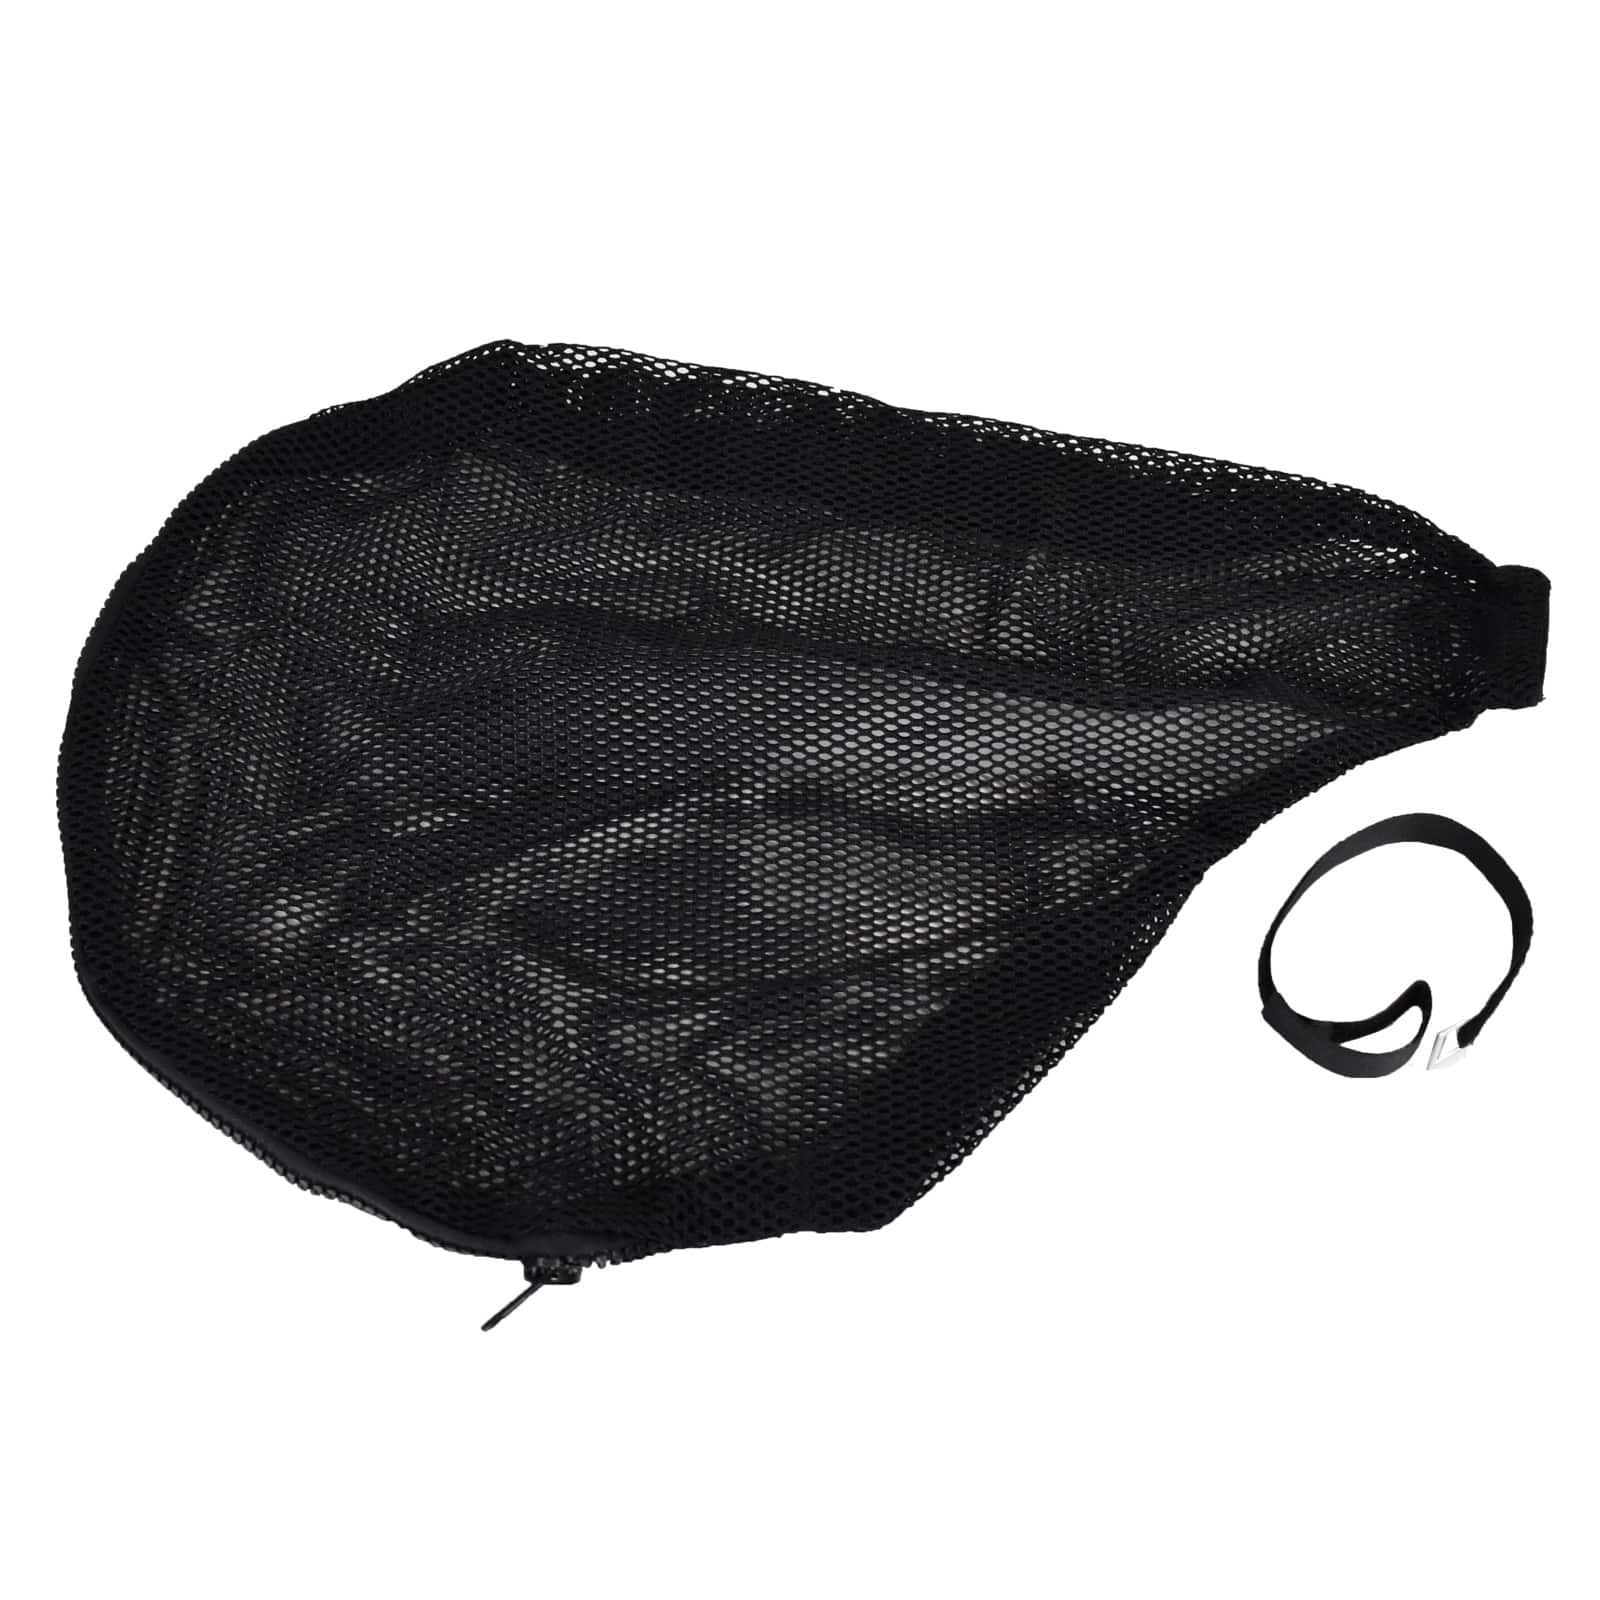
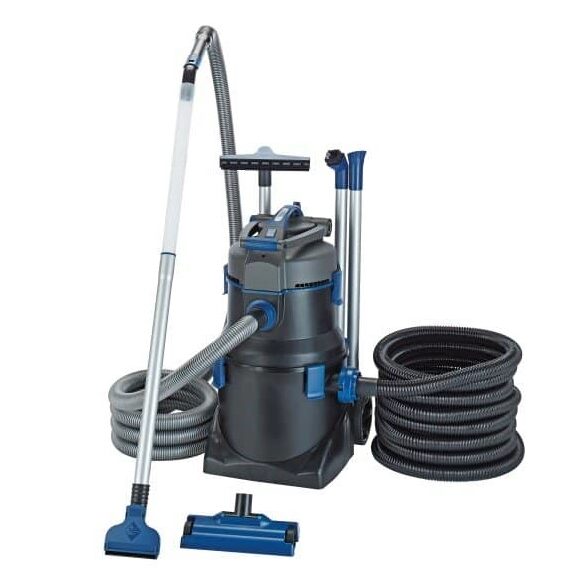
For a Classic, PondoVac 3 or PondoVac 4, see the Oase 2.5m discharge extension kit and check its stated compatibility. PondoVac 5 owners can also compare the PondoVac 5 debris bag with strap when reviewing service items. If you need help identifying a hose or connection, send us the vacuum model and a photograph of the existing outlet before ordering.





Reviews
There are no reviews yet.