






Brass Gate Valves – Female BSP Connections
| Material | Brass |
|---|---|
| Connection type | Female BSP x female BSP |
| Valve type | Gate valve |
| BSP thread size | 1/2 inch BSP, 3/4 inch BSP, 1 inch BSP, 1 1/4 inch BSP, 1 1/2 inch BSP |
Brass handwheel gate valves with female BSP connections at both ends. Choose 1/2, 3/4, 1, 1 1/4 or 1 1/2 inch nominal thread size. Valve only; connecting adaptors and sealing materials are separate.
Price range: £7.92 through £24.50 (inc VAT)
Brass Gate Valves with Female BSP Connections
These brass gate valves provide a hand-operated shut-off point in compatible threaded water pipework. Both ends have female BSP connections, so they connect to matching male-threaded fittings rather than accepting plain pipe directly. Choose the nominal thread size from the options: 1/2 inch, 3/4 inch, 1 inch, 1 1/4 inch or 1 1/2 inch.
A gate valve can be useful where you want to isolate a section of a water system for maintenance. The handwheel raises or lowers the internal gate. Plan the position so that you can reach the wheel, inspect the joints and remove surrounding equipment without dismantling an unnecessarily large part of the installation. The valve, connecting fittings and the rest of the system must all suit the intended application.
Sizes and connections
| Nominal size | Inlet | Outlet | Supplier reference |
|---|---|---|---|
| 1/2 inch | Female BSP | Female BSP | PN010 |
| 3/4 inch | Female BSP | Female BSP | PN011 |
| 1 inch | Female BSP | Female BSP | PN012 |
| 1 1/4 inch | Female BSP | Female BSP | PN013 |
| 1 1/2 inch | Female BSP | Female BSP | PN013A |
The stated size identifies the BSP connection. It is not a measurement of the outside of the valve body and should not be treated as the outside diameter of a plastic pipe. Check the markings and specification of the fitting you are connecting to, including its thread standard and gender. Two components described with the same nominal inch size are not automatically a compatible joint.
These are valve-only options. Male adaptors, hose tails, unions and thread-sealing materials are separate. If your existing line uses plain solvent-weld pipe, you will need the correct transition fitting. A flexible hose also needs a suitable hose tail: it should not be pushed directly over a threaded valve connection.
Gate valve or ball valve?
A gate valve uses a handwheel and a moving gate, whereas a ball valve uses a rotating ball and normally a quarter-turn handle. Consider the available operating space and the way you want to service the line. A handwheel needs access above and around it; a lever needs room to move through its operating arc.
Choose this type for an isolation position rather than assuming that it is a calibrated flow controller. The number of turns of a handwheel does not provide a flow-rate reading. If the equipment needs a measured water supply, use its specified method of checking flow and select any regulating components accordingly.
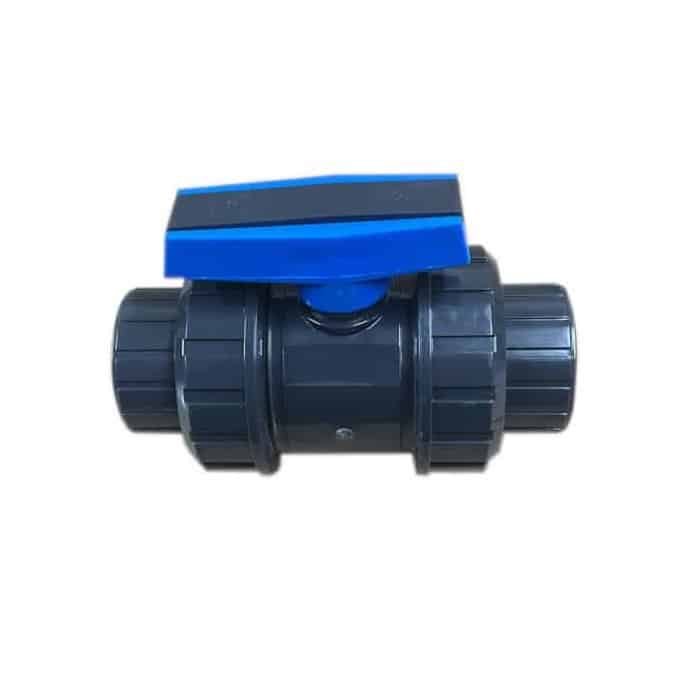
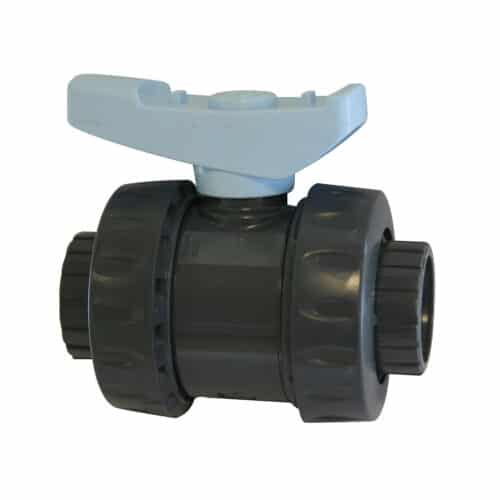
For an alternative designed around glued pressure-pipe connections, compare our ERA pressure pipe ball valves. For a slide mechanism, browse the pond building supplies range. Connection type matters as much as the operating mechanism, so check the complete arrangement before choosing.
Planning the installation
Identify what will happen when the valve closes. A valve fitted on a pump line does not remove the need to switch off and isolate the relevant equipment before maintenance. Avoid an arrangement in which a running pump can be left against a closed line. Follow the pump and filter instructions for their required isolation, draining and restart sequence.
Support the pipework and attached equipment so their weight is not carried by the valve threads. Include space to inspect each connection after installation. If future removal is important, plan suitable demountable connections rather than relying on being able to rotate a long assembled length of pipe.
Where an adaptor or reducer is needed, identify both sides separately. Our BSP threaded reducers can help with suitable changes in nominal thread size, but a reducer is not a substitute for a correct seal or compatible thread form. Keep the fittings list with your pipework measurements to avoid mixing waste-pipe, pressure-pipe and threaded dimensions.
Fitting and checking the joints
Isolate and drain the relevant part of the water system before replacing a valve. Clean and inspect the mating threads, and stop if either fitting is damaged. Use a sealing method approved for the particular joint and materials. The valve should align with the pipework naturally; it should not be used to pull misaligned pipes into position.
When tightening, support the appropriate fitting surfaces rather than using the handwheel as a lever. Do not keep applying force to a joint that will not engage correctly. Cross-threading can damage the components and leave a connection that appears tight but does not seal reliably.
Return the system to service using its normal filling and leak-check procedure. Inspect the body and both connections, then check again once the installation has settled into normal operation. If a joint leaks, isolate it and investigate the cause rather than tightening it repeatedly while the system is running.
Important selection points
This listing does not assign an unverified pressure rating, temperature rating or drinking-water approval to these supplier references. Nor does a brass construction alone establish suitability for every pond treatment, salt concentration or water chemistry. Use the component specification supplied with the valve when checking the working conditions of your installation.
Keep the selected size and supplier reference with your maintenance records. If replacing an existing valve, compare its connections and the available installation space before removing it. That simple check makes it easier to have the correct adaptors and sealing materials ready, and reduces the time the water system is out of service.





Reviews
There are no reviews yet.