






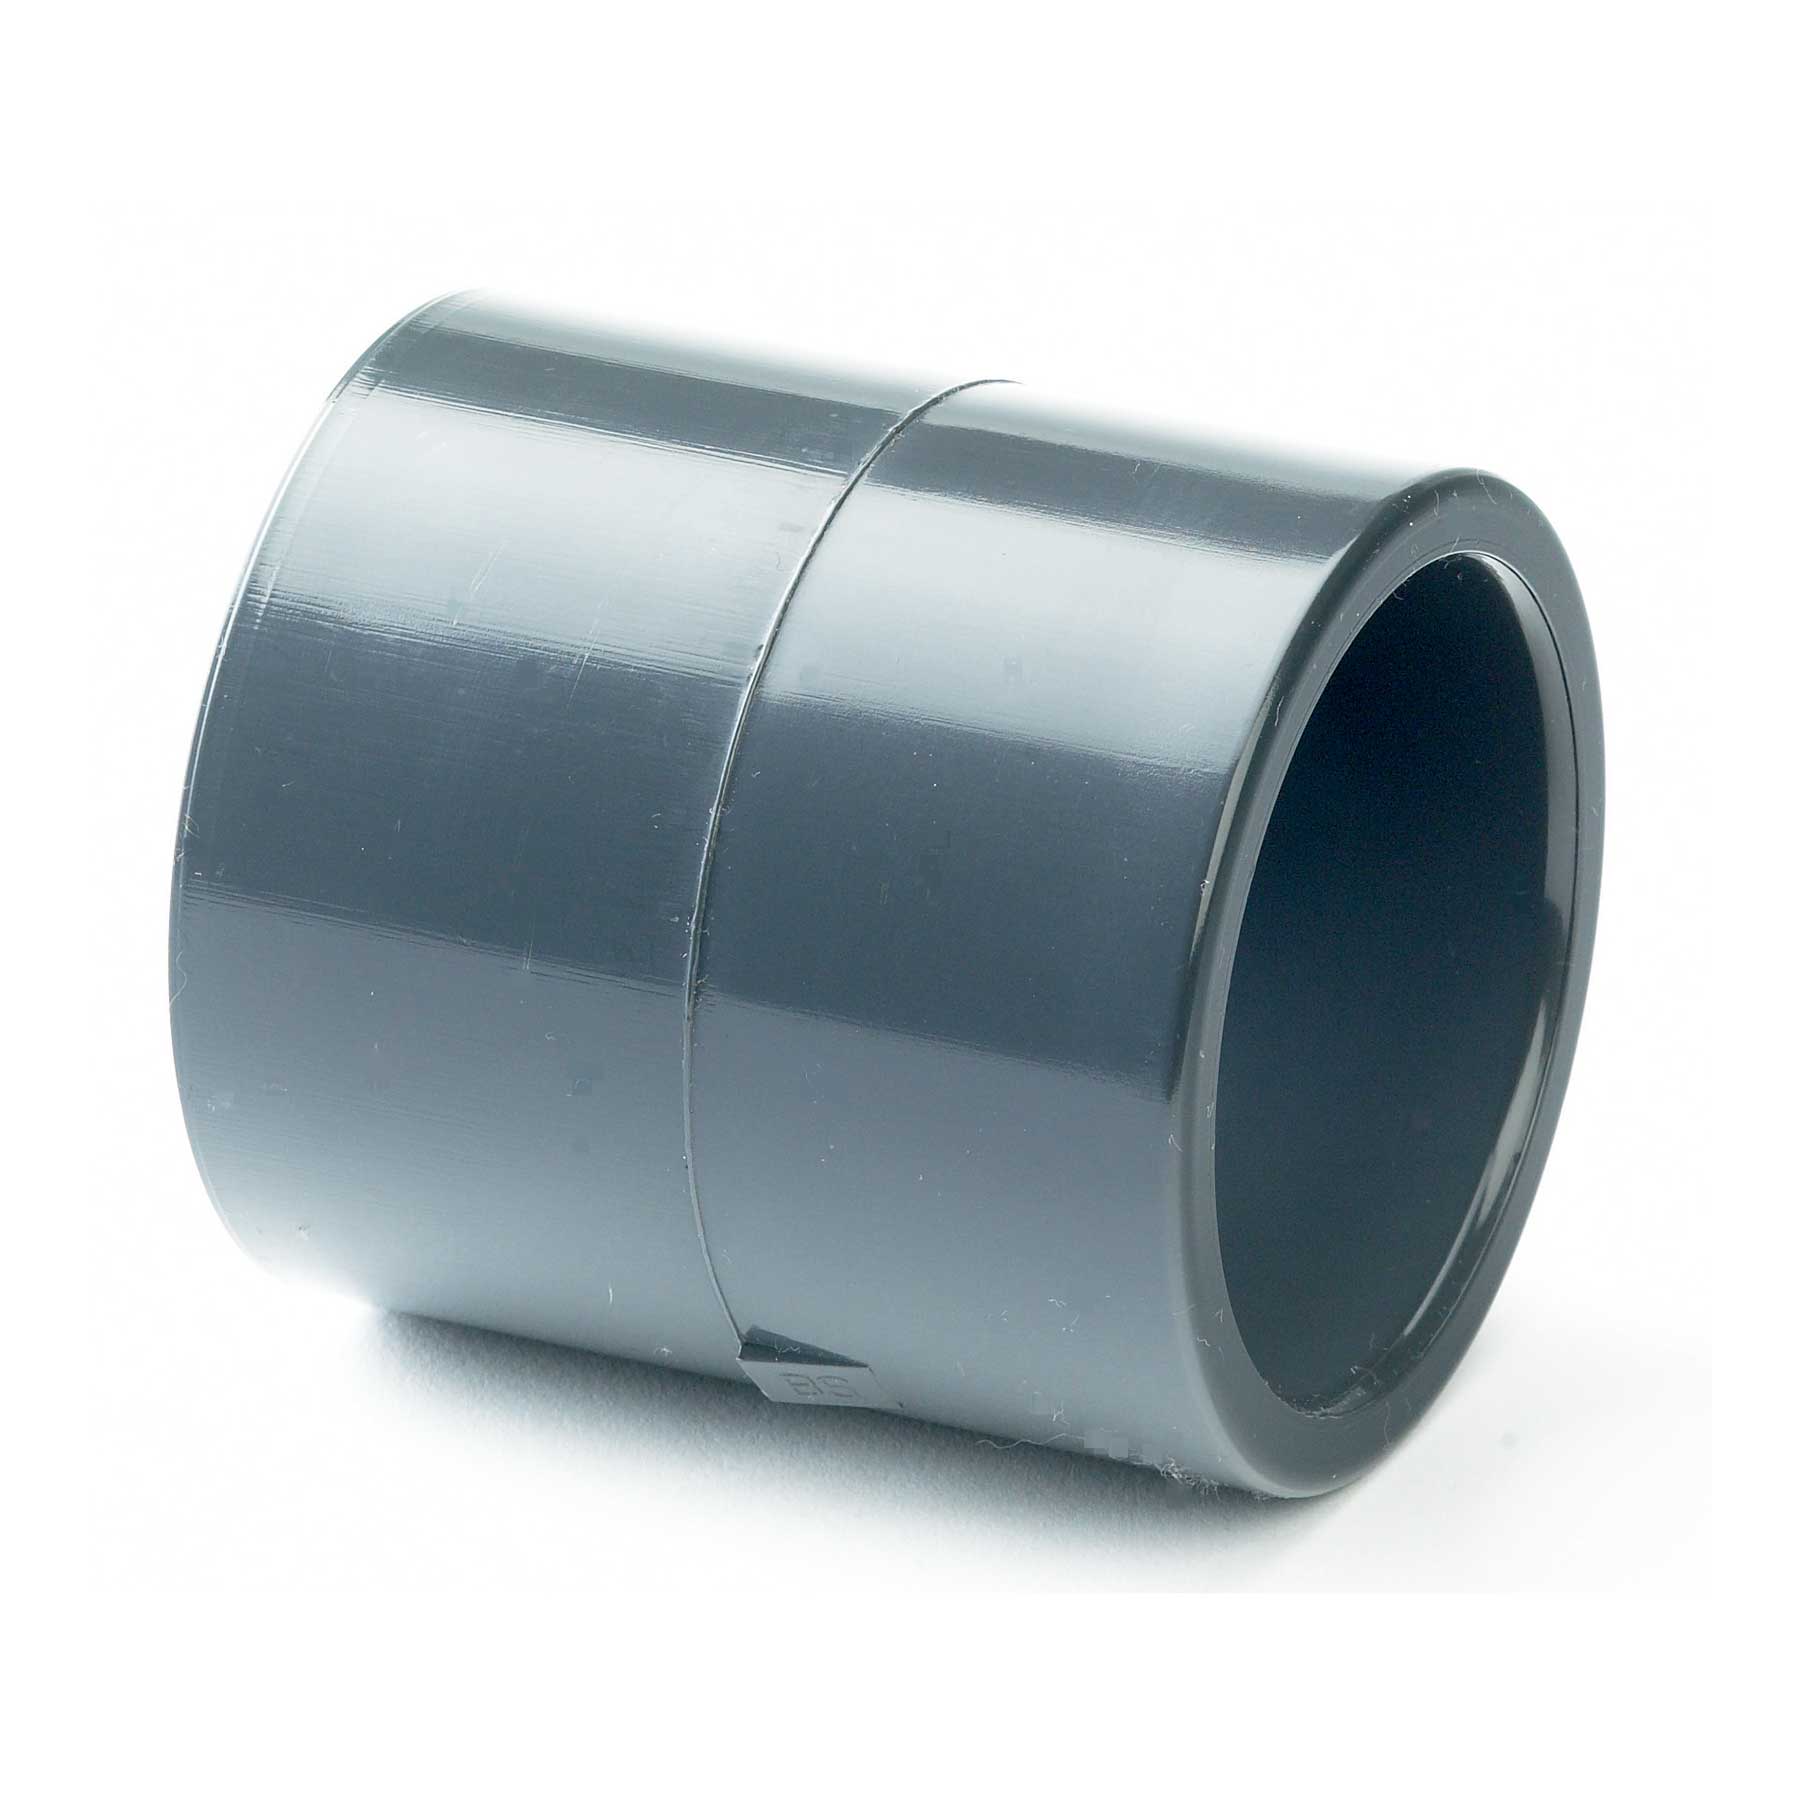
PVC Plain Adaptor Socket – 1 inch Imperial to 32mm Metric
| Material | PVC |
|---|---|
| Connection type | Plain solvent-weld sockets |
| Connection size | 1 inch imperial × 32mm metric |
Plain PVC adaptor socket joining 1 inch imperial pressure pipe to 32mm metric pressure pipe. Solvent-weld socket at both ends; not a threaded adaptor. Supplier reference PSP071.
£1.55 (inc VAT)
1 inch to 32mm PVC Plain Adaptor Socket
This PVC adaptor socket joins a 1 inch imperial pressure-pipe connection to a 32mm metric pressure-pipe connection. Both ends are plain sockets for solvent-weld assembly. It is useful when part of a pond system uses imperial pressure pipe and another section uses metric pipe, allowing the transition to be made with a purpose-sized fitting.
The distinction between the two sizes matters. Imperial 1 inch pressure pipe has an outside diameter of approximately 33.4mm, while the matching metric pipe has a 32mm outside diameter. They are close in size but are not interchangeable. This adaptor provides the correct change between those two systems without trying to make one pipe fit an unsuitable socket.
Connection details
| Supplier reference | PSP071 |
|---|---|
| Material | PVC |
| Imperial end | 1 inch plain pressure-pipe socket |
| Metric end | 32mm plain pressure-pipe socket |
| Joint type | Solvent-weld socket to socket |
| Supplied | One adaptor socket |
This fitting is not a BSP threaded adaptor and does not screw onto a pump outlet. If the equipment has a threaded connection, identify that thread separately and use the appropriate threaded fitting. A plain socket receives matching pipe or a suitable plain spigot; it cannot form a threaded seal.
It is also different from a rubber reducing connector and from a socket-to-spigot bush. The shape of the mating ends determines which components can be connected. Check the complete route from the equipment to the pipework before ordering, rather than choosing fittings solely because their names contain the same nominal sizes.
Measure the actual pipe
Read any markings on the existing pipe and measure its outside diameter. Do not rely on the inside opening, since wall thickness varies between pipe types. Check whether the pipe is imperial pressure pipe, metric pressure pipe, solvent-weld waste pipe or push-fit waste pipe. Similar descriptions do not mean their outside diameters and jointing systems match.
For this adaptor, identify the imperial 1 inch and metric 32mm pressure-pipe sides clearly. A pipe described as 32mm waste pipe is not automatically the same product as 32mm metric pressure pipe. The required connection should be established from the actual pipe specification and measurement before any permanent joint is made.
Where an existing component has a plain spigot instead of a length of pipe, check that its external dimension and material suit the socket and jointing method. Do not remove material from a mismatched spigot, heat a socket to enlarge it or use excessive cement to fill an unsuitable gap.
Planning the connection
Allow space for the adaptor and the required insertion at each end when measuring pipe lengths. A change between pipe systems can shift the position of nearby bends, valves or equipment. Support the pipework so that the adaptor is not being used to pull misaligned components together.
Consider future maintenance before completing the joints. This is a permanent solvent-weld fitting, so it does not provide the convenient disconnection offered by a union. If a pump, clarifier or other component needs regular removal, place a suitable union or the equipment’s specified detachable connection where it will remain accessible.
The adaptor does not establish the pressure rating of the complete installation. Use the limits of the actual pipework, fittings and equipment, including any temperature restrictions. Check the specification supplied with each component when planning a pressurised installation, since the lowest-rated part can limit the system.
Solvent-weld assembly
Use solvent cement and any cleaner specified for the actual PVC components. Follow the cement manufacturer’s preparation, working-time and curing instructions. Isolate and drain the affected system before work, and prepare clean, square pipe ends using a suitable method for the pipe material.
Check the layout and insertion positions before applying cement. Keep the mating surfaces clean and free of water or debris, and assemble in accordance with the jointing instructions. Once the cement has started to set, do not try to reposition the pipework by twisting the completed joint.
Allow the required cure time before filling or pressurising the system. Dry-to-touch is not the same as ready for water service, and the necessary time can depend on the adhesive, conditions and application. Use the product instructions instead of a universal waiting period.
Checking the completed installation
Return the system to service carefully and inspect both joints for leakage. Check that connected pipework is supported and that opening a valve or restarting a pump does not move the assembly. If a joint leaks, isolate the system and identify the fault; coating the outside with extra cement is not a reliable repair for an incorrectly formed joint.
For matching pipe and other components, browse our pond building supplies. Where other metric-to-imperial sizes are needed, compare the Aqua Source pressure-pipe converters, checking their individual connection arrangements.
If the job instead needs a threaded transition, see our BSP threaded reducers. Choosing the correct connection type at the planning stage avoids buying a threaded fitting for a plain socket or a plain adaptor for a screw-on equipment outlet.



Reviews
There are no reviews yet.