






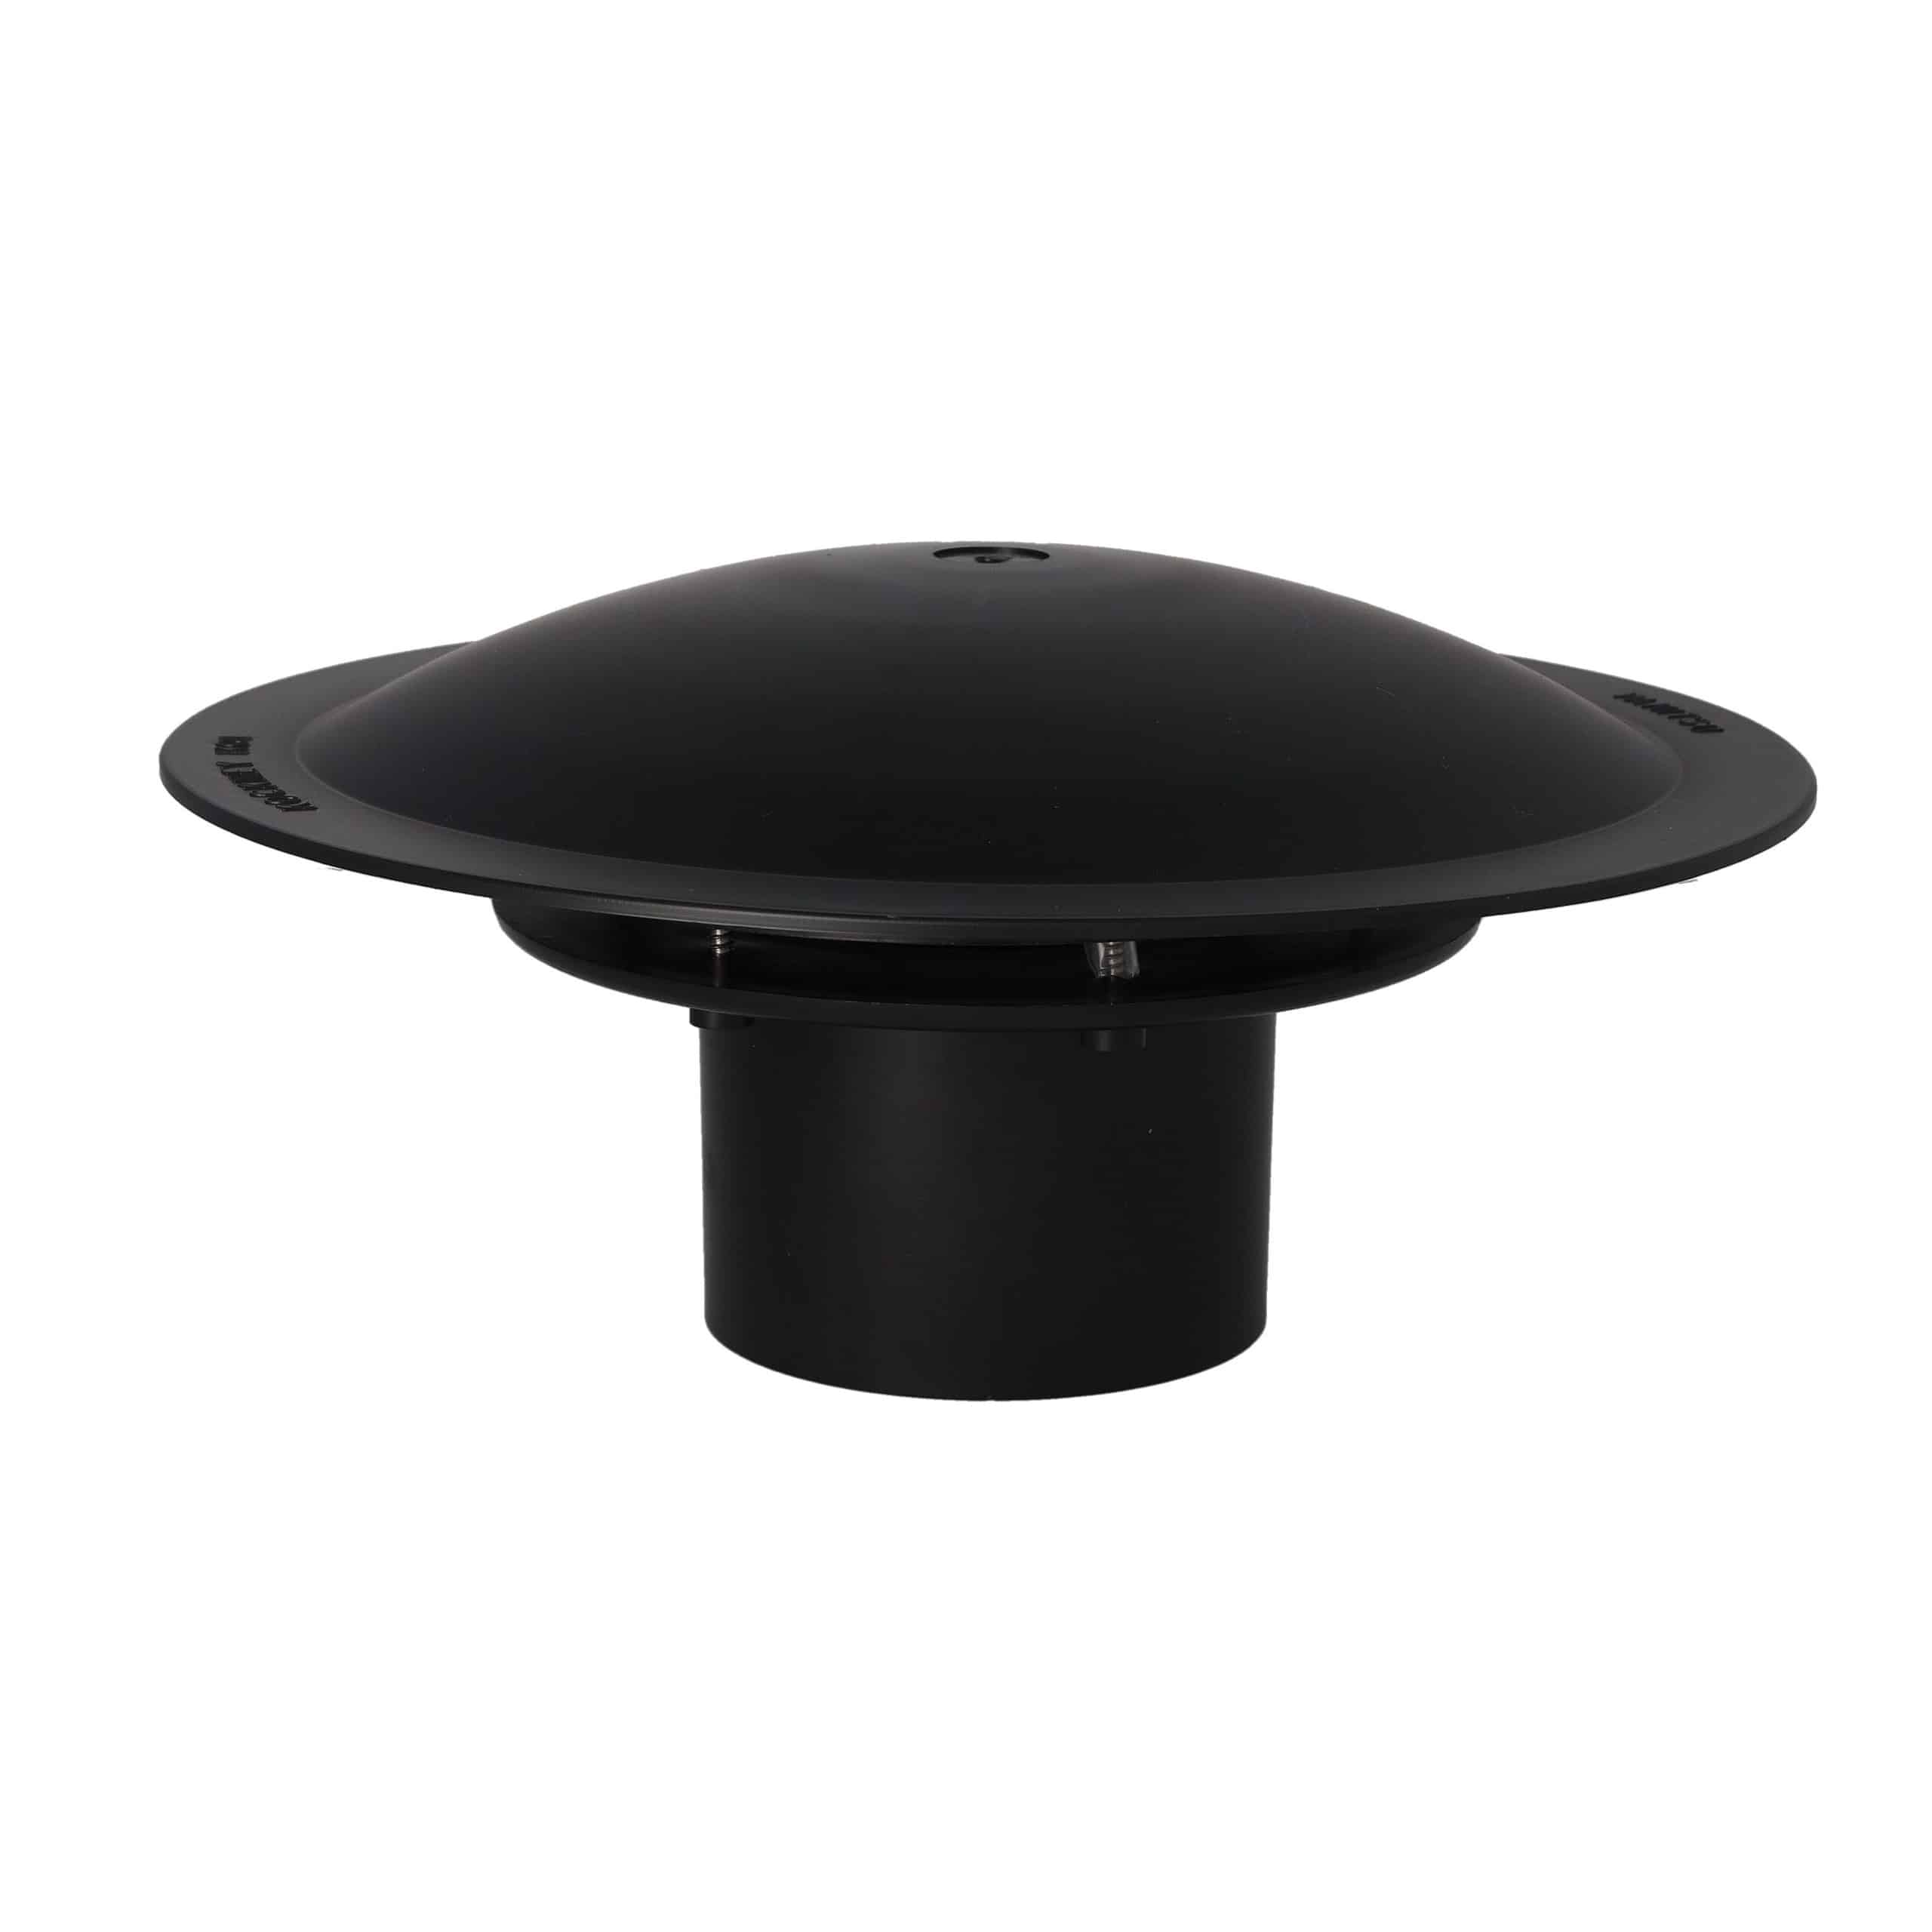
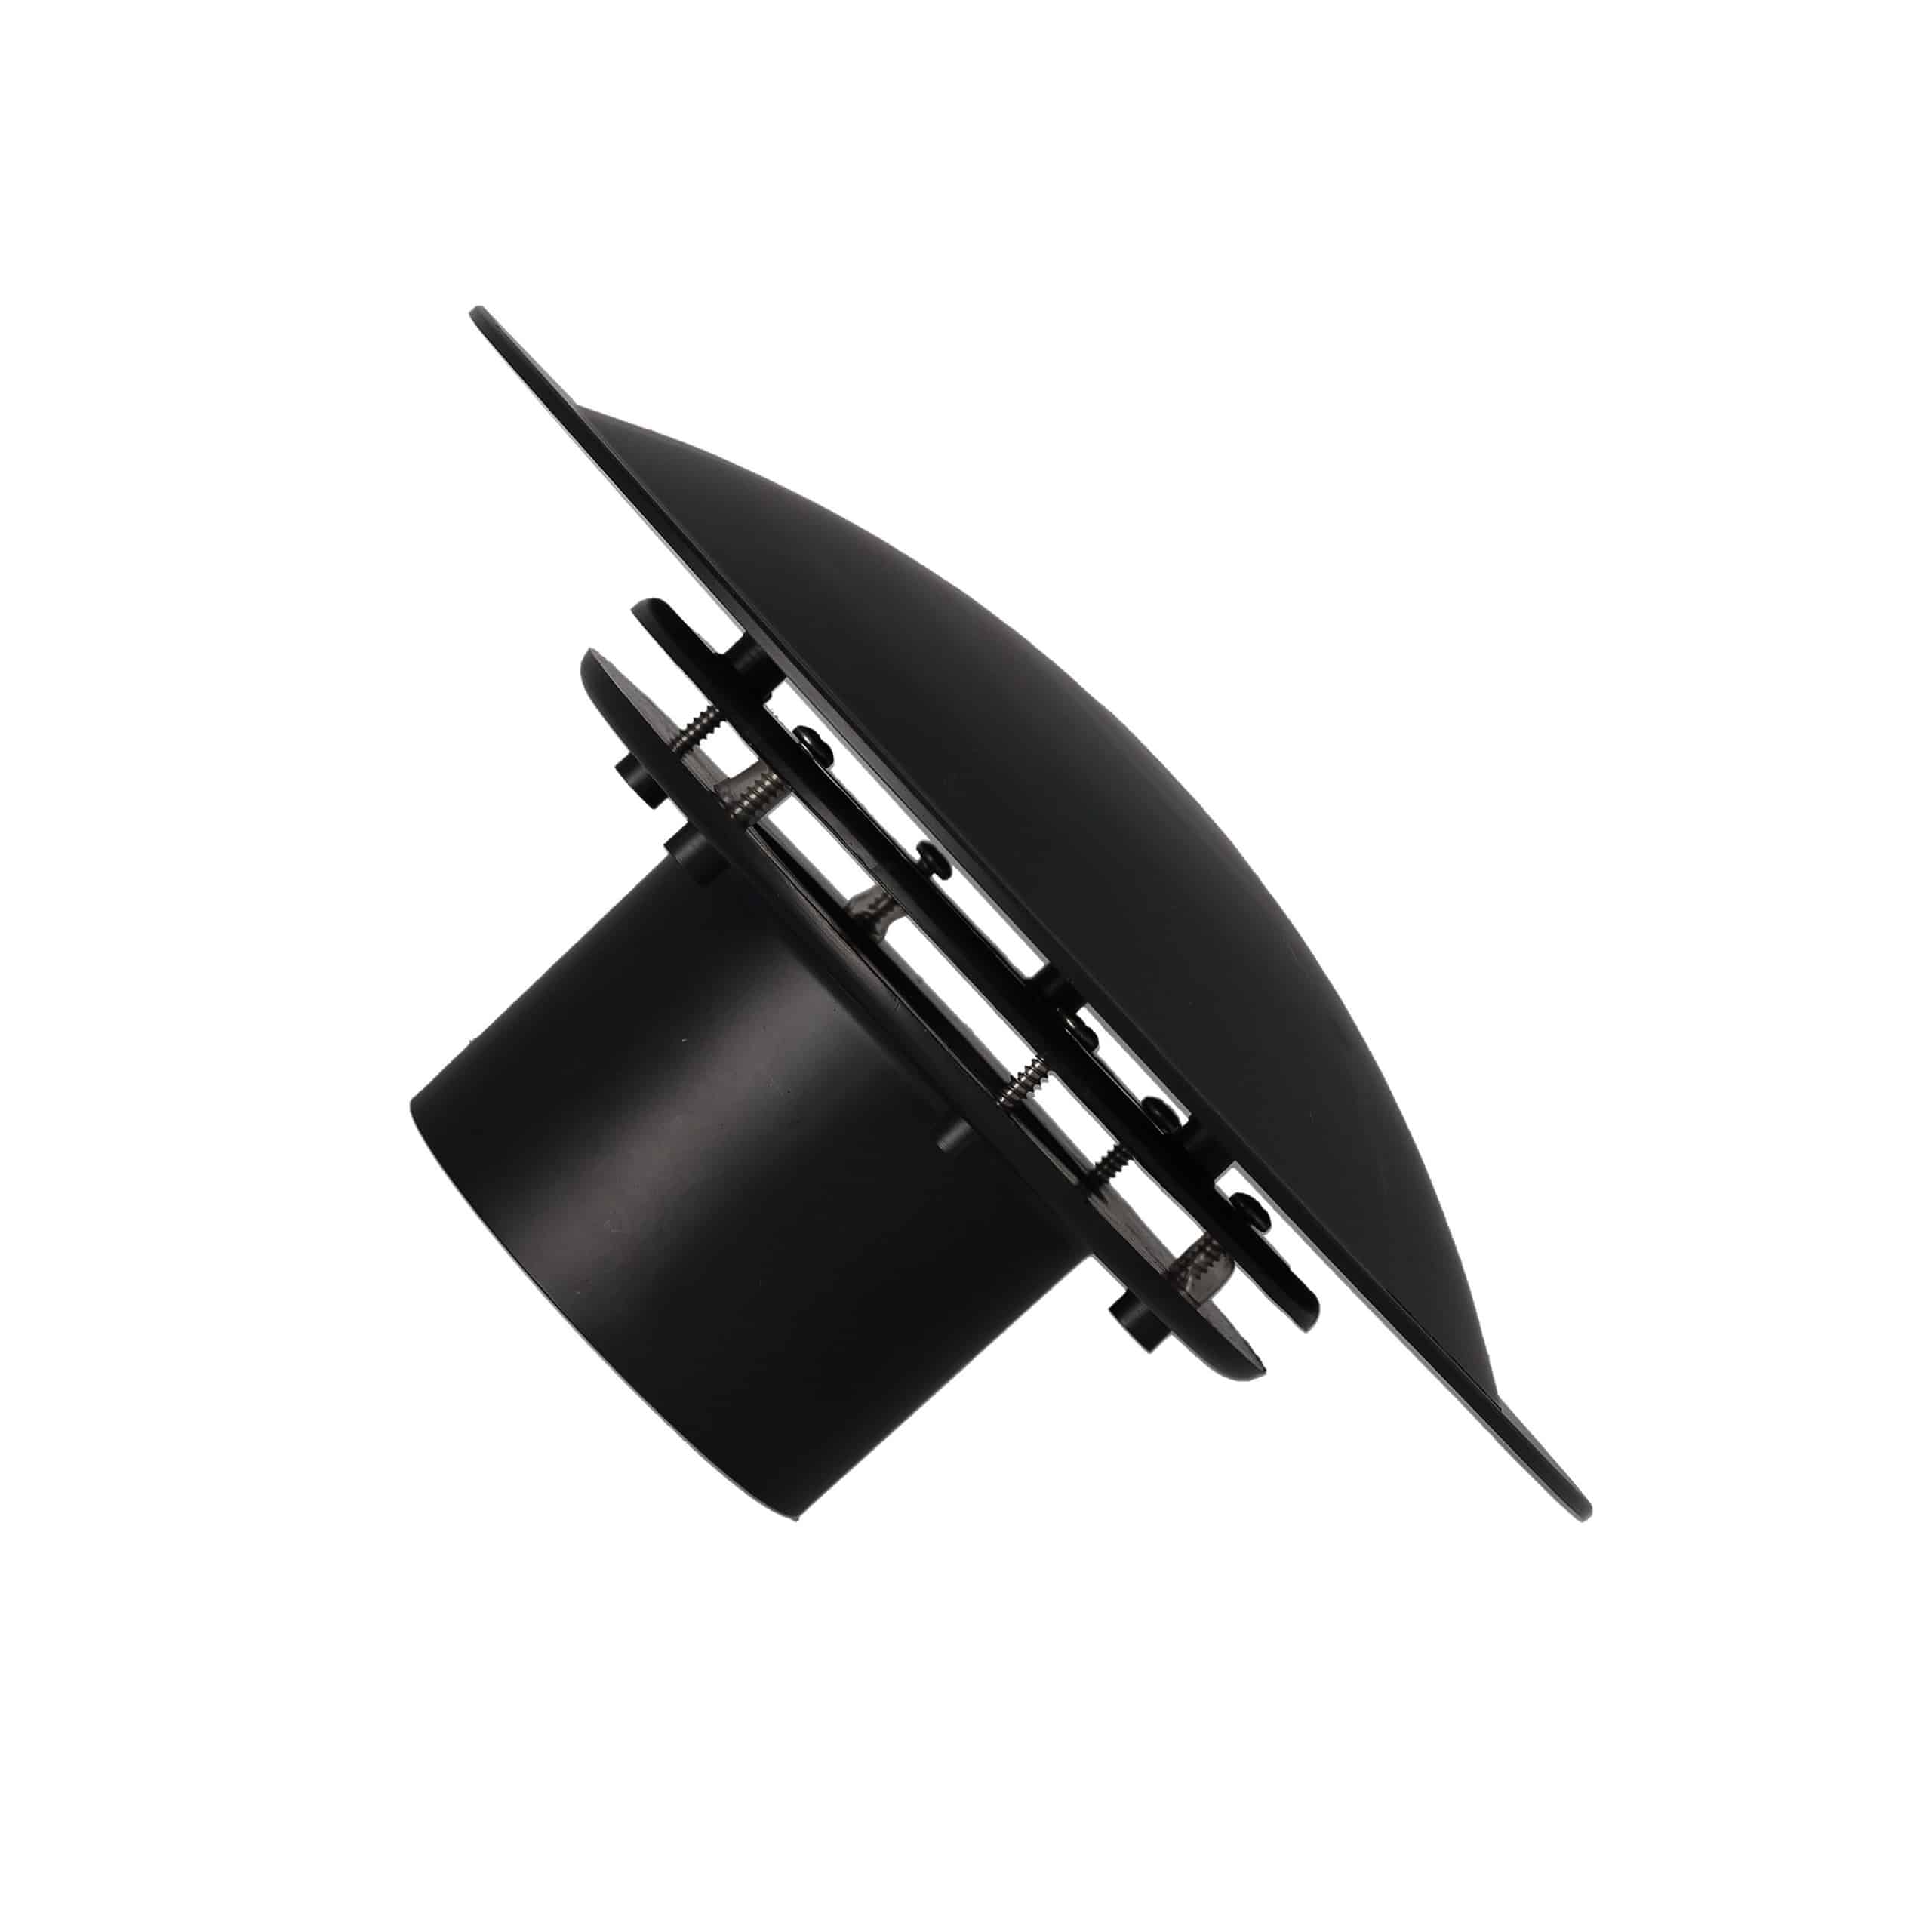
Kockney Koi 3 Inch Bottom Drain
| Brand |
|---|
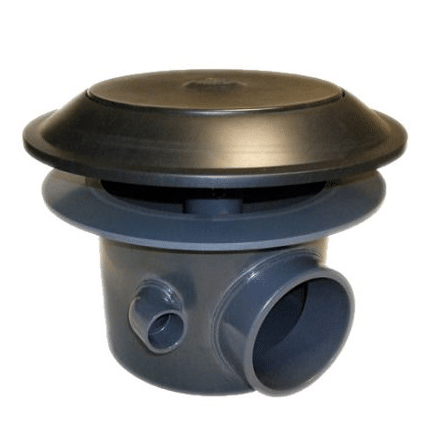
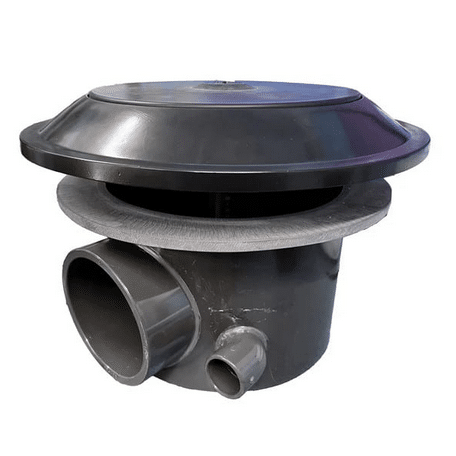
UK-made Kockney Koi 3 inch domed bottom drain for suitable fibreglass, concrete and rubber-lined pond installations. Part 002739; match the solvent-weld pipe system before installation.
£13.35 (inc VAT)
Kockney Koi 3 Inch Bottom Drain
A domed drain for directing pond-floor waste towards your filter
The Kockney Koi 3 Inch Bottom Drain provides a collection point for water and debris at the base of a suitably designed pond. Connected to the filtration system, it helps move settled waste out of the pond rather than leaving all cleaning to a net or vacuum. It is a permanent pond-building component, so choosing the correct outlet and planning the pipe route before construction are important parts of getting the installation right.
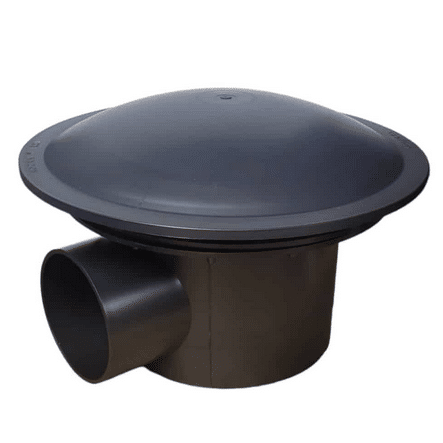
Kockney Koi identifies this model as part 002739 and places it in its 3 inch solvent-weld fittings range. The manufacturer confirms suitability for fibreglass, concrete and rubber-lined ponds. It is made in the UK and has a domed design. This listing is for the drain itself; the connecting pipe, isolation valve, filter, pump and any materials needed for the pond seal are separate parts of the installation.
Specification and identification
| Manufacturer | Kockney Koi |
|---|---|
| Product | 3 inch bottom drain |
| Design | Domed drain |
| Pipework range | Kockney Koi 3 inch solvent-weld fittings |
| Manufacturer reference | 002739 |
| Barcode | 5031589002739 |
| Suitable pond construction | Fibreglass, concrete and rubber liner, with appropriate installation |
| Country of manufacture | United Kingdom |
How a bottom drain fits into the system
A bottom drain is the starting point of a water route, rather than a filter in its own right. Waste entering the drain still needs to reach suitable mechanical filtration, where it can be separated and removed. The layout of the pond floor, circulation pattern and flow through the pipe all affect what reaches that collection point. Installing a drain does not mean every part of the pond will stay free from deposits without attention.
Plan the whole route to the filter together. The number of bends, length of pipe, height relationship between pond and equipment, and filter connections can all affect the finished system. Choose a pump and filtration arrangement that suit the complete design. A nominal 3 inch outlet on its own does not establish a guaranteed flow rate or a maximum pond volume, so avoid selecting it from pond capacity alone.
Check the pipe standard before buying
The 3 inch designation identifies the manufacturer’s solvent-weld range. Nominal inch sizes and measured metric diameters are not interchangeable descriptions across every type of pond pipe. Pressure pipe, waste pipe and metric systems can use different outside diameters or socket arrangements even when their names sound similar. Confirm that the exact pipe and fittings you intend to use match this drain before committing to buried connections.
For a different size or a different construction, compare our economy bottom drains. Check each product’s own connection details rather than assuming one drain can replace another without changes. Keeping a written list of pipe sizes, valve connections and filter inlets is useful when ordering the components for a new pond.
Installing in liner, concrete or fibreglass ponds
The manufacturer supports these three construction types, but the sealing method must suit the actual pond build. A liner joint and a fibreglass finish require different preparation. Establish the final pond-floor level and drain position before fitting, and follow the instructions supplied with the drain and your chosen sealing materials. The drain body and adjoining pipework need appropriate support so that settling ground or construction work does not load the joints.
Dry-assemble the route where possible to confirm alignment and access before making permanent joints. Allow solvent-weld products and sealants their specified curing time. Test the installation for leaks while connections remain accessible, and before they are concealed by concrete, backfill or the completed pond finish. Correcting a connection at this stage is much easier than investigating a loss of water after the pond is stocked.
Access for maintenance
Include a practical way to isolate and service the connected filtration system. An accessible valve and a thought-out maintenance route can make routine filter work much easier. They must be sized and positioned as part of the system design; a drain cannot provide those functions by itself. Keep records or photographs of the buried pipe route so future maintenance does not rely on remembering where everything was installed.
Periodically check for debris around the dome and assess whether waste is reaching the filter as expected. Reduced flow can have causes elsewhere in the system, including a restriction in the pipe or a filter needing cleaning. Do not assume the drain is at fault simply because circulation has changed. Investigate the complete water route and isolate powered equipment safely before servicing it.
Choosing between a standard and aerated drain
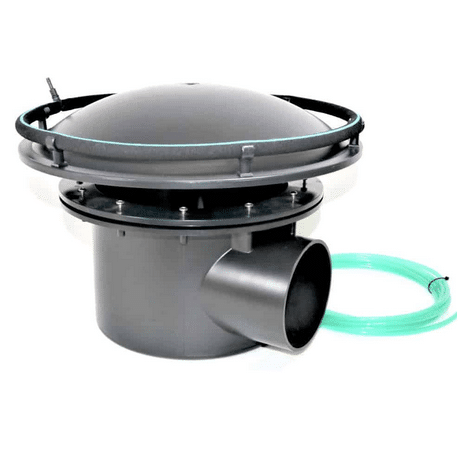
This model is a standard bottom drain; it is not described as an aerated drain and does not include an air diffuser system. If your design calls for aeration at the drain, compare a purpose-built option such as our Spindrifter bottom drain, checking both construction suitability and pipe connections. Alternatively, pond aeration can be planned separately from the waste collection route.
The dome should not be treated as a guaranteed barrier for every size of fish or other pond animal. Assess the inlet arrangement and flow for the stock you keep, particularly in nursery or quarantine systems. Choosing the right drain means matching the physical fittings, the pond construction and the intended use together, with accessible maintenance built into the plan.




Reviews
There are no reviews yet.