


How to Build the Perfect Concrete Block Built Koi Pond
Crafting the Perfect Concrete Block Koi Pond
A Complete Professional Guide to Long-Term Koi Pond Construction
A concrete block koi pond is widely regarded as the most robust, flexible, and long-lasting way to build a koi pond. When designed and constructed properly, it creates a stable aquatic environment capable of supporting large koi, high-performance filtration systems, and decades of reliable operation with manageable maintenance requirements.
This method of construction is not about shortcuts or quick results. It is about engineering a permanent water feature around the biological needs of koi, the realities of waste management, and the long-term performance of the pond system as a whole.
This guide explains, in full detail, how concrete block koi ponds are designed and built properly, why each stage matters, and where experience makes the difference between a pond that performs beautifully for decades and one that becomes problematic over time.
Why Concrete Block Construction Is the Gold Standard for Koi Ponds
Concrete block construction offers advantages that no other pond building method can match. Unlike flexible liners, which rely heavily on surrounding ground stability, or preformed ponds that limit shape and depth, block-built ponds allow complete control over every aspect of the pond.
Key benefits include:
-
Precise shaping and depth control
-
Seamless integration of bottom drains and pipework
-
Compatibility with gravity-fed filtration systems
-
Structural strength for raised ponds and viewing windows
-
A permanent shell suitable for fibreglass lining
For serious koi keepers and long-term pond owners, these advantages translate directly into better water quality, easier maintenance, and healthier fish.
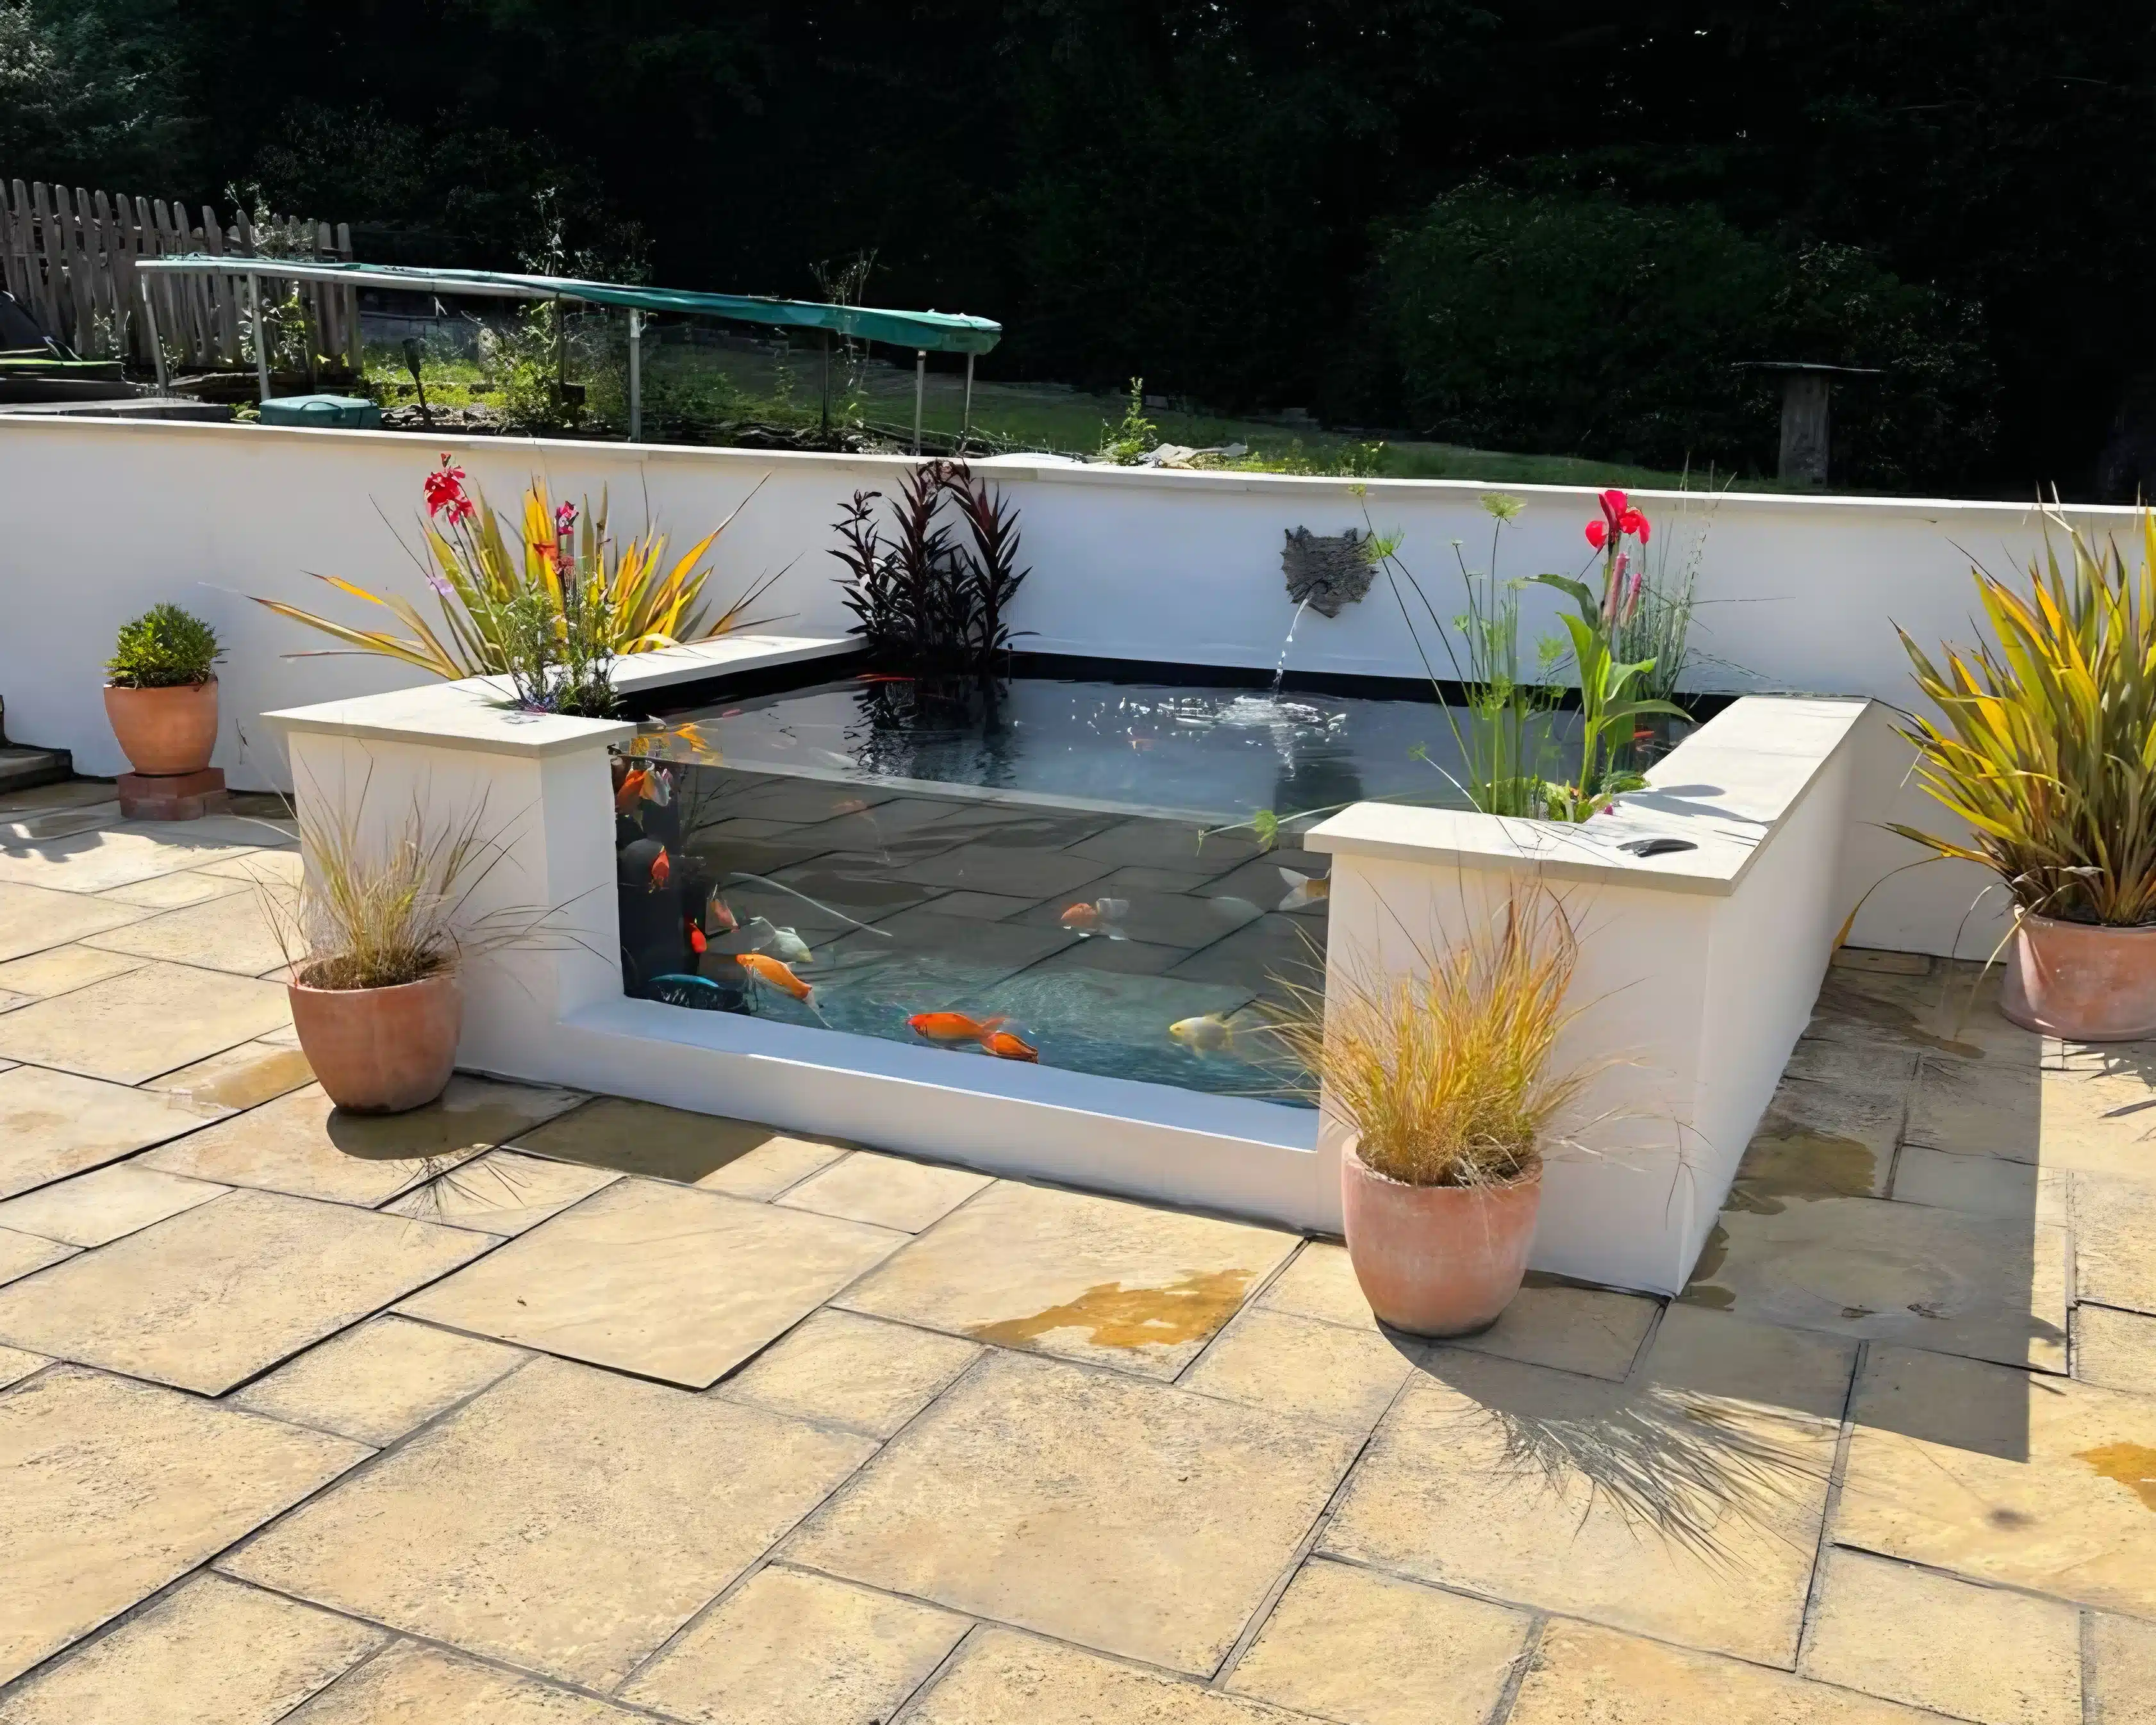
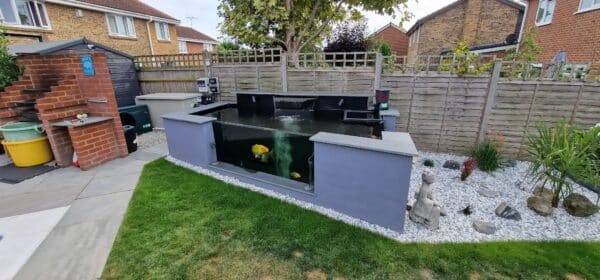
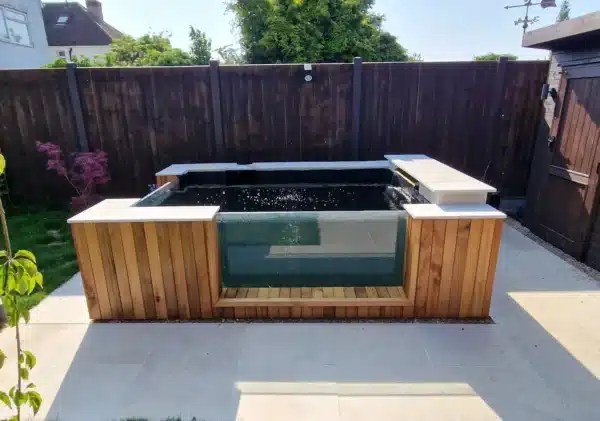
Custom koi pond with reinforced fibreglass shell in Kent
Selecting the Right Location for a Concrete Block Koi Pond
Location selection is one of the most underestimated aspects of koi pond construction. The position of the pond affects water temperature, algae growth, ease of maintenance, and the overall enjoyment of the finished feature.
Ideally, the pond should receive a mix of sunlight and shade throughout the day. Constant direct sunlight increases algae pressure and can cause excessive temperature fluctuations, while full shade may limit visibility and enjoyment.
Access is also critical. Concrete block ponds require excavation, materials delivery, and specialist equipment. Poor access can significantly increase labour time and cost. Proximity to power supplies, drainage points, and filtration housing must all be considered at the planning stage.
Ground conditions should always be assessed. Soil type, drainage characteristics, and any existing structures influence excavation depth and foundation requirements. Underground services must be identified before work begins to avoid serious complications.
Planning a Koi Pond for Long-Term Performance
Good koi pond design is driven by function first and aesthetics second. While appearance is important, long-term success depends on how effectively the pond manages waste, supports filtration, and maintains stable water conditions.
Depth and Volume Considerations
A minimum depth of around 1.2 metres is generally recommended for koi ponds. Greater depth provides:
-
Thermal stability
-
Improved water volume relative to fish load
-
Better circulation characteristics
-
Protection from predators and temperature extremes
Shallow ponds are more susceptible to water quality swings and often become harder to manage as koi grow.
Shape and Flow Dynamics
The pond shape should encourage water movement towards bottom drains. Simple shapes with smooth internal profiles perform far better than complex designs with shelves, tight corners, or uneven bases.
The floor is typically shaped with gentle slopes leading towards bottom drains, allowing waste to migrate naturally rather than settling in dead spots.
Excavation and Groundworks
Excavation is not just about digging a hole. Accuracy at this stage determines the quality of everything that follows.
The excavation must be level, stable, and shaped according to the design plan. Allowances are made for the concrete base slab, pipework runs, and blockwork thickness.
In most cases, a reinforced concrete base slab is installed. This provides a solid foundation capable of supporting the weight of the pond structure and water volume. It also allows bottom drains and pipework to be set accurately before blockwork begins.
Poor ground preparation is one of the most common causes of long-term structural problems in koi ponds.
Concrete Block Construction in Detail
Concrete blocks are laid course by course on a mortar bed, with constant checks for level, plumb, and alignment. Precision here is critical. Even small inaccuracies become very noticeable once the pond is rendered, fibreglassed, and filled.
For raised ponds or larger structures, reinforcement may be incorporated into the blockwork. This increases strength and reduces the risk of movement or cracking over time.
Block construction allows for:
-
Straight, clean internal walls
-
Structural openings for viewing windows
-
Precise positioning of returns and penetrations
This stage defines the pond’s physical integrity and should never be rushed.
Bottom Drains – The Backbone of Koi Pond Cleanliness
Bottom drains are fundamental to koi pond performance. Their role is to continuously remove waste from the pond floor before it has a chance to break down and affect water quality.
Correct drain installation involves:
-
Positioning drains at the lowest points of the pond
-
Shaping the floor to slope gently towards them
-
Using appropriately sized pipework
-
Avoiding sharp bends and restrictions
Poorly installed drains lead to waste accumulation, sludge build-up, and ongoing maintenance challenges.
Gravity-Fed Filtration Systems Explained Properly
Gravity-fed filtration is the preferred system for concrete block koi ponds due to its efficiency and gentle waste handling.
Water flows from the pond to the filter under gravity, allowing solid waste to be removed before pumps return clean water to the pond. This prevents waste from being broken down unnecessarily and reduces load on biological filtration.
A typical gravity-fed system includes:
-
Mechanical pre-filtration
-
Biological filtration stages
-
UV clarification
-
Return pumps positioned after filtration
Correct sizing is critical. Filters must be capable of handling current and future fish loads, not just initial stocking levels.
Pipework Design and Water Returns
Pipework layout plays a major role in circulation and filtration efficiency. Undersized pipes restrict flow, while poor routing increases resistance and maintenance issues.
Returns should be positioned to create circular water movement, guiding waste towards bottom drains. Well-designed circulation reduces dead spots, improves oxygen distribution, and supports biological filtration.
Attention to pipework detail separates professional builds from amateur installations.
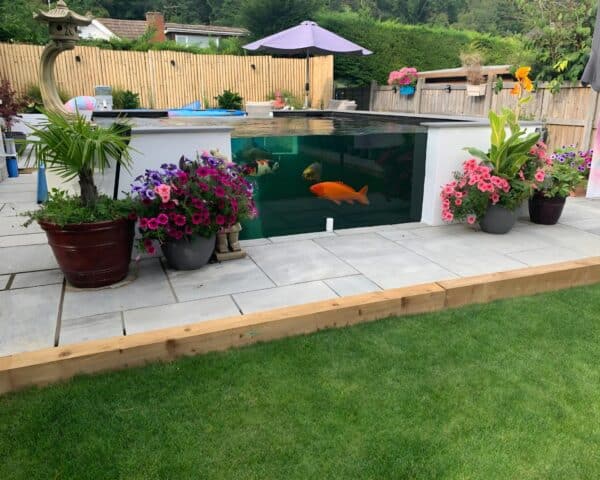
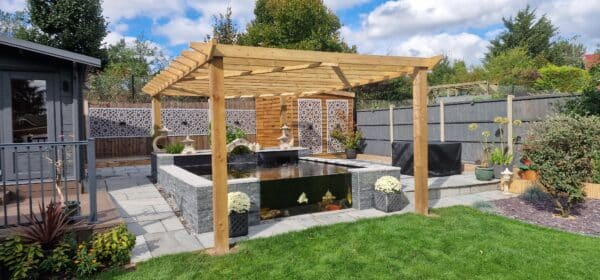
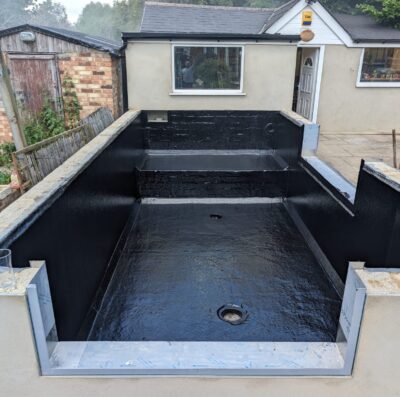
A professionally fibreglass lined pond completed in Essex with a seamless GRP finish.
Fibreglass Lining for Strength and Longevity
Fibreglass lining creates a seamless, non-porous shell that is exceptionally durable and easy to maintain.
Before fibreglassing, the blockwork is rendered smooth, with careful attention paid to corners, penetrations, and transitions. Any imperfections at this stage will show through in the finished surface.
Fibreglass is applied in multiple layers and allowed to cure fully before the pond is filled. When done correctly, it provides decades of reliable service with minimal maintenance.
Coping Stones, Edging, and Surrounding Finishes
Coping stones protect the pond edge, improve safety, and provide a clean visual finish. They also help prevent surface water and debris entering the pond.
Surrounding paving and landscaping should allow clear access to the pond for maintenance and observation. Koi ponds benefit from relatively open designs that allow fish to be viewed easily and systems to be accessed when required.

Commissioning the Pond Correctly
Before fish are introduced, the pond must be commissioned properly. This includes:
-
Filling the pond
-
Testing pipework and seals
-
Running filtration systems
-
Monitoring water parameters
Biological filtration takes time to establish. Rushing this process often leads to early water quality problems that could have been avoided.
Introducing Koi Gradually and Safely
Fish should be introduced slowly, allowing the filtration system to adapt to the increasing biological load. Sudden stocking increases overwhelm filtration and destabilise water quality.
Careful observation during this period helps identify any issues early and ensures fish settle comfortably into their new environment.

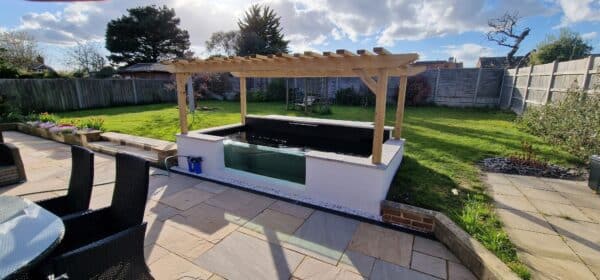
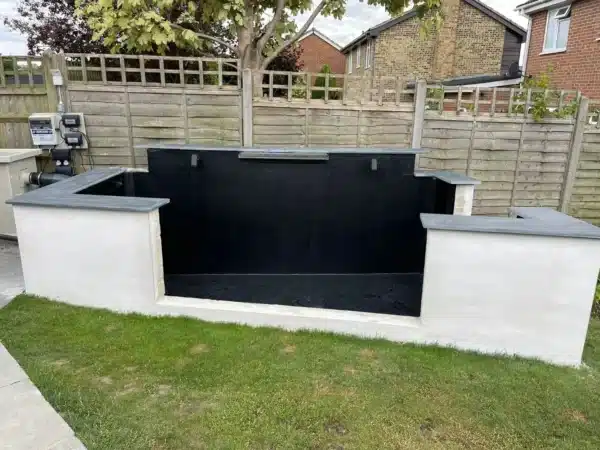
Fibreglass Koi Pond Preparation for Viewing Window
Long-Term Maintenance Considerations
Concrete block koi ponds are designed for longevity, but they still require ongoing maintenance. Designing with maintenance in mind reduces long-term workload.
Key considerations include:
-
Easy access to filters
-
Clear pipework layouts
-
Adequate space around the pond
-
Thoughtful circulation design
Well-built ponds become easier to maintain over time, not harder.

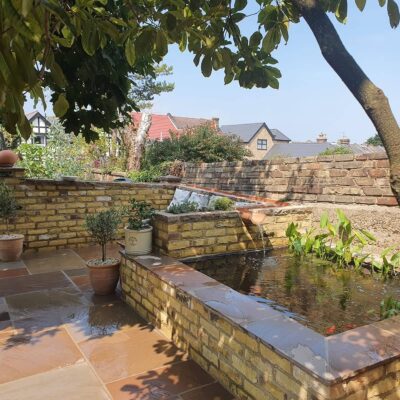
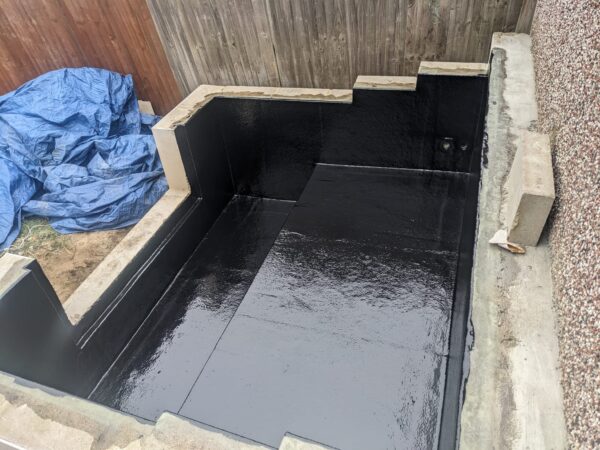
Fibreglass koi pond installation in Kent
Common Mistakes in Concrete Block Koi Pond Construction
Some of the most frequent problems we encounter include:
-
Insufficient depth
-
Poor drain placement
-
Undersized filtration
-
Inadequate circulation
-
Rushed fibreglassing
-
Limited access for maintenance
These issues are often expensive and disruptive to correct once the pond is operational.

Pond fibreglassed by That Pond Guy in Kent, London, Essex, Surrey, Sussex
Why Professional Design and Construction Matter
Concrete block koi ponds demand technical understanding and experience. Mistakes are rarely obvious during construction and often only become apparent once the pond is running.
Professional construction ensures:
-
Structural integrity
-
Correct waste management
-
Stable long-term water quality
-
Reduced maintenance burden
-
A pond that performs as well as it looks
For most pond owners, professional involvement saves time, money, and frustration in the long run.

Pond fibreglassing by That Pond Guy in Kent, London, Essex, Surrey, Sussex
Professional Concrete Block Koi Pond Construction
We proudly work across Kent, London, Essex, Surrey, Sussex, Berkshire, and Hampshire, delivering professionally designed and constructed concrete block koi ponds built for long-term performance.
From initial design and excavation through to filtration installation and fibreglass lining, our koi pond construction services form part of our comprehensive pond care services. If you are considering a concrete block koi pond or would like expert advice on the best approach, get in touch today for a free quote and let That Pond Guy build a pond designed to last.